In this article, you'll learn the handful of things worth setting up in your first week. Once they're done, every job, estimate and invoice you make afterwards comes out right without extra work.
You can do them in any order, and none takes long. Each section links to a full article if you want more detail.
Want the tour first? Read Find your way around the CRM and What's on your Home screen.
To open Settings:
- At the bottom of the menu on the left, click the gear icon.
- The Settings list slides open above it. It's split into boxes: General, Jobs & leads, Money, Phone & booking, Data, Users & roles and Account.
Connect Stripe to take card payments
Card payments go through your own Stripe account, and the money lands in your bank.
- Open Settings and, under Money, click Payments.
- Click Connect Stripe.
- Fill out the form on Stripe's site. It takes about five minutes. Have your EIN ready (or your SSN if you're a sole proprietor), plus your bank details.
- When you come back, the Stripe card says Connected, Under review by Stripe or Setup not finished. If setup isn't finished, click Continue setup to pick up where you stopped.
More in Connecting Stripe to take online payments.
Add your team
- Open Settings and, under Users & roles, click Team management. (Team in the main menu opens the same page.)
- Click Add New.
- Fill in the Add team member form, then click Invite user.
More in How to add team members.
Set your job types and statuses
Job types are the kinds of work you do. Statuses are the stages a job moves through.
Job types
- Open Settings and, under Jobs & leads, click Job types.
- Type a name in the New job type box and click Add.
- Use the Review when Done switch on each type to decide whether marking that kind of job Done asks the customer for a review.
Statuses
- Under Jobs & leads, click Statuses.
- To add a status, type its name in the New status box and click Add.
- To split a status further, click + Sub-status on its row, type a name and click Add.
More in How to add job types and How to create sub-statuses.
Build your price book
The price book holds the items and services you add to estimates and invoices, so you don't have to type prices from memory.
- In the menu, click Price book.
- On the Items & products tab, click Add New to create an item or service.
- To sort items into groups, open the Item categories tab and click Add new.
More in How to create items and services.
Import your clients
If your customer list is in a spreadsheet or another program, bring it in as a CSV file.
- Open Settings and, under Data, click Import clients.
- Click Choose CSV file and pick your file. It picks up columns like First Name, Last Name (or one Name column), Company, Email and Phone.
- Look over the preview of the first few rows.
- Click the import button. It shows how many clients are ready, like Import 120 clients.
More in Importing your clients.
Set up your documents
Your estimates, invoices and payment receipts are all built from templates you can design.
- Open Settings and, under General, click Documents.
- On the Document templates page, click a template's name to open it in the designer.
More in Customizing estimate, invoice and receipt templates.
Turn on the features you want
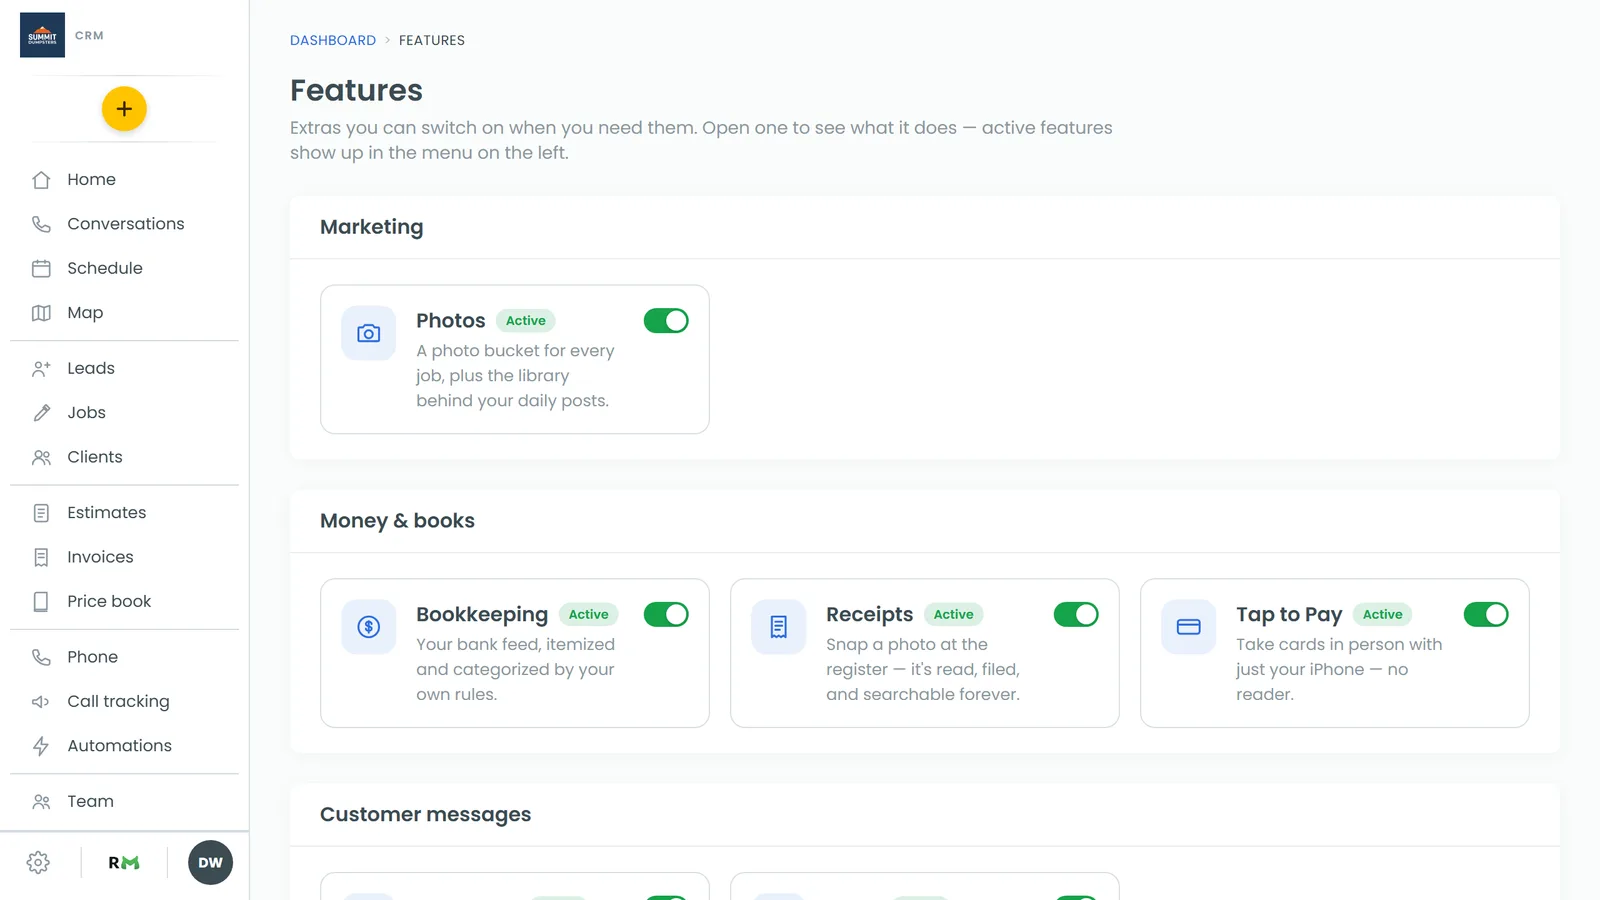
Extras like Bookkeeping, Receipts and Tap to Pay are off until you turn them on in Features.
- In the menu, click Features.
- Click a card to read what that feature does.
- Flip the switch on the card to turn it on. The card gets an Active label, and the feature appears in the menu on the left.
- Under On your phone, use the arrows to set the order features appear in on the phone's home screen. The switch on each row hides it from the phone (it stays in the menu).
More in Choosing your shortcuts and features.
Get the phone app
With the phone app you can run your day from the truck: your schedule, jobs, calls and texts.
- On Android, install Review Monster CRM from Google Play.
- Open it and tap Sign in using the same email and password you use on the web.
More in Phone app overview.