In this article, you'll learn how to change the look of the estimates, invoices and payment receipts your customers get. Every account starts with a standard version of each, and you can redesign them to fit your business.
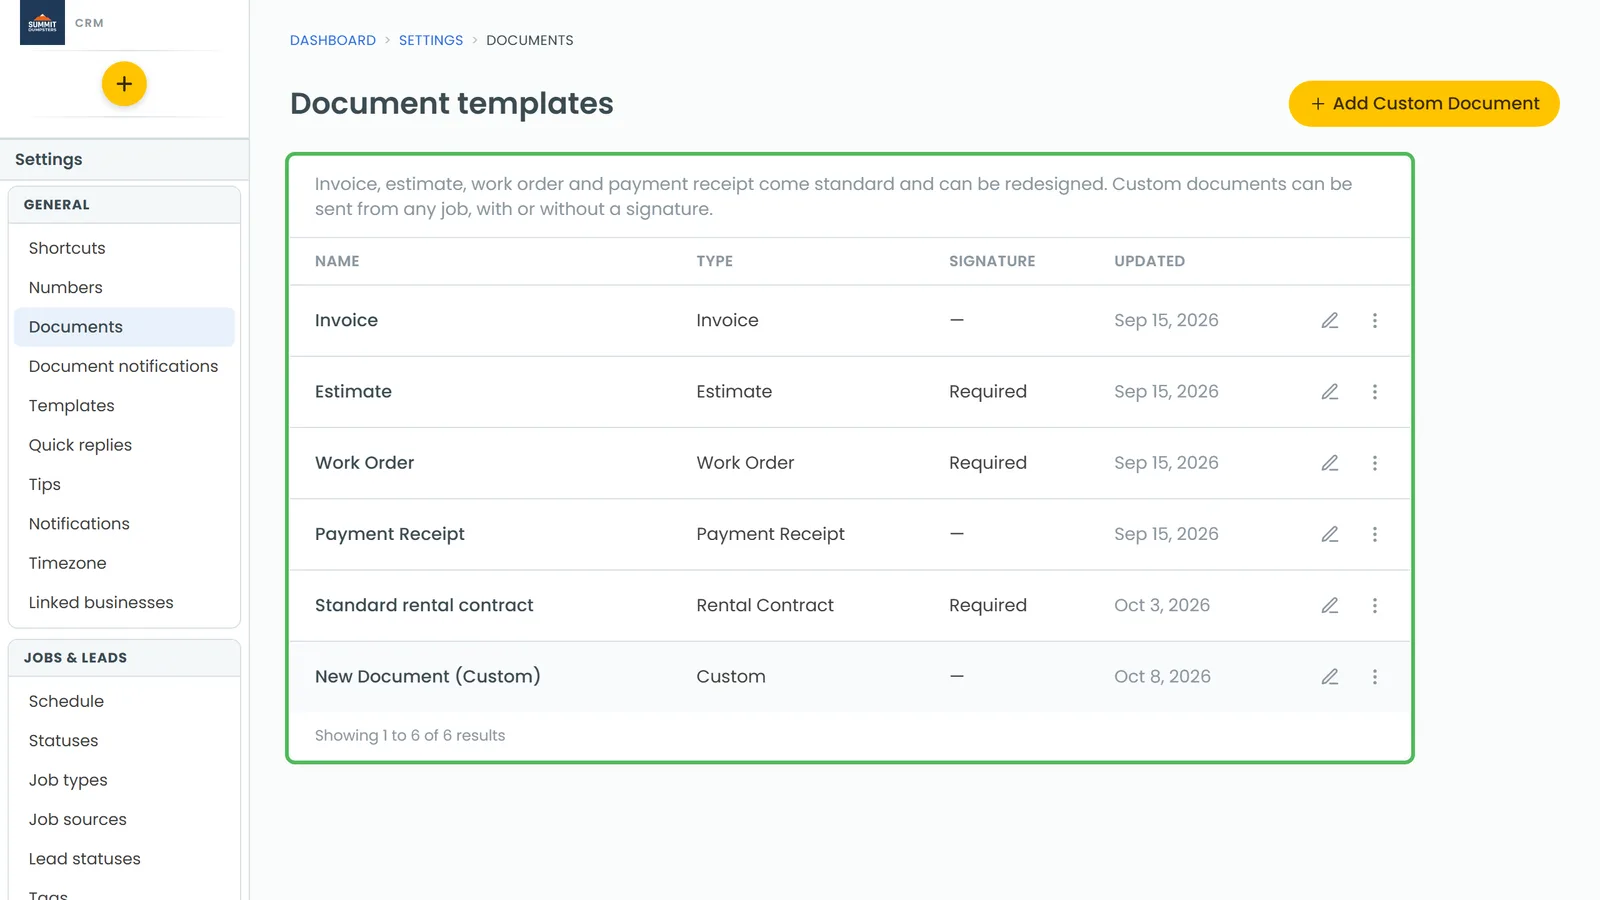
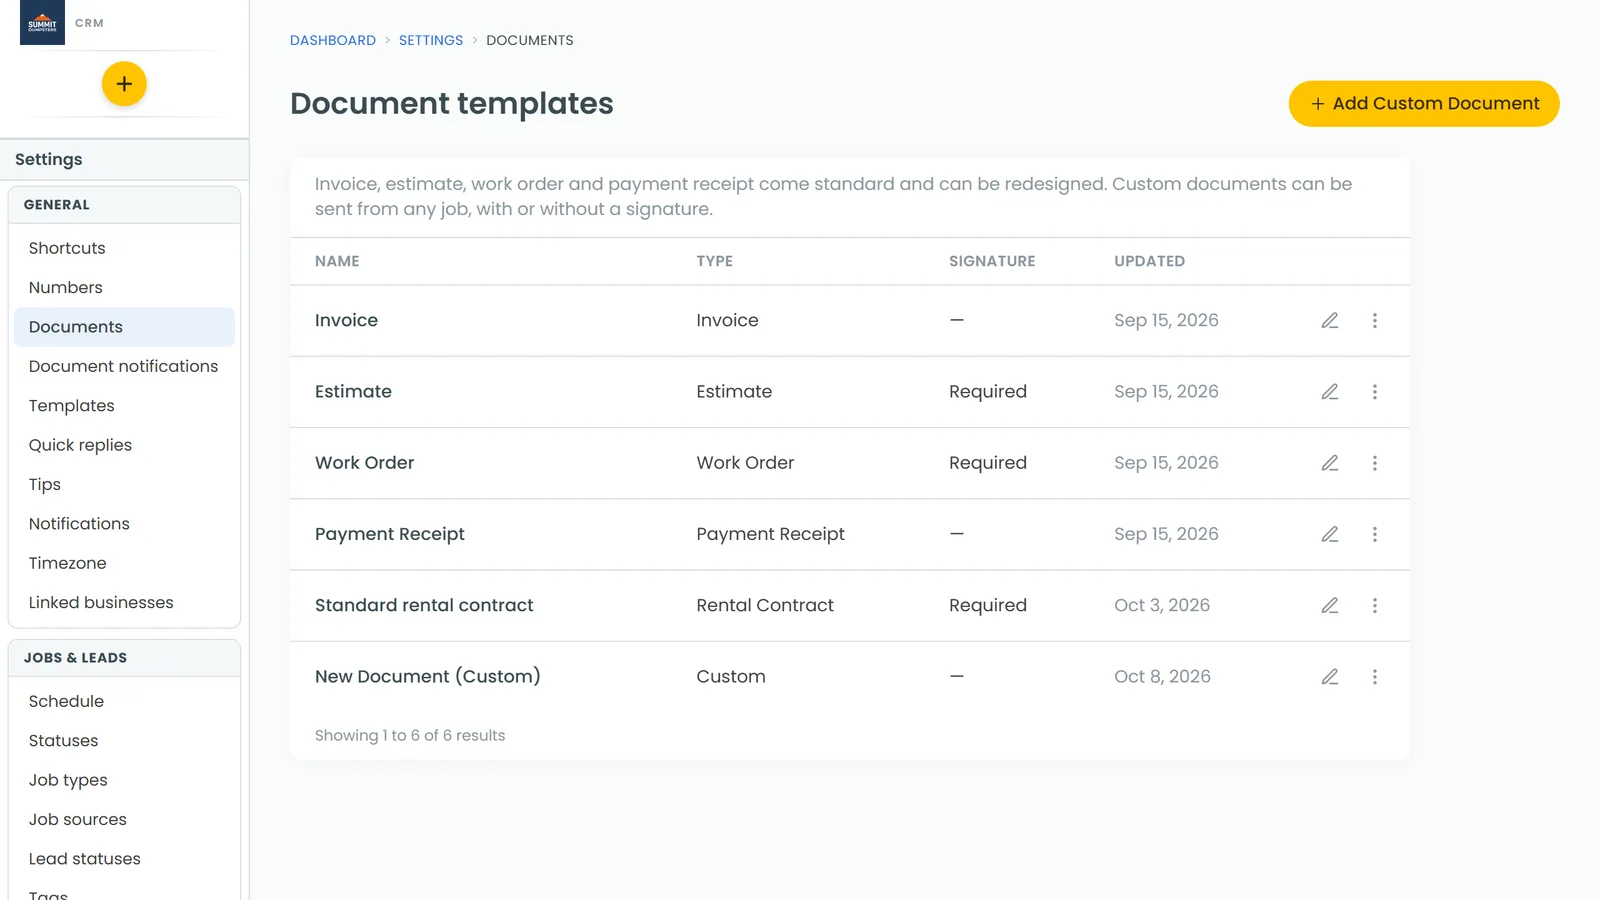
Every account comes with four standard templates: Invoice, Estimate, Work Order and Payment Receipt. The estimate template is what customers see on their estimate page and its PDF, the invoice template does the same for invoices, and the payment receipt template is used for receipts. The work order template is the one picked first when you send a document from a job.
To open your document templates:
- In the menu, click the Settings gear at the bottom.
- Under General, click Documents.
- On the Document templates page, click the name of the template you want to change, or click the pencil icon on its row.
The designer opens with your document on the left and three tabs on the right: Design, Tools and Layout. Along the top are Back, Preview, Save, Settings and Duplicate.
Start from a ready-made design
The quickest way to change the whole look is to pick a design.
- Click the Design tab.
- Click the design you want, like Basic, Minimal, Impact, Blue, Green Estimate, Green services or Work Order.
- You'll be asked whether you want to override your existing template settings. Click Yes to swap the page for that design, or Cancel to keep what you have.
How the page is built
The page is made of rows, and each row is split into one, two or three cells. Each cell holds one thing: a block of text, the items list, a table, your logo, an image, a divider or a signature box.
Move your mouse over the page and you'll see a yellow outline around the cell you're on. On a filled cell:
- The trash can at the top right empties the cell.
- The brush at the bottom right changes its look (more on that below).
Hover to the side of a row to see the row's own trash can, which deletes the whole row, and a move handle you can drag to put the row somewhere else.
An empty cell says Drag Something Here.
Add a new row
- Click the Layout tab.
- Drag the layout you want (one cell, two cells, three cells, or a wide cell beside a narrow one) onto the page.
- Drop it on an existing row to put the new row above it, or below the last row to add it at the end.
Fill an empty cell
- Click the Tools tab.
- Drag a tool onto an empty cell. The cell changes to Drop Here when you're over it.
- Let go. The tools are TEXT, ITEMS LIST, TABLE, LOGO, DIVIDER, IMAGE and SIGNATURE.
A tool only drops into an empty cell. To replace something, empty the cell with its trash can first.
The LOGO tool shows your company logo. If you haven't added a logo yet, the cell tells you to add one under Settings. For the IMAGE tool, click Choose Image in the cell and pick a picture from your computer. Click the picture later to replace it.
Insert values (the words in curly brackets)
Some text in your template looks like {{client.fullName}} or {{job.total}}. These are insert values: placeholders the CRM fills in with the real customer, job and money details when it makes the document. Your customers never see the brackets.
To add one:
- Click inside a text block where you want it.
- In the toolbar, click Insert values.
- Pick a group, like Client values, Job/invoice values, Account values, Estimate values, Invoice values or Payment values, then the value you want.
For the full list, see Understanding and using insert values in documents and messages.
Edit text
Click into any text block, table or signature caption and a toolbar appears above it. You can add a table, undo and redo, make text bold or italic, change the font size, line height and font, align it left, centre or right, underline it, clear formatting, change the text and background colour, and add insert values. Insert Markdown opens a small editor with Normal, Heading 1 to Heading 3 and Quote styles, bold, italic, bullet and numbered lists and a link button. Click Insert to drop the result into your text block.
Change a cell's colour or the items list style
- Hover over the cell and click the brush at the bottom right.
- On a text, logo or image cell, pick a colour circle to set the cell's background. White clears it.
- On the items list, pick Minimal, Stripes, With borders or Dark Titles.
Preview and save
- Click Preview to see the document filled in with sample details.
- Close the preview with the ×.
- Click Save. You'll see Saved next to the buttons.
Related articles
- Duplicating document templates
- How to create a custom document from scratch
- Editing the messages sent with estimates and invoices
- Understanding and using insert values in documents and messages
- Resizing your company logo on documents