In this article, you'll learn how to connect your company's own Stripe account to the CRM. Until you do, no card payment works anywhere: not online, not typed in by the office, not Tap to Pay.
To open the Payments settings:
- In the menu, click the Settings gear at the bottom.
- Under Money, click Payments.
On the phone app, open the menu, tap the Settings gear at the bottom, then Payments under Money. Only admins see the gear on the app, and only an admin can start the Stripe connection on either one.
How payments work here
Card payments run through your own Stripe account. The money goes straight to your bank, and you keep the full Stripe dashboard for payouts, refunds and disputes. You never paste a key into the CRM. Connecting hands us your Stripe account ID and that's it. Payments isn't something you switch on in Features. It's there for every company, waiting for the connection.
Once Stripe is connected:
- Customers can pay invoices and deposits by card from their customer portal.
- Your team can take a card from a job's Collect payment panel: Card on file, In person — Tap to Pay, or Type the card.
Until then, a customer who opens an invoice's pay page sees Online payment isn't set up yet and is asked to get in touch with you. On a job, the card options are replaced by a Set up Stripe button that brings you back to this page.
Connect your Stripe account
Setup happens on Stripe's own site and takes about five minutes. Have your EIN handy (or your SSN if you're a sole proprietor), plus the bank account you want payouts to land in.
- On the Payments page, click Connect Stripe.
- Fill in Stripe's form with your business and bank details.
- When you finish, Stripe sends you back to the Payments page. A note at the top says whether you're connected, under review, or left the form early.
On the phone app, Connect Stripe opens Stripe's form in a browser inside the app. When you close it, the page checks your status again.
Check your connection status
The Stripe card on the Payments page shows one of four states, with your account ID underneath once you have one:
- Not connected: you haven't started. The button reads Connect Stripe.
- Setup not finished: you left Stripe's form early. Click Continue setup to pick up where you left off.
- Under review by Stripe: your details are in and Stripe is checking them. This usually clears within a day. Click Open Stripe form if you need to change something.
- Connected: you're ready to take cards. Two boxes show Card payments and Payouts to your bank, and the button becomes Open Stripe dashboard.
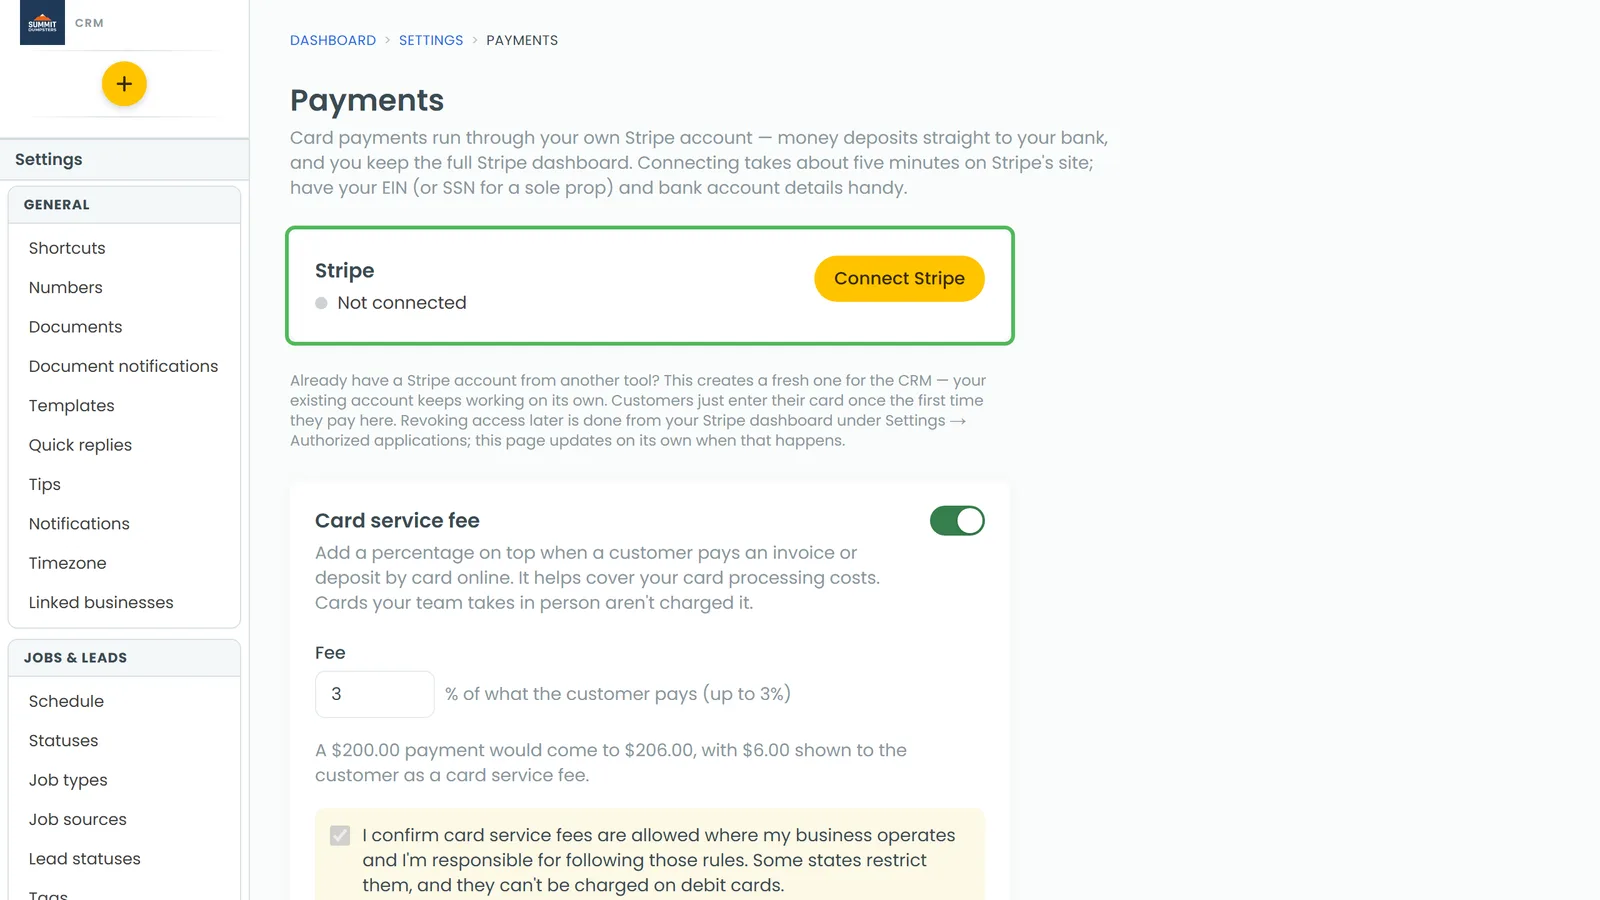
If Stripe needs anything else from you, a Stripe still needs: list appears under the status. Click Finish in Stripe → to supply it.
To see the latest from Stripe, click Refresh status. The time it last checked is shown next to the button.
Turning off the connection
To disconnect, open your Stripe dashboard and remove the CRM under Settings → Authorized applications. The Payments page updates on its own and shows Not connected.
What else is on this page
The Card service fee setting sits under the Stripe card on the same page, on the web and on the app. On the phone app, once Stripe is connected, a Tap to Pay card also appears here with a Set up Tap to Pay on this phone button (on an iPhone it reads Set up Tap to Pay on this iPhone) and a How Tap to Pay works link.
Related articles
- Stripe setup and card payments FAQ
- Payouts, your bank account and the Stripe dashboard
- How to charge credit cards
- Using Tap to Pay on iPhone and Android
- Charging a card service fee