In this article, you'll learn how to upload a spreadsheet of past customers so each one gets a review request. If you've got a list of people you've worked for, this is much faster than typing them in one at a time.
To open the Contacts page:
- In your dashboard menu, click Reviews.
- Under Reviews, click Contacts.
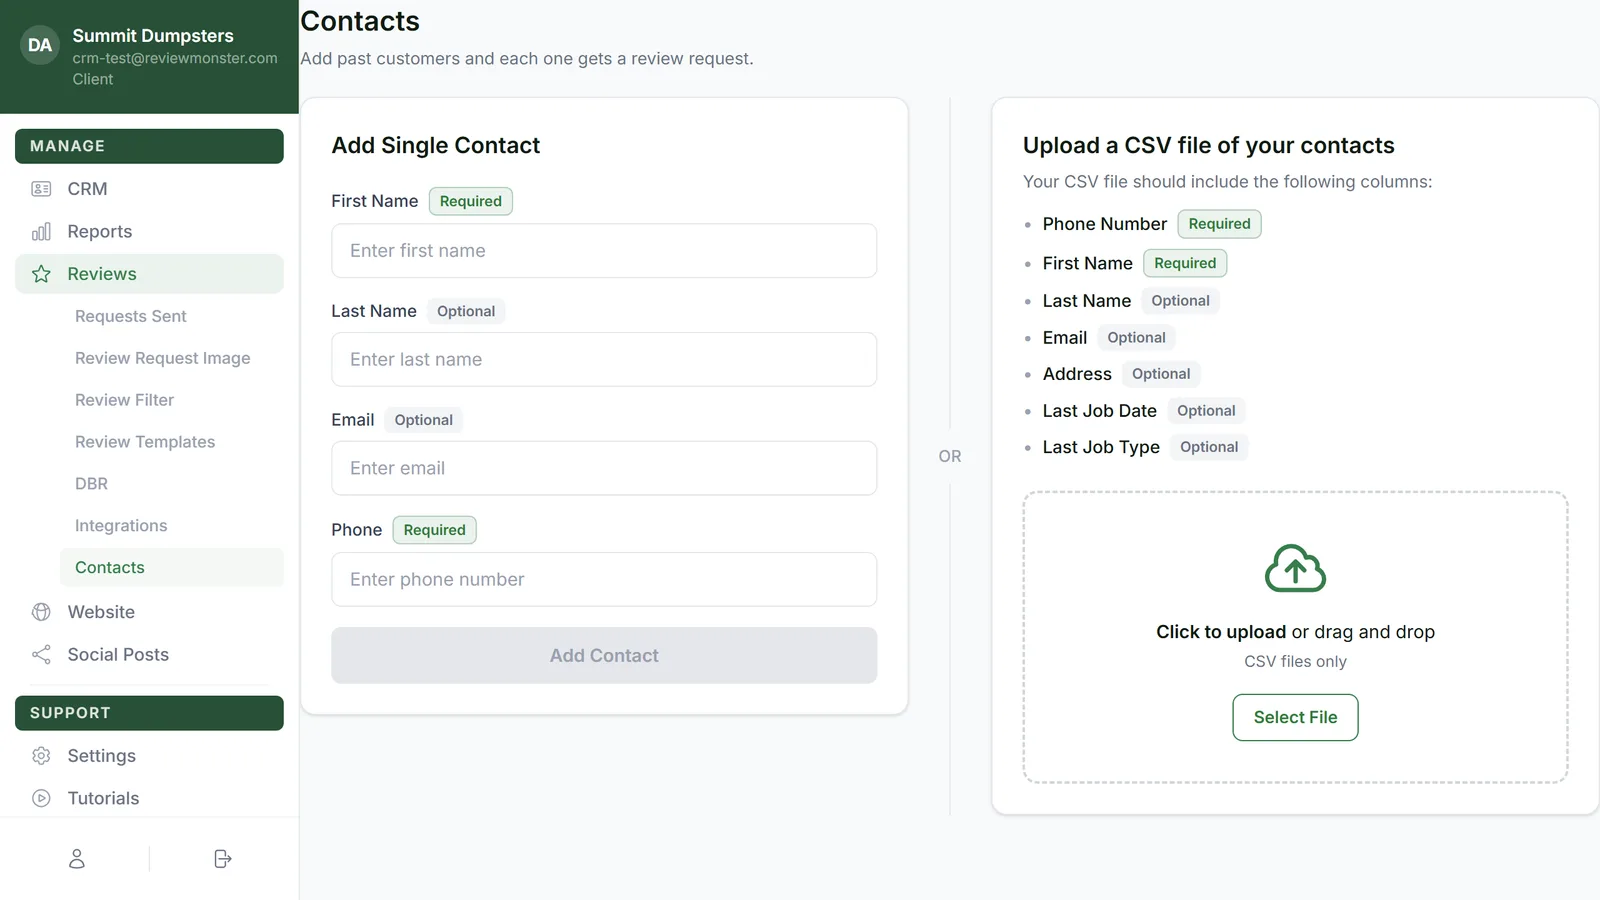
You'll see two cards side by side: Add Single Contact on the left and Upload a CSV file of your contacts on the right. This article covers the CSV card.
Get your file ready
The file has to be a CSV. Most CRMs and spreadsheet programs can export one, and you don't have to rename the columns first. The page matches common header names on its own, upper or lower case.
The card lists the columns it reads:
- Phone Number (Required). Headers it recognizes: Phone, Mobile, Cell, Phone Number, Mobile Number, Cell Phone, Telephone.
- First Name (Required). Headers: First, First Name, FirstName, Given Name.
- Last Name (Optional). Headers: Last, Last Name, LastName, Surname, Family Name.
- Email (Optional). Headers: Email, E-mail, Email Address.
- Address (Optional). Headers: Address, Street, Street Address, Service Address, Job Address, Full Address.
- Last Job Date (Optional). Headers: Last Job Date, Job Date, Date, Service Date, Last Service, Completed, Completed Date, Last Visit.
- Last Job Type (Optional). Headers: Last Job Type, Job Type, Job, Service, Service Type, Work, Type.
Any other columns are ignored.
Upload the file
- On the Upload a CSV file of your contacts card, click Select File, or click anywhere in the dashed box that says Click to upload or drag and drop.
- Pick your CSV. You can also drag the file from your computer and drop it on the box.
- A box appears under the upload area showing the file name and N contacts found, where N is the number of rows it read.
- Check the count looks right, then click Add N contacts. If you picked the wrong file, click Cancel and start again.
Rows with no first name and no phone at all are left out of the count, so blank lines at the bottom of a spreadsheet won't throw it off.
If the file is turned away
Before anything is added, you might see one of these in red:
- That isn't a CSV file. Export or save the file as .csv and try again.
- The file has no rows under its header. The file only has a header row, or it's empty.
- The file needs a column for Phone Number and First Name. The message lists the headers it found, so you can see which one to rename.
- That's more than 2000 contacts — split the file. This shows after you click Add. Break the list into smaller files.
Read the results
When the upload finishes, a summary shows on the card, for example "40 added, 3 already queued, 5 skipped."
- Added means the customer was saved and queued for a review request. If they're already a customer in your CRM, they're matched by phone or email rather than added twice.
- Already queued means they're already waiting for a review request, so nothing new was started.
- Skipped means they won't get a request. Each skipped row is listed underneath with its row number, name, phone and the reason.
Each phone number and email is checked before anything is sent. Here's what each skip reason means:
- no first name: the row has a phone but no first name.
- phone isn't a 10-digit US number: the number is missing digits or isn't a US number.
- isn't a working number: the number isn't in service.
- can't receive texts: it's a landline or toll-free number and the row has no email to use instead. If there is a good email, the customer is added and asked by email.
- can't receive texts; email bounces (or similar): neither the phone nor the email will reach them.
- asked not to be contacted: the customer is marked do-not-contact in your CRM.
- review requests switched off for them: review requests are turned off on that customer.
- already left a review: they've already reviewed you.
- asked for a review in the last 90 days: they finished a review request recently, so they get a break before being asked again.
- no way to reach them: there's no usable phone or email left.
- couldn't save or couldn't queue: something went wrong on our side. Try that customer again on the Add Single Contact card.