In this article, you'll learn how to create an estimate and an invoice straight from a job. Doing it from the job keeps everything in one place: the estimate is tied to that job, and the invoice bills the job's own items.
You can also make estimates and invoices on their own. For that, see How to create and send estimates and How to create and send invoices.
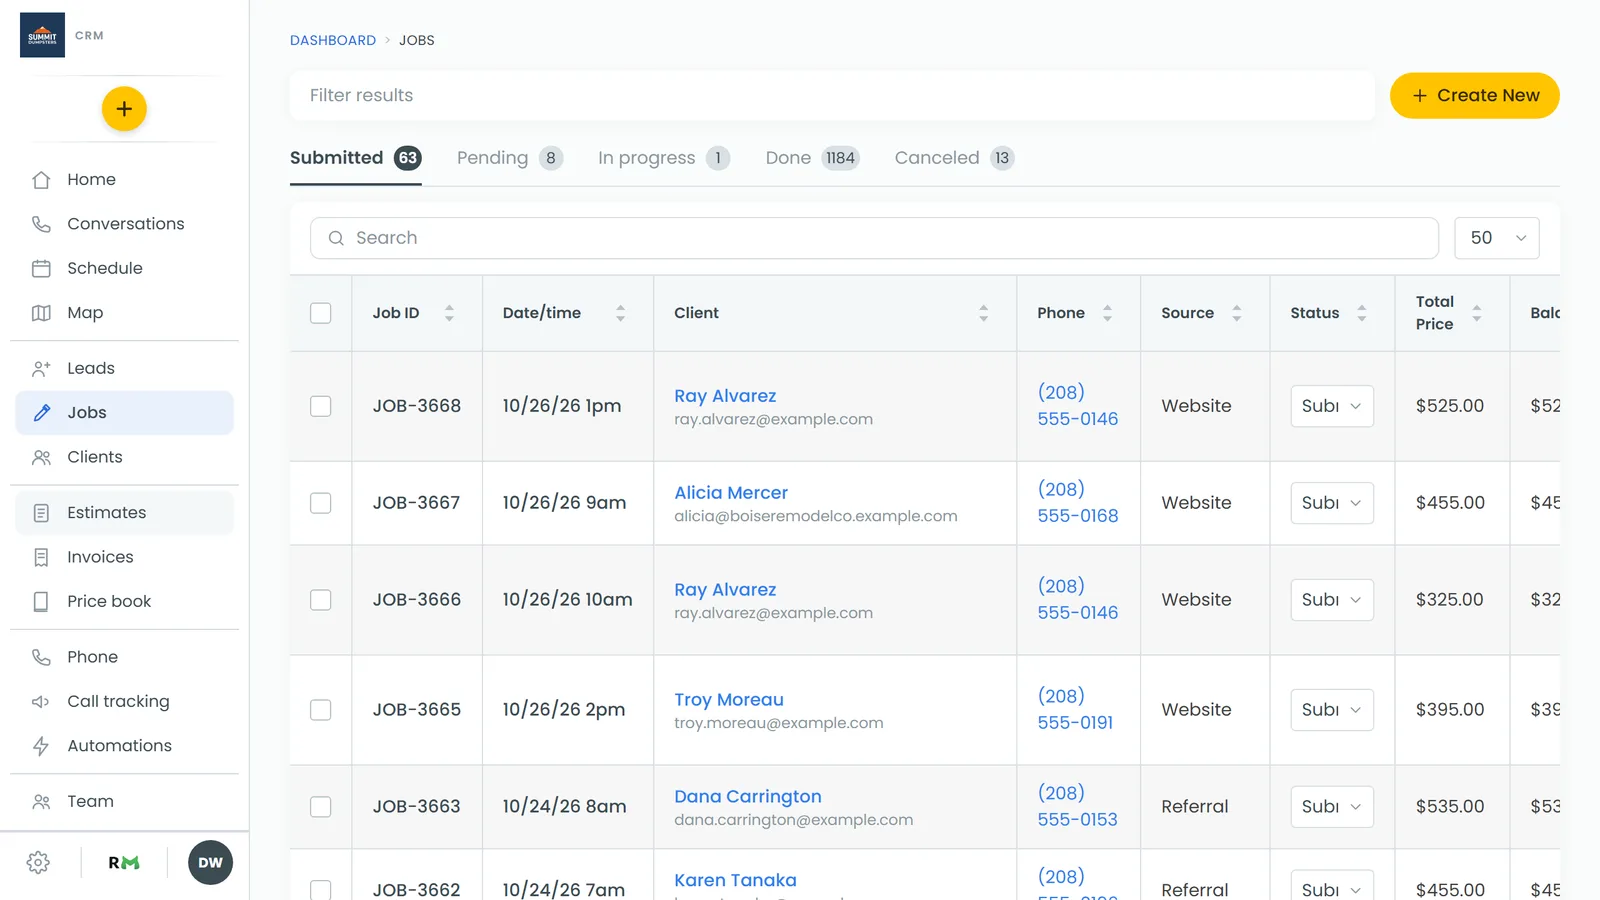
To open a job:
- In the menu, click Jobs.
- Click the job you want to work on.
Create an estimate from a job
An estimate is a quote. It never records a payment or changes what the job owes, so you can add as many as you like without touching the job's balance.
On a computer
- Open the job.
- Click the Estimates tab. Under the tab name you'll see how many estimates the job already has.
- Click Add estimate. If the job has no estimates yet, the button in the middle of the page reads Add Estimate.
- The new estimate opens right there on the tab, linked to this job. Add your items and send it from the estimate.
On the phone app or a phone browser
- Open the job.
- Tap the Finance tab.
- Tap the + on the Estimates row, or open the row and tap Add estimate.
- The new estimate is created on this job. Tap it to add items and send it.
Create an invoice from a job
The invoice uses the job's items and totals, so there's nothing to type twice. Each job has one live invoice at a time.
On a computer
- Open the job.
- At the top right, click Create Invoice.
- The Collect payment panel opens and the invoice is created as a draft. Nothing goes to the customer yet.
- From here you can take the payment or send the invoice with Send invoice.
Once the job has an invoice, the same button reads View Invoice and opens that invoice instead of making a new one.
On the phone app or a phone browser
- Open the job.
- Tap the Finance tab.
- Tap Create invoice on the card at the top, under the job's total and balance.
- The invoice page opens with the job's items. Tap Send invoice when you're ready.
When the job already has an invoice, the button reads View invoice.
How the job and its invoice stay in step
- While the invoice is still open (a draft, sent, or partly paid), it follows the job. Add, change or remove an item on the job and the invoice updates to match.
- If the job has already been partly paid, a new invoice bills only what's left.
- A job that's fully paid never gets a second invoice. You'll see the invoice that settled it, or a message that there's nothing left to invoice.
Related articles
- How to create jobs
- How to close a job
- How to create and send estimates
- How to create and send invoices
- Previewing estimates and invoices before you send them