In this article, you'll learn how to create an invoice from a job and send it to your customer by text or email, either one at a time or several at once. The invoice doesn't reach your customer, with a way to pay, until you send it. So this is the step that gets you paid.
Creating an invoice from a job
Every invoice starts from a job. There's no separate blank invoice form, which keeps the work, the items you charged and the payments you took all tied to the same bill.
To create an invoice:
- Open the job.
- Click Create Invoice at the top right. If the job already has an invoice, the button says View Invoice and opens that one instead of making a second.
The Collect payment panel opens, and the invoice is created right away with the job's total on it. From the panel you can take a card in person or send the invoice. For more on the panel, see Creating estimates and invoices from jobs.
Adding items to an invoice
An invoice bills the job's items, so you add and change items on the job. The invoice page has the same Items and Payments sections as the job, and editing either one changes both. To add items from your price book, see Adding items from your price book to jobs and estimates.
Opening an invoice
To open an invoice:
- In the menu, click Invoices.
- Click the invoice number.
At the top of the page is a summary card. It shows who the invoice bills and their address, then Total, Due (what's still owed), Invoice date and Due on. If the due date has passed and money is still owed, the card shows in red how overdue it is. Until the invoice goes out for the first time, Not sent shows under the card.
Setting the due date
You don't set the due date yourself. The first time you send the invoice, the due date becomes that day plus the customer's payment terms. If the customer has no terms, it's due the day you send it. Sending it again later doesn't change the date. To set terms, see Setting payment terms for invoices.
Sending an invoice
To send an invoice:
- On the invoice page, click Send invoice.
- At the top of the drawer, pick Via email or Via SMS. If the customer has an email address, the drawer opens on email. If they don't, it opens on SMS.
- Check who it's going to. For email, To holds the customer's email (one address only), and Cc takes up to 5 more. For a text, Send to (phone number) holds their phone, and Also text takes up to 5 more numbers, separated by commas.
- Check the Subject (email only) and the message. Both come from your saved wording, with the customer's name, the amount and the invoice number already in. Anything you type here only changes this send.
- Under Let client pay with:, leave Credit card ticked if you want them to be able to pay by card from the link. If you untick it, they won't see a Pay button.
- Click Send email or Send text.
A View Document link to the customer's portal goes after your message automatically, so you don't need to paste one in.
You can also send from the job. In the Collect payment panel, the Remote — send the invoice section has a Send invoice button that opens the same drawer.
On the web, the Send invoice button on the invoice page is greyed out once nothing is owed.
Sending several invoices at once
To send a batch of invoices:
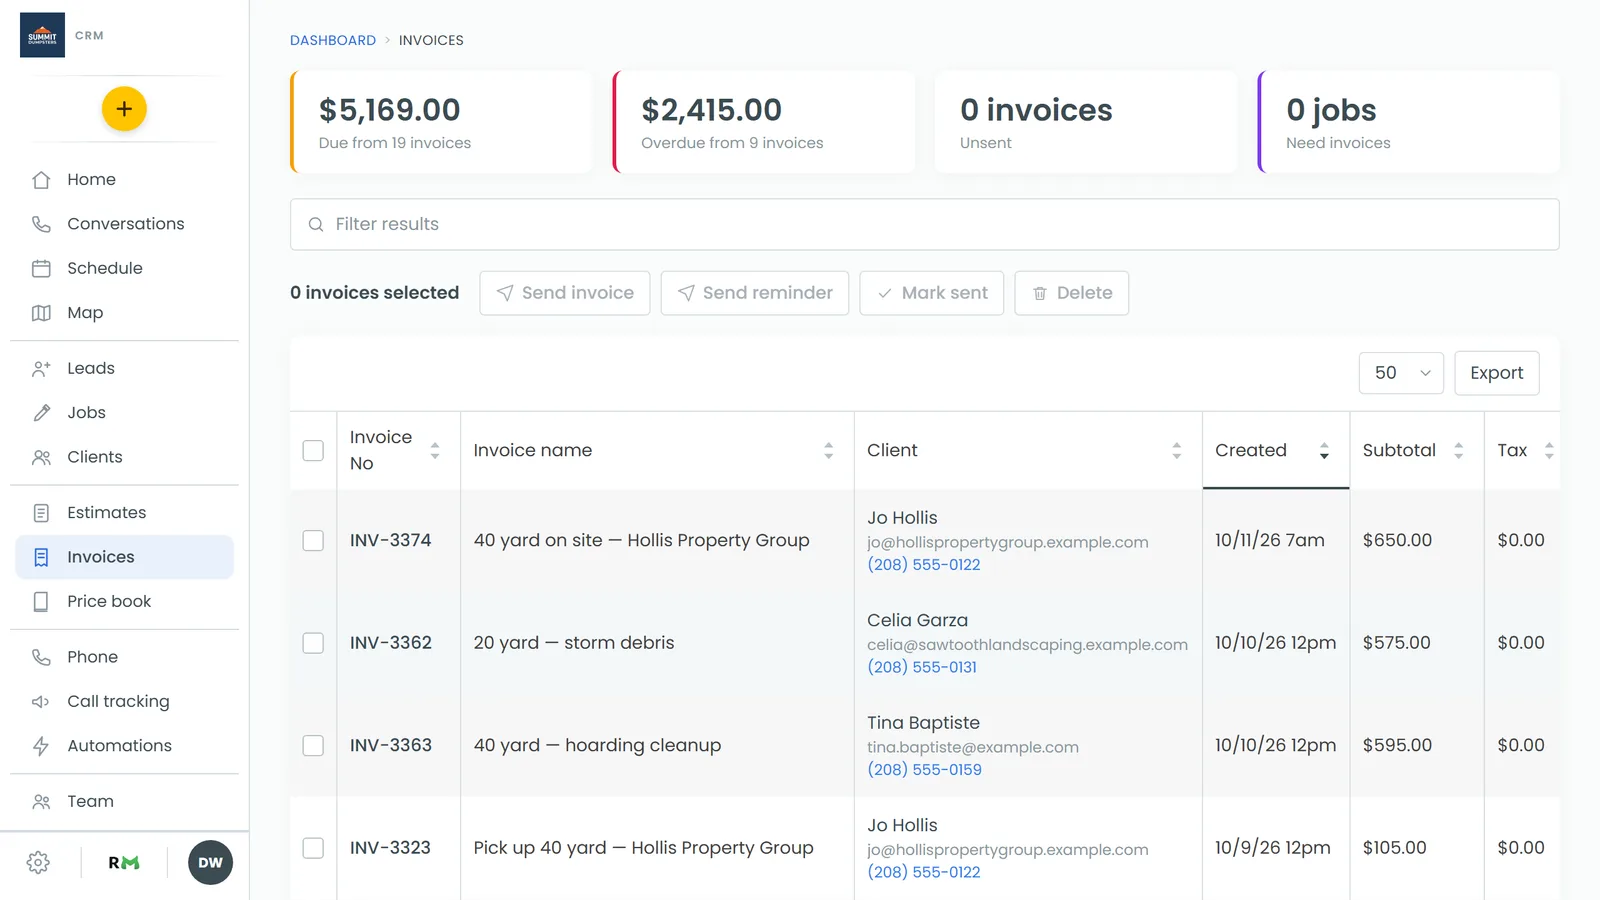
- In the menu, click Invoices.
- Tick the box beside each invoice you want to send.
- In the row above the list, click Send invoice.
Each customer gets your saved wording. A customer with only a phone number gets a text, one with only an email gets an email, and one with both gets both. When it's done, a note at the top of the list says how many went out and lists any that didn't, with the reason.
What your customers see
Your customer gets a text or email with your message and a link that opens straight to that invoice in their portal, where they can view it and pay. For the full picture, see What your customers see when you send an invoice.
After you send:
- Not sent no longer shows on the invoice.
- Under the button, each send gets its own line with the date, the time and how it went out, for example "9/7/2026 2:34pm texted". If you sent to extra people, the line counts them.
- The button and the drawer's heading both change to Send invoice again.
Sending from the phone app
To send an invoice on the app:
- Open Invoices.
- Tap the invoice.
- Tap Send invoice.
- Choose Via email or Via SMS, check the recipient and the message, then tap Send.
The app's form has the same fields as the web, including Cc or Also text, Edit template and the Credit card box. Each send gets its own line under the button there too. For more, see Creating and sending invoices on the phone app.
Related articles
- What your customers see when you send an invoice
- Setting payment terms for invoices
- Managing and tracking invoices
- Creating estimates and invoices from jobs
- How to send estimates and invoices to more than one email address