In this article, you'll learn how to make your company logo bigger or smaller on your estimates, invoices, receipts, work orders and custom documents. It's worth a minute. A logo that's too small looks like an afterthought, and one that's too big pushes the important stuff down the page.
Your company has one saved logo. Every template pulls it in through its LOGO block, so no template keeps its own copy of the picture. Each template does keep its own logo size, though, so you resize it one template at a time.
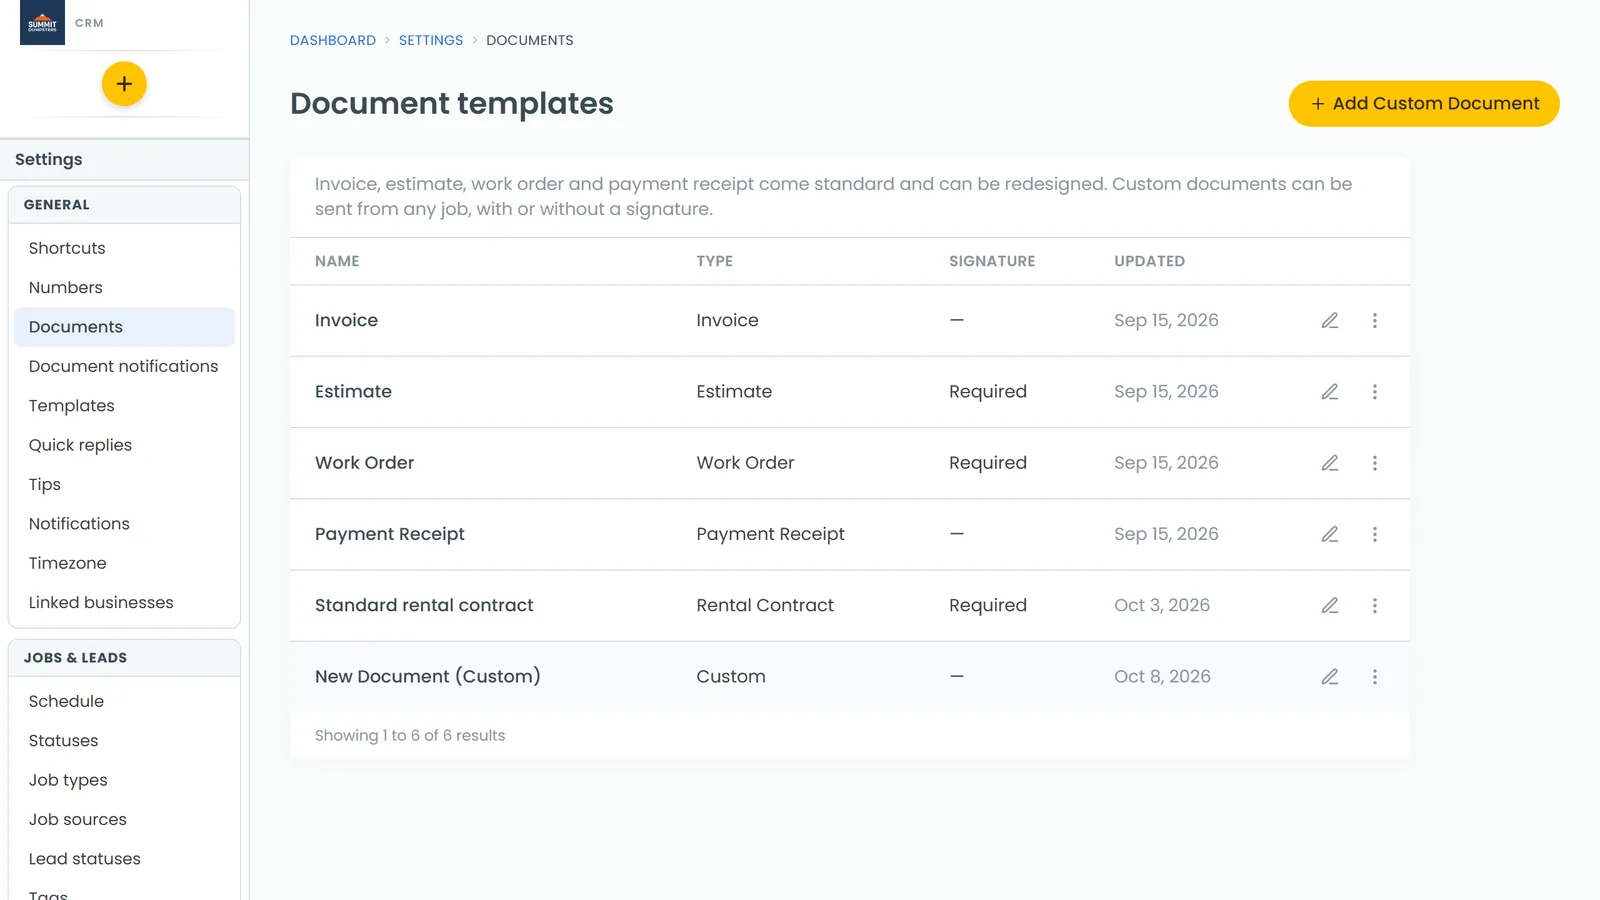
To open your document templates:
- At the bottom of the menu, click the gear (Settings).
- In the list that opens, under General, click Documents.
- Under Document templates, click the name of the template you want to change, or its Edit pencil.
Resize the logo
- In the designer, click the logo on the page. The editing toolbar appears above it, and small square handles show on the logo. If you don't see the handles, click the logo once more.
- Drag a handle to make the logo smaller or bigger.
- Click Preview to see the document filled in with sample details. Close the preview with the ×.
- When you're happy with it, click Save. You'll see Saved next to the buttons.
If it won't get any bigger
Most templates start the logo with a size cap of 140 pixels wide and 140 pixels tall. If dragging won't take it past that, change the cap:
- Click the logo so the toolbar shows.
- Click the source code button (the <> icon). A Source code box opens with the logo's code.
- Find max-width: 140px; max-height: 140px; and change both numbers. Try 200px to start.
- Click Ok, then click Preview to check it.
- Click Save.
Give the logo more or less room
A logo never gets wider than the cell it sits in, so the row it's in matters too:
- In a full-width row, it has the most room.
- In a row split into halves or thirds, it can't get wider than that half or third.
You can't change how an existing row is split. You can add a new row with the split you want and move the logo into it:
- On the right, click the Layout tab and drag the row shape you want onto the page. Drop it on a row and the new row goes in above it. Drop it below the last row and it goes at the bottom.
- Hover over the logo's old cell and click the delete tab in its top-right corner. That clears the cell.
- Click the Tools tab and drag LOGO into an empty cell of the new row. Tools only drop into an empty cell that says Drag Something Here.
- Resize the logo the same way as above, then click Save.
Do the same for your other documents
Each template saves its own logo size, so resizing it on your estimate doesn't change your invoice. Click Back to return to your template list, open the next template, and repeat.