In this article, you'll learn how to build a custom document from a blank page. Every account already has an Invoice, Estimate, Work Order and Payment Receipt template. A custom document is for anything else you send customers, like a service agreement, a waiver or a checklist they sign.
To open your document templates:
- At the bottom of the menu, click the Settings gear.
- Under General, click Documents.
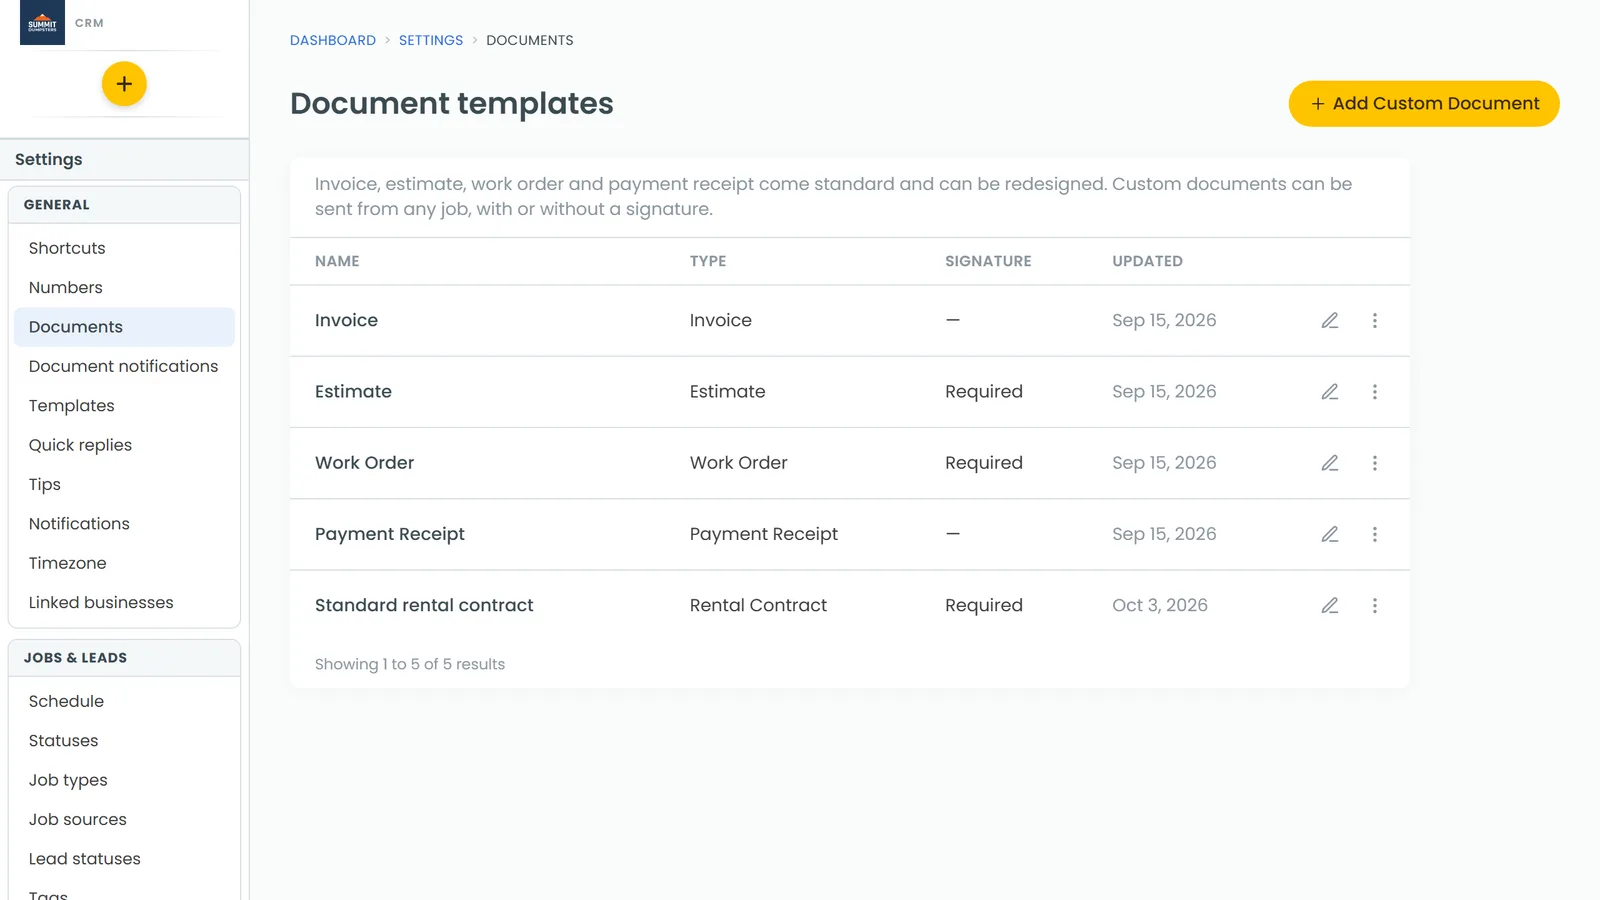
Creating a new custom document
- On the Document templates page, click Add Custom Document.
- The CRM creates a document called New Document and opens it in the designer straight away.
- The page starts empty and says Empty template, start by dragging some layouts.
Naming your document
At the top of the designer there's a Document name box. Click it, delete "New Document" and type the name you want, like "Service Agreement". Your customers see this name in the message that goes with the document, so pick one they'll understand.
Adding layouts
A layout is a row on the page, split into one, two or three columns. There are five to choose from.
- On the right, click the Layout tab.
- Drag a layout onto the page.
- To add more rows, drag another layout below the last row, or onto an existing row to put it above that row.
Hover over a row to see its controls. The trash icon deletes the row, and you can drag the move icon to put the row somewhere else.
Adding content with tools
Each empty column says Drag Something Here. That's where the tools go, one tool per column.
- Click the Tools tab.
- Drag a tool into an empty column. The column says Drop Here when you're over the right spot.
Here's what each tool does:
- TEXT: a block of text you type and format.
- ITEMS LIST: the line items from the job, with prices and totals. Click the brush icon to change its style to Minimal, Stripes, With borders or Dark Titles.
- TABLE: a simple table you can type into.
- LOGO: your company logo. If you haven't added a logo to your account yet, the column tells you where to add one.
- DIVIDER: a line to split up sections.
- IMAGE: click Choose Image to upload a picture from your computer. Click the picture later to replace it.
- SIGNATURE: a box for your customer to sign, with a caption you can edit. Once a document has one, the Signature column on the templates page says Required.
To remove a tool, hover over it and click its trash icon. The brush icon on text, logo and image blocks changes the block's background colour.
Editing text and inserting values
Click into a text, table, logo or signature block and a toolbar appears. Use it for bold, italics, font, size, line height, alignment, colours and undo.
To pull in details the CRM already has, like the customer's name or the job address:
- Click where you want the detail to go.
- In the toolbar, click Insert values.
- Pick a group, such as Client values, Job/invoice values or Account values, then the value you want.
The value shows up in curly brackets while you're designing. When you send the document from a job, it's filled in with that job's real details, and the brackets never reach your customer.
Choosing what your customer sees
Click Settings at the top of the designer to open Document settings. The Subject is used when you send by email. The Message goes with the document by email or text. Under What can my client see?, tick or untick Quantity, Price, Line total, Service items and Product items. Then click Save in that panel.
Previewing and saving
- Click Preview to see the finished page, filled in with sample details. Click the × to close it.
- When you're happy with it, click Save. You'll see Saved next to the buttons.
- Click Back to return to your document templates. Your new document is in the list with (Custom) after its name.
Related articles
- Generating and sending custom documents
- Duplicating document templates
- Customizing estimate, invoice and receipt templates
- Understanding and using insert values in documents and messages
- Resizing your company logo on documents