In this article, you'll learn where your company's settings live, how to set your timezone, and how to reach your own Account page. Settings isn't one long form. It's a list of short pages grouped by topic, so knowing which group to look in saves you a hunt.
Opening Settings
Settings has no home page of its own. It's a list that opens from the gear at the bottom of the left menu.
To open Settings:
- At the bottom of the left menu, click the gear icon (Settings).
- The Settings list slides open above the icons, sorted into groups.
- Click the page you want.
Who can open Settings
Settings is only for people whose role has the Account Settings permission. Admins always have it. If you don't see the gear, your role doesn't have it. Some pages need one more permission on top:
- Team management and Roles & permissions need User Settings.
- Schedule, Statuses, Job types, Job sources, Tags and Job map need Job Settings.
- Lead statuses needs Lead Settings.
- Notifications and Document notifications need Notifications.
A page your role can't open just isn't in the list. To change what a role can do, open Roles & permissions under Users & roles.
What's in each group
- General: your documents and the messages that go with them (Documents, Document notifications, Templates, Quick replies), plus Notifications, your job, estimate and invoice Numbers, Shortcuts, Tips, Timezone and Linked businesses.
- Jobs & leads: how your calendar looks (Schedule), the choices on a job (Statuses, Job types, Job sources, Tags), your Lead statuses, Estimates and Job map.
- Money: Payments, Financing, Bookkeeping and Sales tax.
- Phone & booking: Phone numbers, Blocked callers, OMW and Online booking.
- Data: Import clients.
- Users & roles: Team management and Roles & permissions.
- Account: your own login. More on that below.
Setting your timezone
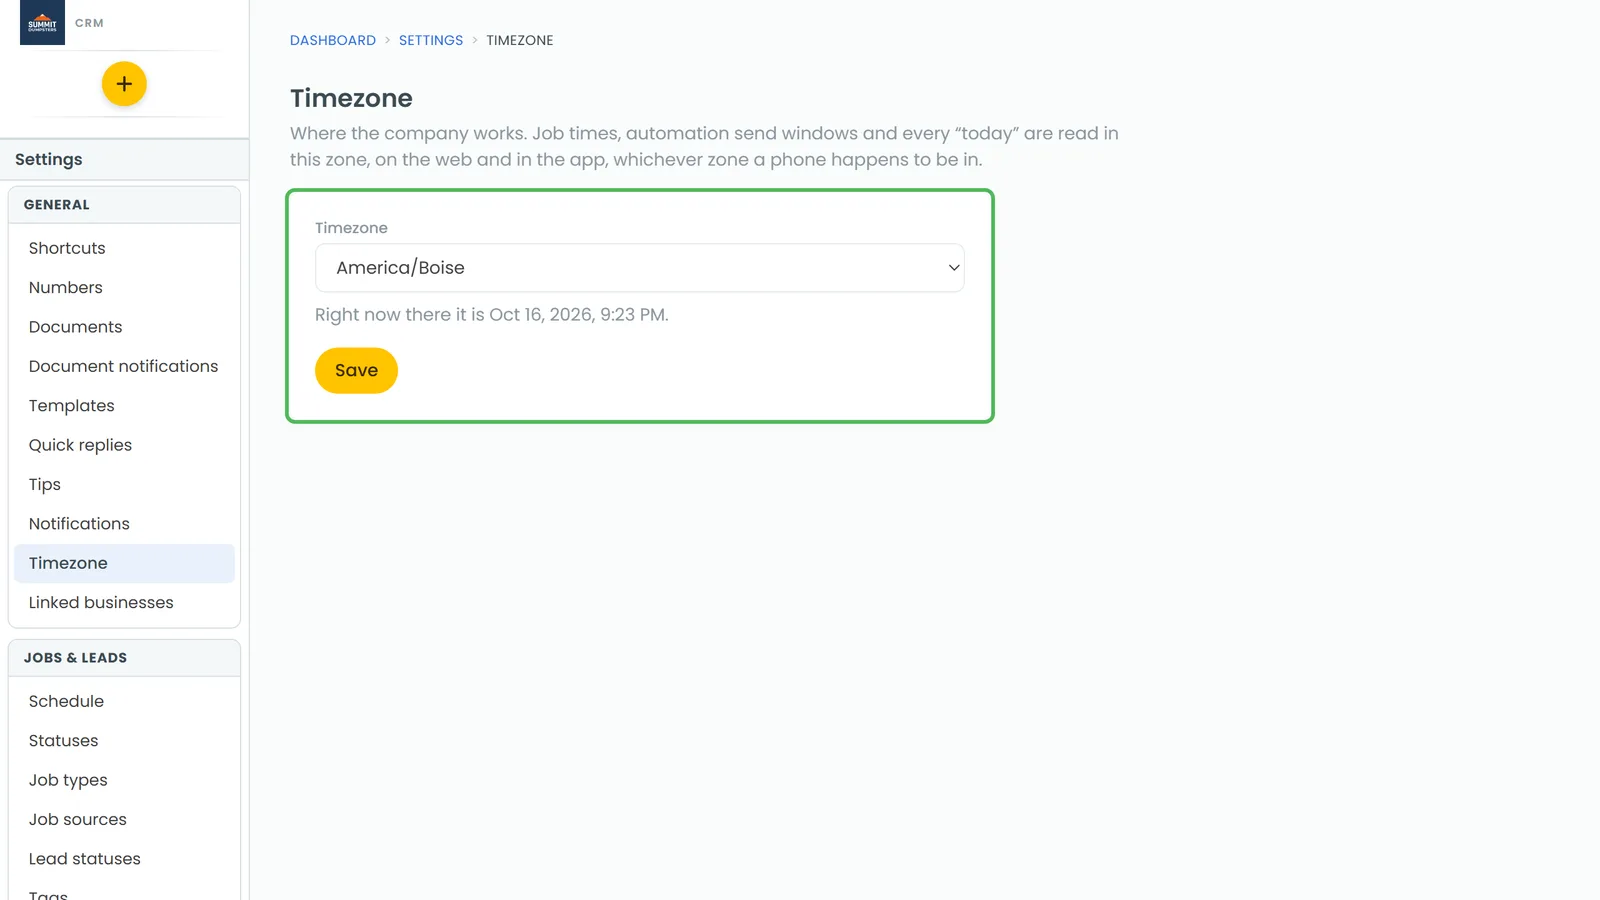
Your timezone decides how job times, automation send windows and "today" are read everywhere in the CRM, on the web and in the app, whatever zone your phone happens to be in.
To change your timezone:
- Open Settings and click Timezone (under General).
- Pick your zone from the Timezone list.
- Click Save. The page says Saved. when it's done.
Under the list, the page shows the current time in the zone that's saved, so you can check it reads right. After you save, that line updates to your new zone.
Your company name, logo and address
Your company name, logo and address come from your company's setup. There's no page in CRM Settings to change them. If one of them needs to change, get in touch with us. See Getting help with the CRM.
Your Account page
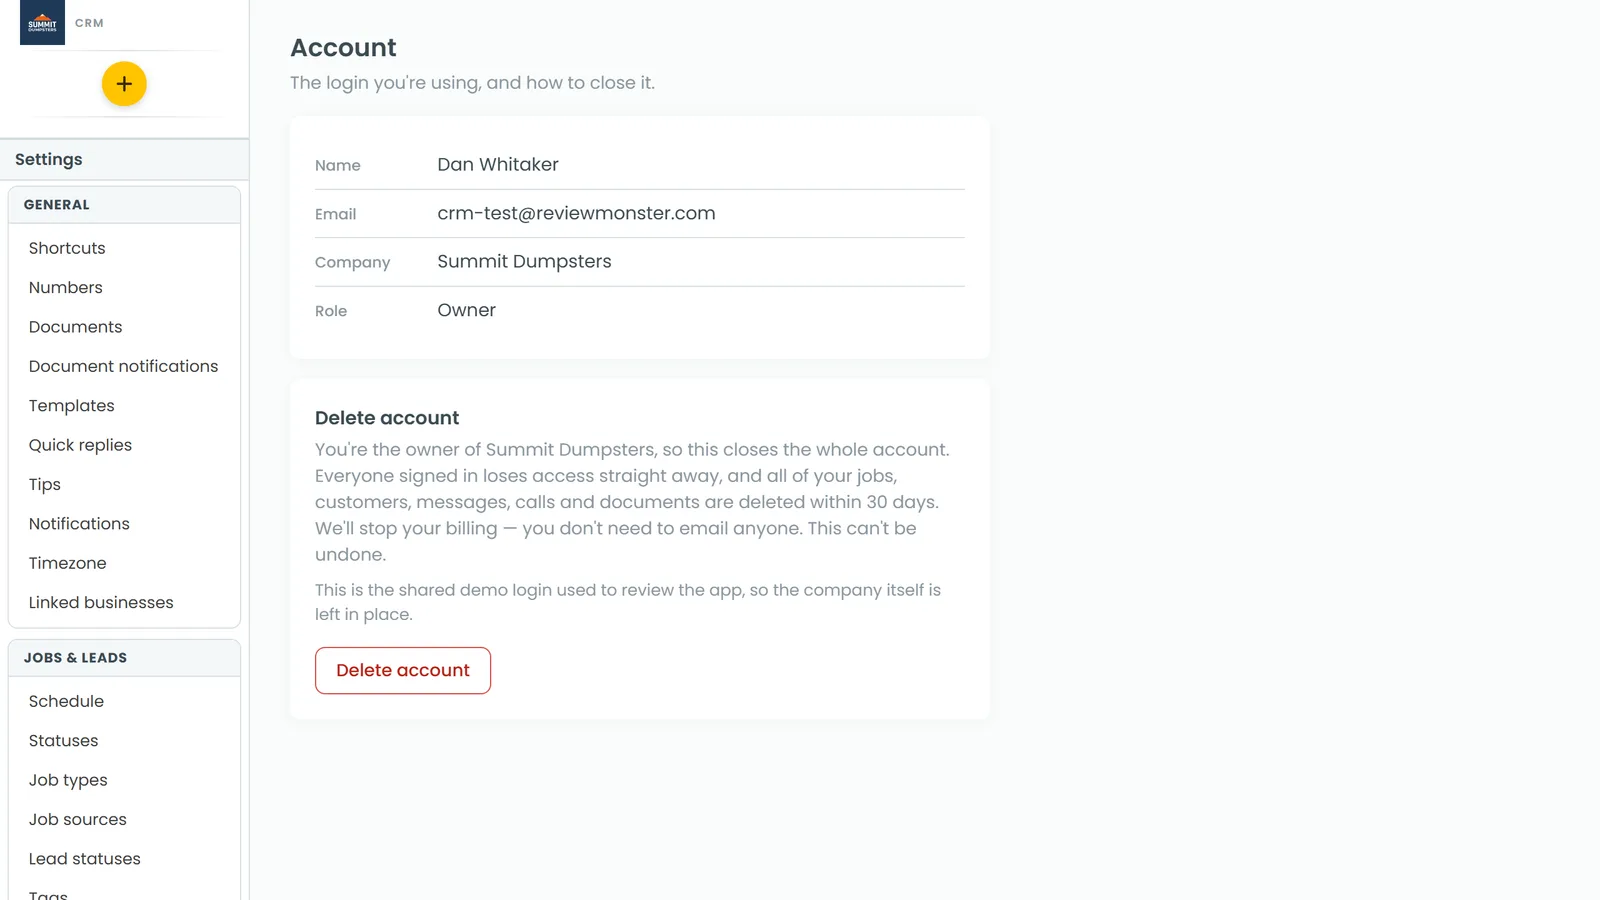
The Account page is the one page everyone can open, whatever their role. It shows the login you're using: Name, Email, Company and Role.
To open your Account page:
- At the bottom of the left menu, click the circle with your initials. On a phone-sized screen, it's at the top right instead.
- Click Account.
If you can open Settings, it's also at the bottom of the Settings list, under Account.
Deleting your login or closing the account
At the bottom of the Account page is Delete account. What it does depends on who you are:
- If you're the owner, it closes the whole company account. Everyone signed in loses access straight away, your jobs, customers, messages, calls and documents are deleted within the number of days the page shows, and your billing stops.
- If you're a team member, it only removes your own login and signs you out everywhere. The work you've done stays with the company. Only the owner can close the company account, from their own login.
To delete your login or close the account:
- On the Account page, click Delete account.
- In Type DELETE to confirm, type DELETE.
- Click Close the account (owner) or Delete my login (team member). If you change your mind, click Cancel instead.
- On the Account deleted screen, click Done to go back to the sign-in page.
Settings on the phone app
In the app, tap the menu button at the top left to open the menu. At the bottom is a row of buttons: the person icon (your Account page), the gear (Settings) and sign out. The gear only shows for people with the Account Settings permission. The Account page is there for everyone, with the same Delete account steps as the web.
Tap the gear to open the Settings list. It's grouped much like the web. The differences:
- Team and Import clients sit together under People & data.
- Call tracking is in the list, under Phone & booking.
- Roles & permissions and Linked businesses are on the web only.
- The Document designer (web) row opens the document designer in your browser.