In this article, you'll learn how to set up the picture that goes out with your review requests, and how to put each customer's first name on it. A photo that says "Thanks Sarah!" gets noticed in a way a plain text doesn't, and it shows the customer the request really comes from you.
To open the review request image:
- In the menu, click Reviews.
- Click Review Request Image.
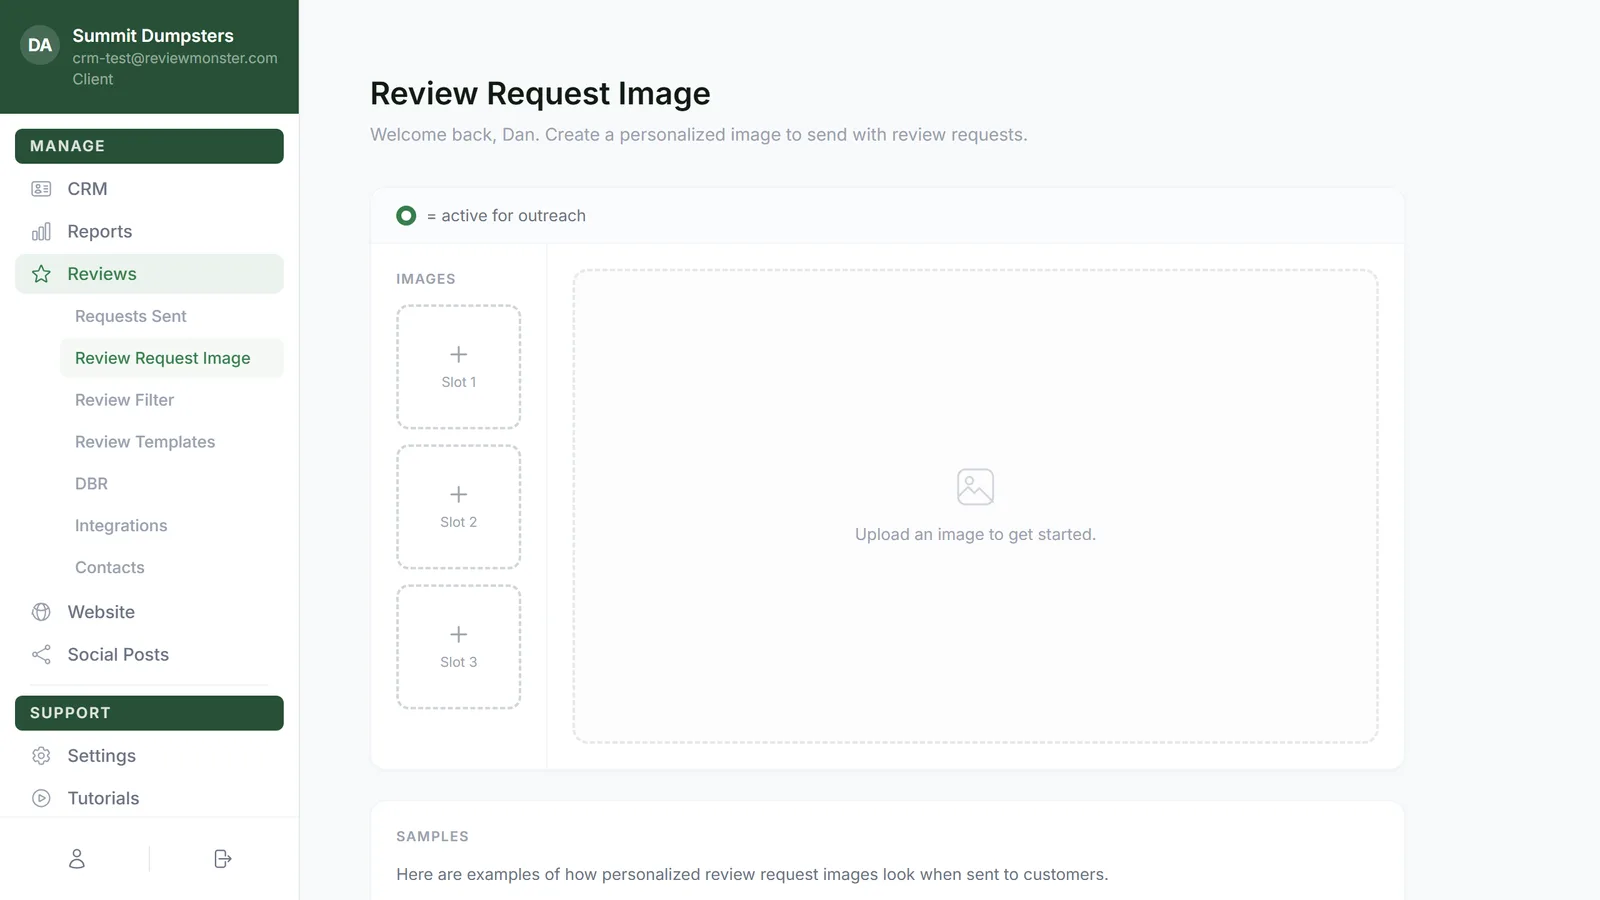
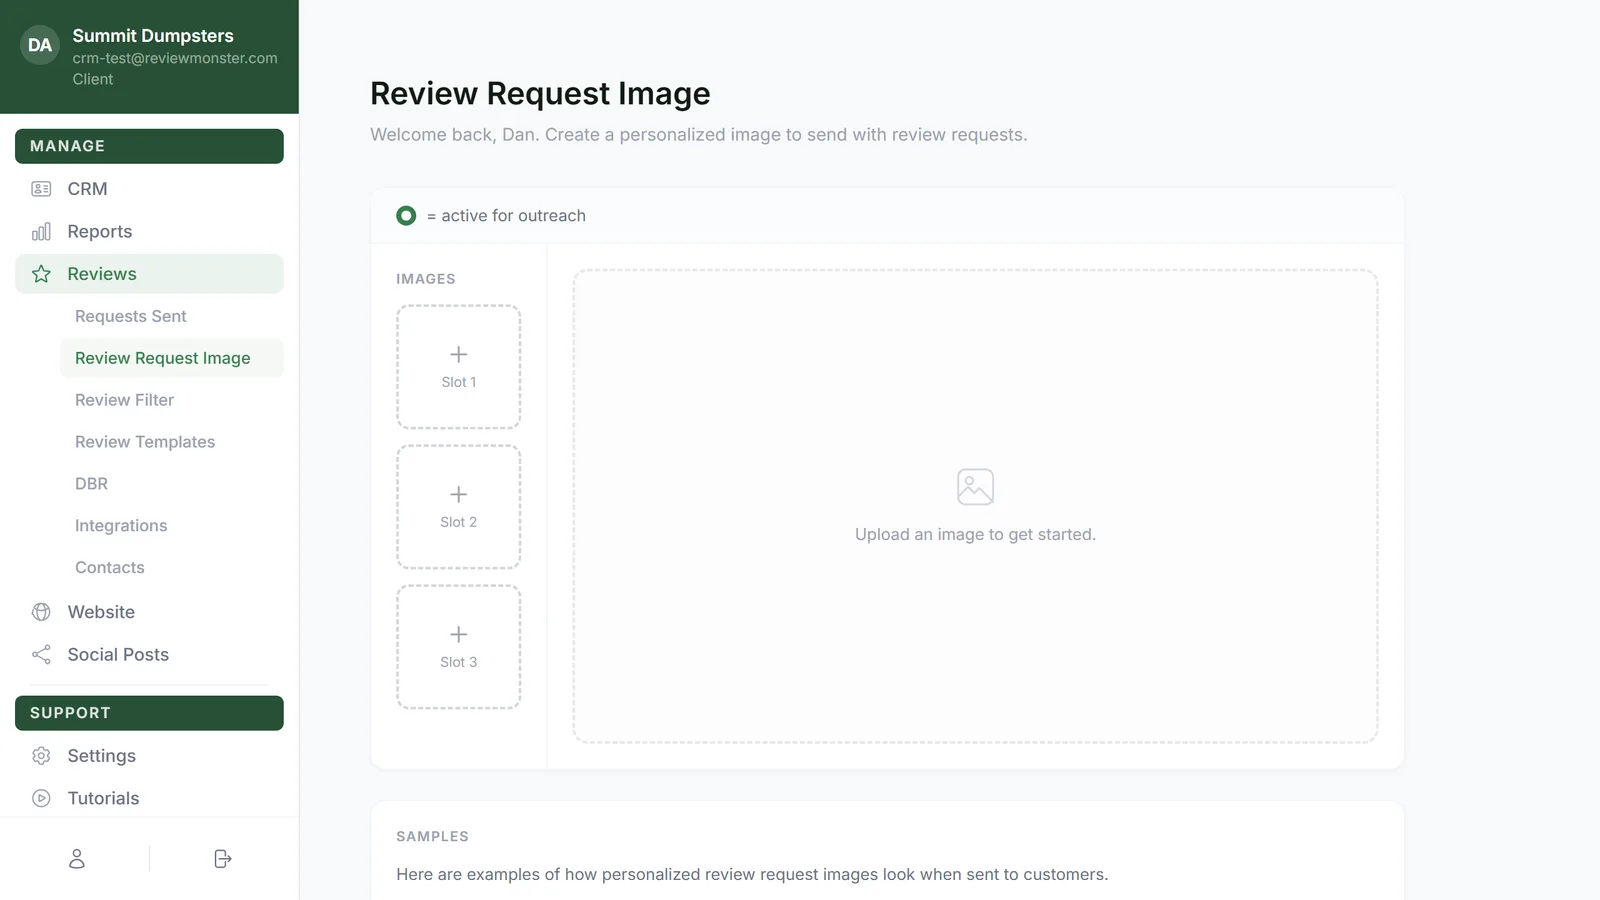
Add your pictures
You get three image slots, so you can keep a few options ready and switch between them. Each empty slot shows a plus sign and its number (Slot 1, Slot 2, Slot 3).
- Click an empty slot to pick a picture from your computer or phone, or drag a picture straight onto the slot. While you drag, the slot says Drop here.
- Wait while the slot shows Uploading.... The picture appears in the slot and in the preview.
Your picture is shrunk to 800 pixels on its longest side before it's saved, so large phone photos are fine. A new picture starts with the text "Thanks {name}!" near the bottom, on a white box.
Choose which picture goes out
The small round button in the top-left corner of each picture marks the one that's active for outreach. That's the picture that goes out with your review requests. A filled green circle means it's the active one.
- Click the round button on the picture you want to use.
That's saved right away. You don't need to click Save.
Clicking the picture itself (not the round button) only opens it in the preview for editing. It doesn't change which one goes out.
Delete a picture
- Click the ✕ in the top-right corner of the picture.
Move and size the text box
The preview shows your text with the name "Christopher" filled in, so you can see how a longer name fits.
- Drag the text to wherever you want it on the picture.
- On a computer, hover over the box behind the text and drag one of its corner dots to make it wider or taller.
On a phone you can drag the text, but you can't use the corners. Use the Width and Height sliders in the Background card instead.
If the box gets too narrow for a long name, it turns red-striped and a warning shows: Background is too narrow for longer names. Widen the box, or make the text smaller, until the warning goes away.
Write the text
Under Text Content there are two lines:
- Row 1: the first line, for example "Thanks {name}!"
- Row 2 (optional): a second line, for example "Thanks for choosing us"
{name} is swapped for each customer's first name. It has to be in one of the two rows, and the page won't let you delete the last {name}.
Style the box and the text
The Background card controls the box behind the text:
- Width and Height
- Color: type a color code or click one of the swatches
- Opacity: lower it to let more of the photo show through
- Corners: from Sharp to Pill
The Typography card controls the words:
- Font: Arial, Inter, Georgia, Times New Roman or Courier New
- Row 1 Size and Row 2 Size, set separately (Row 2 Size only works once you've written a second row)
- Color
- Style: B for bold, I for italic, Shadow, and left, center or right alignment
Save your changes
- Click Save. There's a Save button under the preview and on each card, and they all do the same thing.
- Look for Saved next to the button.
Save saves the picture you're editing right now. If you change the text on more than one picture, save each one before you switch to the next.
See some examples
At the bottom of the page, the Samples section scrolls through example images from a few kinds of businesses, with names typing in and out. Use them for ideas on where to put your text and how to style it.
Related articles
- How review requests work
- Editing your review request texts and emails
- Reviews menu overview
- Seeing the review requests you've sent
- Asking customers for reviews