In this article, you'll learn three ways to add job photos to your daily-post library straight from your phone. Each day one photo from that library becomes a post on your Google Business Profile. The best photos are usually the ones you take on the job, so it helps to be able to add them while you're still there.
All three ways put photos in the same library, and your daily posts draw from it. Use whichever one is easiest at the time.
Option 1: The Photos screen in the phone app
To open Photos in the app:
- Open the menu.
- Tap Photos.
At the top of the screen is a short note explaining that these photos feed your daily Google Business Profile posts. Under it are two icon buttons: a camera on the left and a gallery on the right.
Take a photo
- Tap the camera button.
- If the app asks, allow camera access.
- Take the photo. It starts uploading as soon as you confirm it.
Pick photos you've already taken
- Tap the gallery button.
- If the app asks, allow access to your photos.
- Pick up to 10 photos and confirm.
You don't need to shrink anything first. The photos are resized automatically, so full-size photos are fine.
If a photo still won't go after a few tries, a yellow bar at the top of the screen says how many didn't upload. Tap Retry to send them again, or Discard to give up on them.
Your photo library
Under the buttons is Your photo library. Next to the title is a count, for example "24 photos · 9 ready to post". Ready to post means the photo hasn't been used yet. Any photo that's already gone out as a post has a small posted label in the corner.
Pull down on the screen to refresh the library.
Delete photos
To delete one photo:
- Tap the X in the corner of the photo.
- Tap Delete to confirm.
To delete several at once:
- Tap Select.
- Tap each photo you want to remove. A check mark shows on each one.
- Tap Delete in the bar at the bottom, then confirm.
Tap Cancel to leave Select without deleting anything.
Option 2: The Media Upload page in your phone's browser
You can also sign in to your dashboard in your phone's browser.
To open Media Upload:
- In the dashboard menu, tap Social Posts.
- Tap Media Upload.
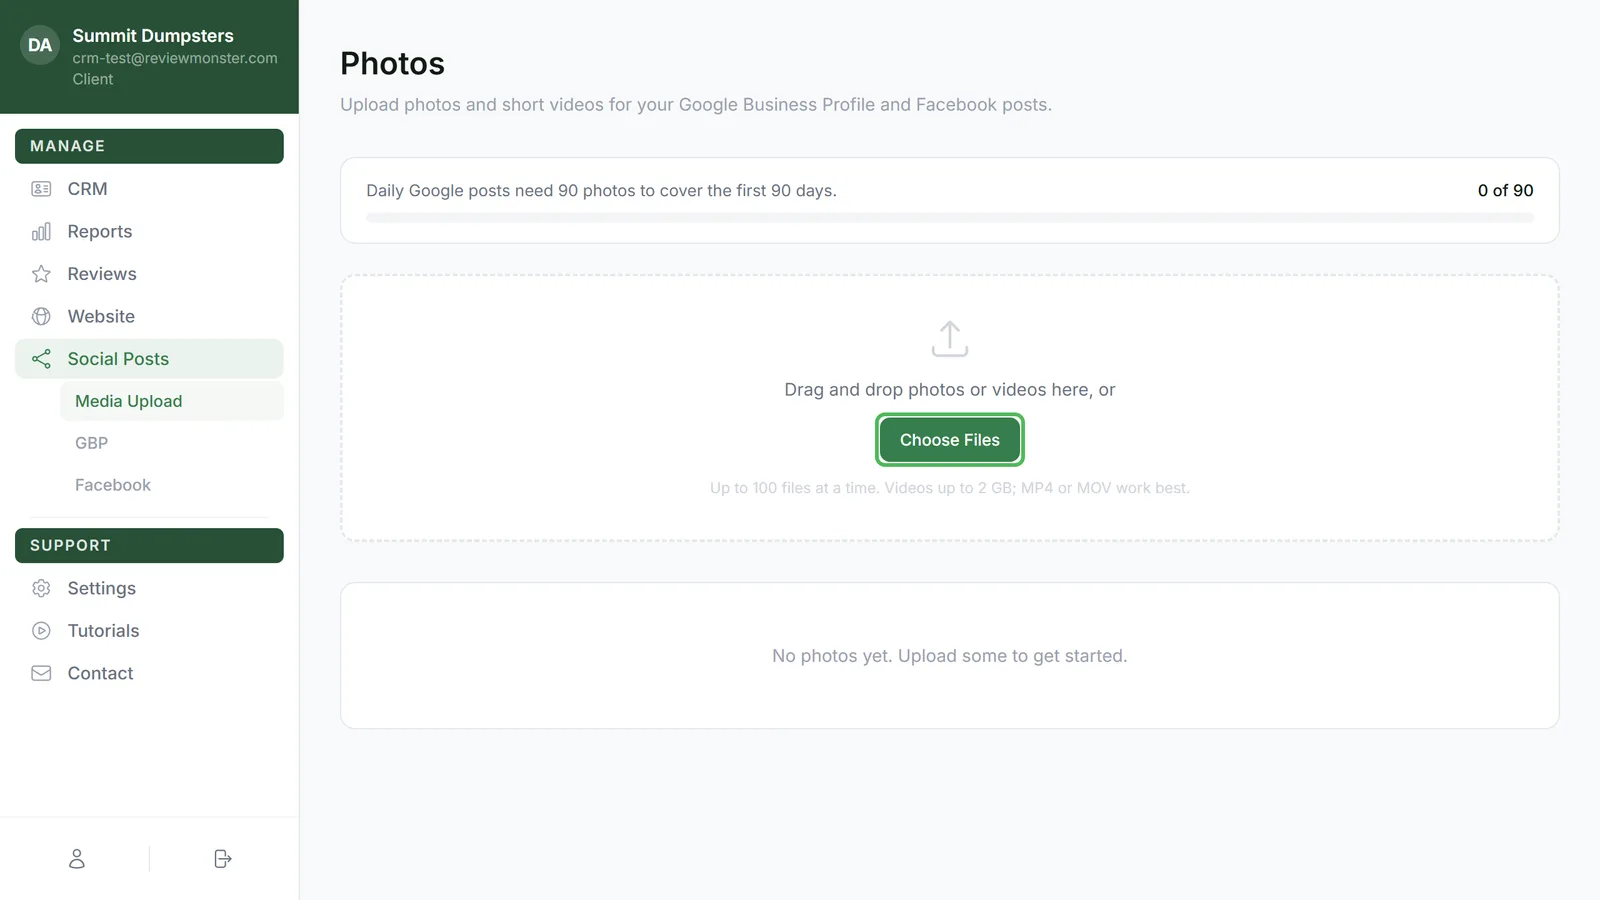
- Tap Take Photo to open your phone's camera, or Choose Files to pick photos or videos you've already taken.
- Keep the page open until your uploads finish.
The Take Photo button only appears on a phone-sized screen. On a computer you'll just see Choose Files, and you can drag files onto the page too. For more on this page, see Uploading photos and videos for your posts and website.
Option 3: The link in our text
When your library is down to its last few unused photos, we'll text you (sometimes we email instead). The message says how many photos are left and includes a link. Tap the link and an Add photos page opens. You don't need to sign in.
- Tap Take a photo to use your camera, or Choose photos or videos to pick from your phone.
- Keep the screen open while they send. Each file shows Sending… and then Added.
- When you see that everything uploaded, it's safe to close the page.
If any photos fail, the page says how many didn't make it. Tap the Retry button while you're still there, because this page doesn't keep trying on its own once it's closed.