In this article, you'll learn how to create a lead on the web and on the phone app. A lead is work that might happen: someone called about a cleanout, wants a quote, or doesn't know when they need you yet. Saving it as a lead keeps it written down without putting a job on your calendar that may never happen.
To open the Leads page:
- In the menu, click Leads.
Creating a lead on the web
- On the Leads page, click Add New.
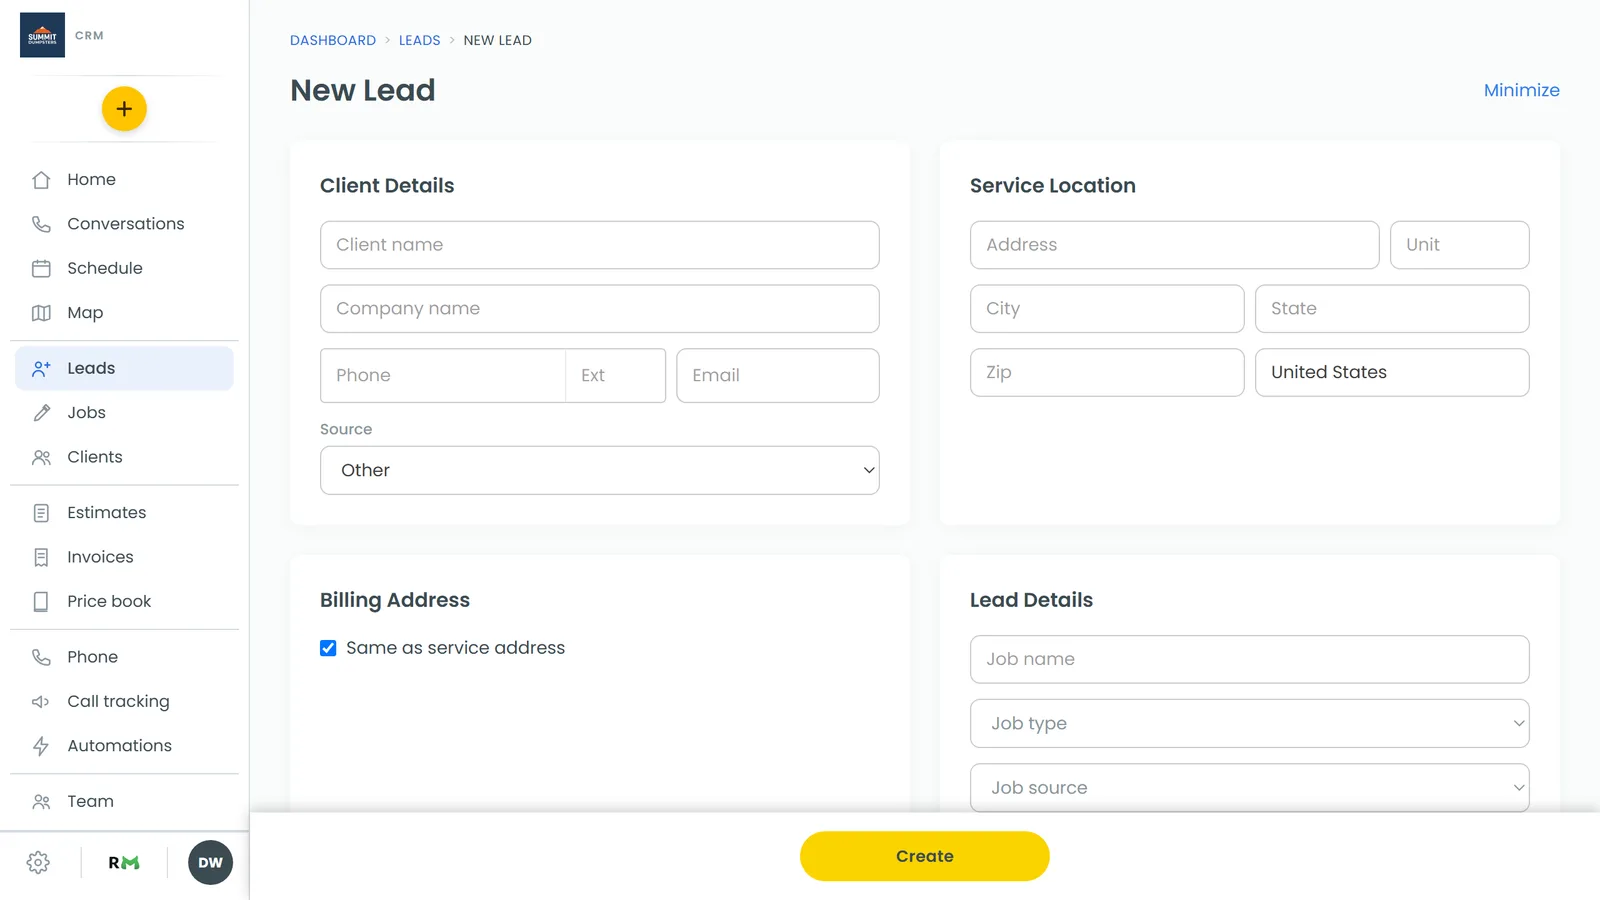
- The New Lead form opens, laid out as cards. Minimize at the top right takes you back to the list without saving.
Client Details
- Start typing the customer's name in Client name. After two letters, the CRM searches your clients. If they've worked with you before, pick them from the list so you don't end up with a duplicate. Their details fill in, and their address too if you haven't typed one yet.
- New customer? Keep typing, or click + Add new at the top of the list.
- Fill in or check Company name, Phone, Ext and Email.
- For a new customer you'll also see a Source drop-down. Pick where they came from. It stays on Other if you leave it alone.
A lead needs at least a name, a phone number, an email or a company. Everything else can wait.
Service Location
- Start typing the street address and pick the right suggestion. City, state and zip fill in by themselves.
- Add a Unit if there is one. Every field stays editable, so you can type an address the suggestions don't know.
Billing Address
Same as service address is ticked to start. Untick it if the bill goes somewhere else, then enter that address.
Lead Details
Add a Job name, pick a Job type and a Job source, and write a Job description of what they need. The description is saved as the lead's notes.
Scheduled
Schedule it now? starts on No, because most leads don't have a time yet. If you've already agreed on a visit, say an on-site quote, click Yes and set Starts, Ends and their At times, or tick All-day event. You can also pick who's going under Assign team members.
Saving the lead
Click Create on the bar at the bottom of the screen. The bar stays put as you scroll, so it's always in reach.
You land back on the Leads page with the new lead in the list, sitting in the first stage of your pipeline. A lead doesn't have a page of its own. Click it in the list and it opens in a side panel, where you can move it to a stage, click Edit details, Convert to job or Mark lost.
Starting a lead from the + button
- In the sidebar, click the yellow +.
- Click New lead.
Do this while you're on a client's page and the form opens with that client already filled in. On a desktop, the client's page also has its own yellow Create new button, where Lead does the same thing.
Creating a lead on the phone app
The app has two ways in.
The quick way, from the Leads screen
- Open the menu and tap Leads.
- Tap Add New.
- In the New lead sheet, fill in Name, Phone, Email and Notes (what they need). The button only wakes up once you've entered at least one of the first three.
- Tap Create lead.
The quick sheet has no address, job type or schedule, so the lead is saved without a visit time. You can add the address later from the web: open the lead and click Edit details.
The full form, from the +
- Tap the + on the bar at the bottom.
- Tap New lead.
- Fill in Client Details (Client name, Company name, Phone, Ext, Email) and Service Location (Address, Unit, City, State, Zip, Country). The app doesn't search your clients as you type here, and the address has no suggestions, so type it in full.
- Under Lead Details, add a Job name, pick a Job type and Job source, answer Where did they come from? under Source, and write a Job description.
- Under Scheduled, set Starts and Ends with their At times, or tick All-day event.
- Tap Create.
There's no Yes / No switch on the app's form, so a lead made this way always has a visit time. Starting it from a client's page fills their details in for you. Either way you're taken back to the Leads screen.
Leads that come in on their own
You don't have to type every lead. Forms on your website can create leads in the CRM by themselves. See Getting new leads into the CRM automatically.