In this article, you'll learn how enquiries from your website get into the CRM without anyone typing them in, how to put a form on a website Review Monster didn't build, how the CRM works out where each lead came from, and how to choose who hears about them. Every website lead ends up in the same places as the rest of your customers: Leads, Conversations and the customer's own page.
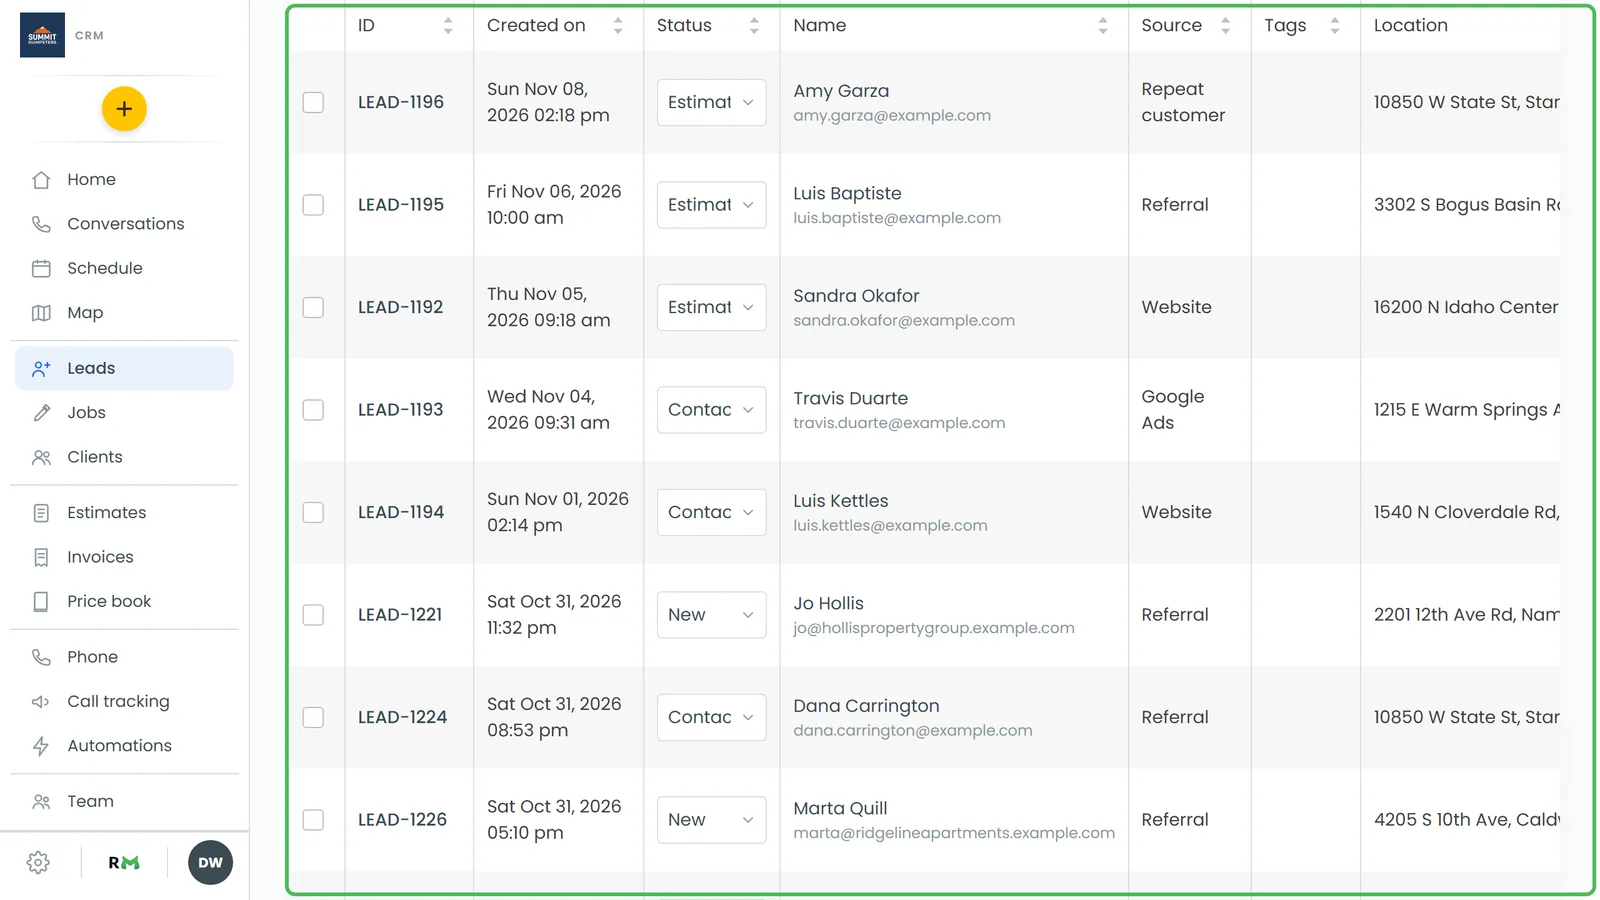
To see your new leads:
- In the menu, click Leads.
- New leads are in the list. The Source column shows where each one came from.
- Click a row to open the lead. From there you can move it to another stage, click Edit details, click Convert to job or click Mark lost.
If Review Monster built your website
You don't build a form or paste any code. Every website Review Monster builds and hosts for you, including your microsites, already sends its forms to your CRM. Each of these creates a lead by itself:
- Quote form. Name and phone first. Clicking Get Quote opens email, a message, up to ten photos and a box to agree to texts, and the button becomes Send Quote Request.
- Contact form. Name, a phone number or email address, and a message under How can we help?
- Chat widget. When a visitor leaves their details in the chat. The widget isn't on microsites.
- Online booking. If bookings go straight on the calendar, the booking becomes a scheduled job. If they need your approval first, it comes in as a lead with the requested time in its notes. See How to create jobs and leads from booking requests.
A new lead starts in your first lead status.
Putting a form on a website we didn't build
If someone else runs your website, you can still send its enquiries straight into the CRM. The CRM gives you a contact form and an online booking form as a short piece of code to paste onto any page. This page is on the web only.
To get the code:
- In the menu, click the Settings gear, then under Phone & booking click Website forms.
- Pick a Button color so the form matches your site.
- Under Contact form, click Copy. Click Open preview to see the form first.
- Paste the code into your website where you want the form, the same way you'd add a video. Whoever looks after your site can do it in a couple of minutes.
The form asks for a name, phone, email and a message. Each one becomes a lead in your CRM and you get an alert, just like a form on a site we built. Its Source shows as Website.
What lands in the CRM
When a form comes in, the CRM:
- Creates the lead with the visitor's name, phone, email and message. Photo links go in the notes.
- Matches or creates the customer. It looks for the phone number first, then the email, so a returning customer stays on one record.
- Starts a conversation. What they wrote shows in Conversations as a message from them, with their photos as pictures, so you can reply right there. See Conversations overview.
- Tells the office. An email and a text go out with the details. The text comes from your own CRM number, and quote form photos arrive in it as pictures, five to a text.
- Answers the visitor with whatever you set up on your Lead Responder page. See Setting up auto-replies for website leads.
If the same person sends the same form twice within five minutes, you get one lead, not two.
How Source and Channel get filled in
You don't pick these for website leads. The CRM works them out from the visit and saves them on the customer the first time they reach out.
Source is where they came from:
- Google Ads if they clicked one of your Google ads or came in through an ad landing page.
- Microsite if they used one of your microsites, whatever sent them there.
- Facebook if the link they clicked carried Facebook's tracking tag, which links from Facebook and Instagram usually do.
- AI search if an AI assistant like ChatGPT or Perplexity sent them.
- A link with a tracking tag (utm_source) names its own source. A mailer link tagged "spring-mailer" shows as "Spring Mailer."
- Website for everything else on your main site. That includes people who found you on a Google or Bing search, followed a link from another site, or typed in your address.
Channel is how they reached out: quote form, contact form, chat or booking.
The Source stays on that customer for good, so reports can credit their later jobs and payments to where they first came from. If it's wrong (say a friend sent them), change it by hand on the customer's page. See Tracking where your customers come from.
Choosing who hears about new leads
Who gets texted and emailed is a company-wide setting. Only an admin, or someone whose role allows notification changes, can edit it.
To change who's told about new leads:
- In the menu, click the Settings gear, then under General click Notifications.
- Find the New lead row under Leads & booking.
- Tick Text, Email or both. Both are on to start with.
- To choose who gets them, click the Text or Email column heading. Type a number or address, click Add, then click Save.
While a list is empty, the texts or emails go to the account owner. The same two lists are used for every alert in the CRM, not just leads, and you can hold up to ten entries in each. A number that can't take texts, like a landline, is skipped when the alert goes out. On the free plan there's no Text column, only Email.
On the phone app, the same lists are under Settings, then Notifications, in the card called Who gets the texts and emails. Each row there has Text and Email chips instead of tick boxes.