In this article, you'll learn how to create a lead from the phone app. It's for the moment a call, a text or a chat in the driveway turns into "can you come take a look?" You can get it written down, and on the calendar, before you forget.
What is a lead?
A lead is a possible job, not a possible customer. The same customer can have several. If the work never happens, the lead stays a lead and never counts as a canceled job. Not sure which you need? See Understanding clients vs leads.
Three ways to start a lead
To start a lead from the + button:
- Go to Home, Conversations, Schedule or Contacts on the bar at the bottom of the screen.
- Tap the yellow + at the right end of the bar.
- Tap New lead.
To start a lead for a customer you already have:
- Tap Contacts and open the customer.
- Tap the + at the right end of the dark bar at the top, next to their name.
- Tap New lead.
The form opens with their name, company, phone, extension, email and main address already filled in, and the lead saves to that exact customer.
To jot down a quick lead from the Leads page:
- Tap the menu icon at the top left, then Leads.
- Tap Add New.
- In the New lead sheet, fill in Name, Phone, Email and Notes. You need at least one of the first three.
- Tap Create lead.
This short form skips the address and the schedule, so the lead sits in your list without a date. Use the full form below when you want it on the calendar.
Fill in the New Lead form
The full form is split into four cards. A lead needs at least a client name, a company name, a phone number or an email. Everything else is optional, including the address.
Client Details
- Enter the Client name.
- Add a Company name if they have one.
- Enter the Phone number. The Ext box sits on the right of the same field.
- Add their Email.
Service Location
- Enter the Address and Unit.
- Fill in City, State and Zip.
- Country starts as United States. Change it if you need to.
Lead Details
- Give the lead a Job name if you use job names.
- Tap Job type and pick one from your list.
- Tap Job source and pick where the work came from.
- For a brand-new contact you'll also see Where did they come from? with a Source dropdown. It starts on Other. This doesn't show when you started from a customer's page.
- Add a Job description with anything worth remembering about the work.
Scheduled
The full form always puts the lead on the schedule. There's no switch to leave it undated.
- Pick the start date under Starts, then the time under At.
- Pick the end date under Ends, then the time under At.
- Tick All-day event instead if you don't want set times. The card then shows Open hours that day with your hours for that date.
The date starts on today, and the time on your business's opening hour for that day, from your schedule settings. On a day you're closed it starts at 8:00 AM. The visit runs two hours. Change the start time and the end time moves with it. Dates run four months out, and times are in 15-minute steps.
Save the lead
- Tap Create in the yellow button on the white bar at the bottom. It stays put however far down you scroll, and reads Creating… while it saves.
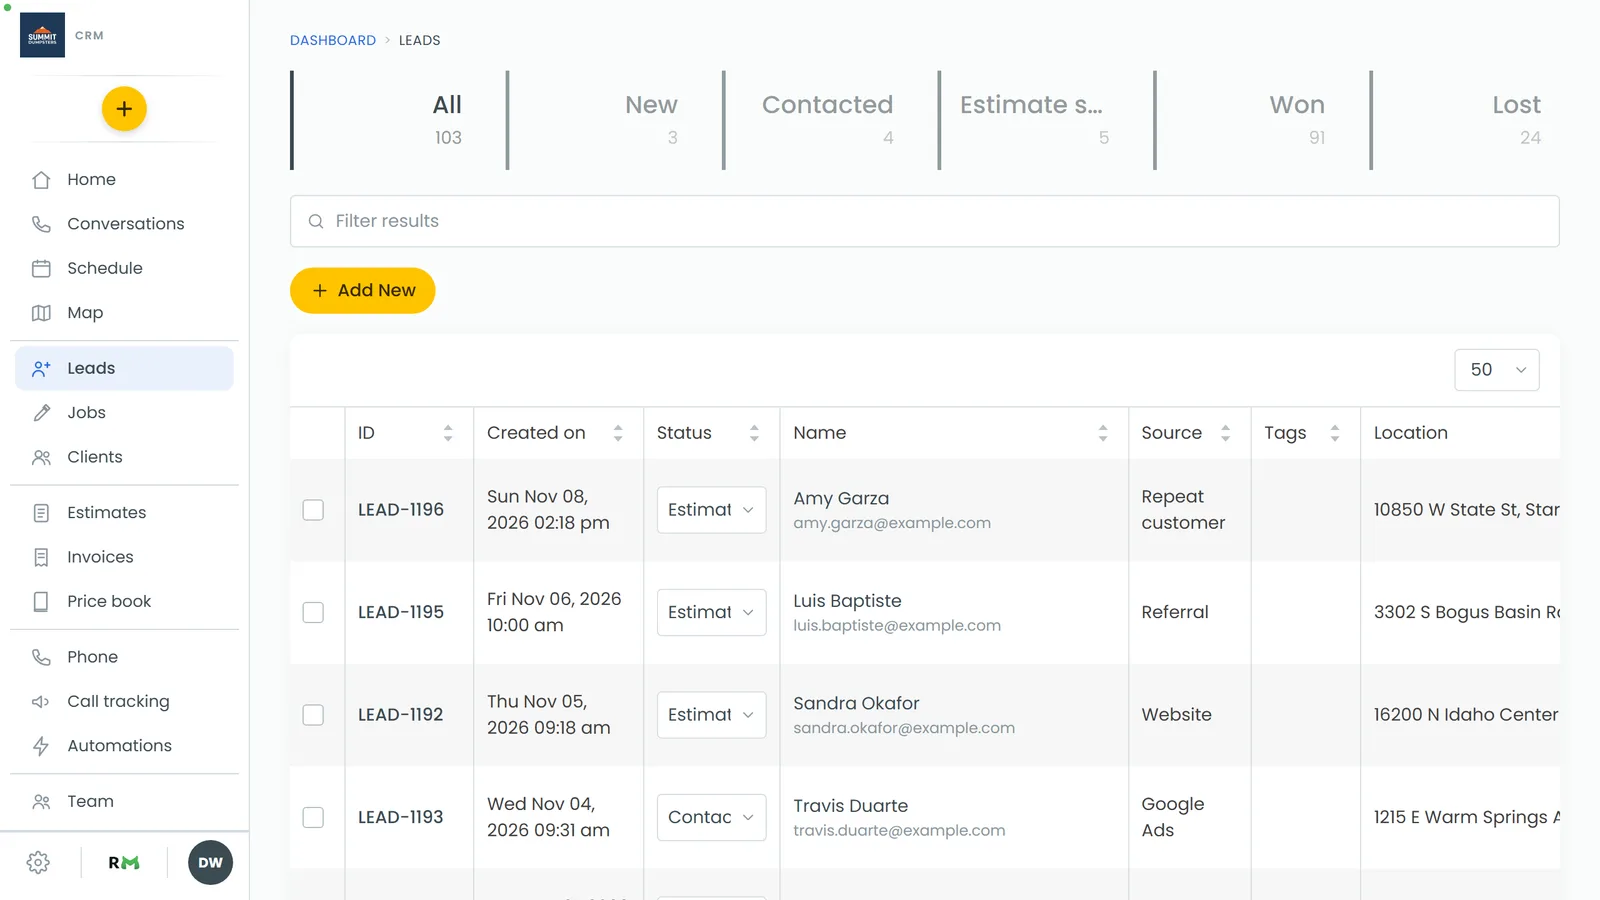
- You land back on your Leads list. Look for the new LEAD number there. A new lead has no page of its own on the app.
The lead starts in the first stage of your pipeline. Since it has a date, it's already marked as scheduled. A New lead notification goes out to your team's phones, and tapping it opens the lead on the Leads list.
If something's wrong, you'll see a Couldn't create lead message telling you what to fix. The usual one is a lead with no name, phone or email.
When the customer says yes, tap the lead in the list and choose Convert to job. See Converting a lead into a job.