In this article, you'll learn what each estimate status means, which ones change on their own, and how to change a status by hand when a customer says yes over the phone or a quote goes cold.
To open your estimates:
- In the menu, click Estimates.
- Click an estimate number to open it.
On the phone app, open the menu, tap Estimates, then tap the estimate's row.
Estimate statuses
An estimate is always in one of seven statuses:
- Unsent: created but not sent to the customer yet. Every new estimate starts here.
- Pending: sent, and you're waiting on an answer.
- Approved: the customer said yes, or you marked it approved yourself.
- Approved - Pending Deposit: the customer approved, but the deposit you asked for hasn't been paid yet.
- Declined: the customer said no. If they typed a reason, it shows on the estimate.
- Won: approved, signed and paid. The CRM sets this one. You can't pick it.
- Archived: a status you pick by hand to park an estimate you no longer want in your working list.
The six tiles at the top of the Estimates page count your estimates by status and add up what each group is worth.
Which statuses change on their own
Most of the time you won't touch the status at all:
- Sending an Unsent estimate by text or email moves it to Pending. Sending it again later leaves the status alone.
- When the customer approves and signs from the link you sent, the estimate goes straight to Won if no deposit is owed. If you asked for a deposit, it goes to Approved - Pending Deposit, then to Won once that deposit is paid.
- When the customer declines, it goes to Declined, and the reason they gave is saved with it.
- Turning an estimate into a job with Actions then Copy to job doesn't change its status.
Your team gets a notification when a customer approves or declines.
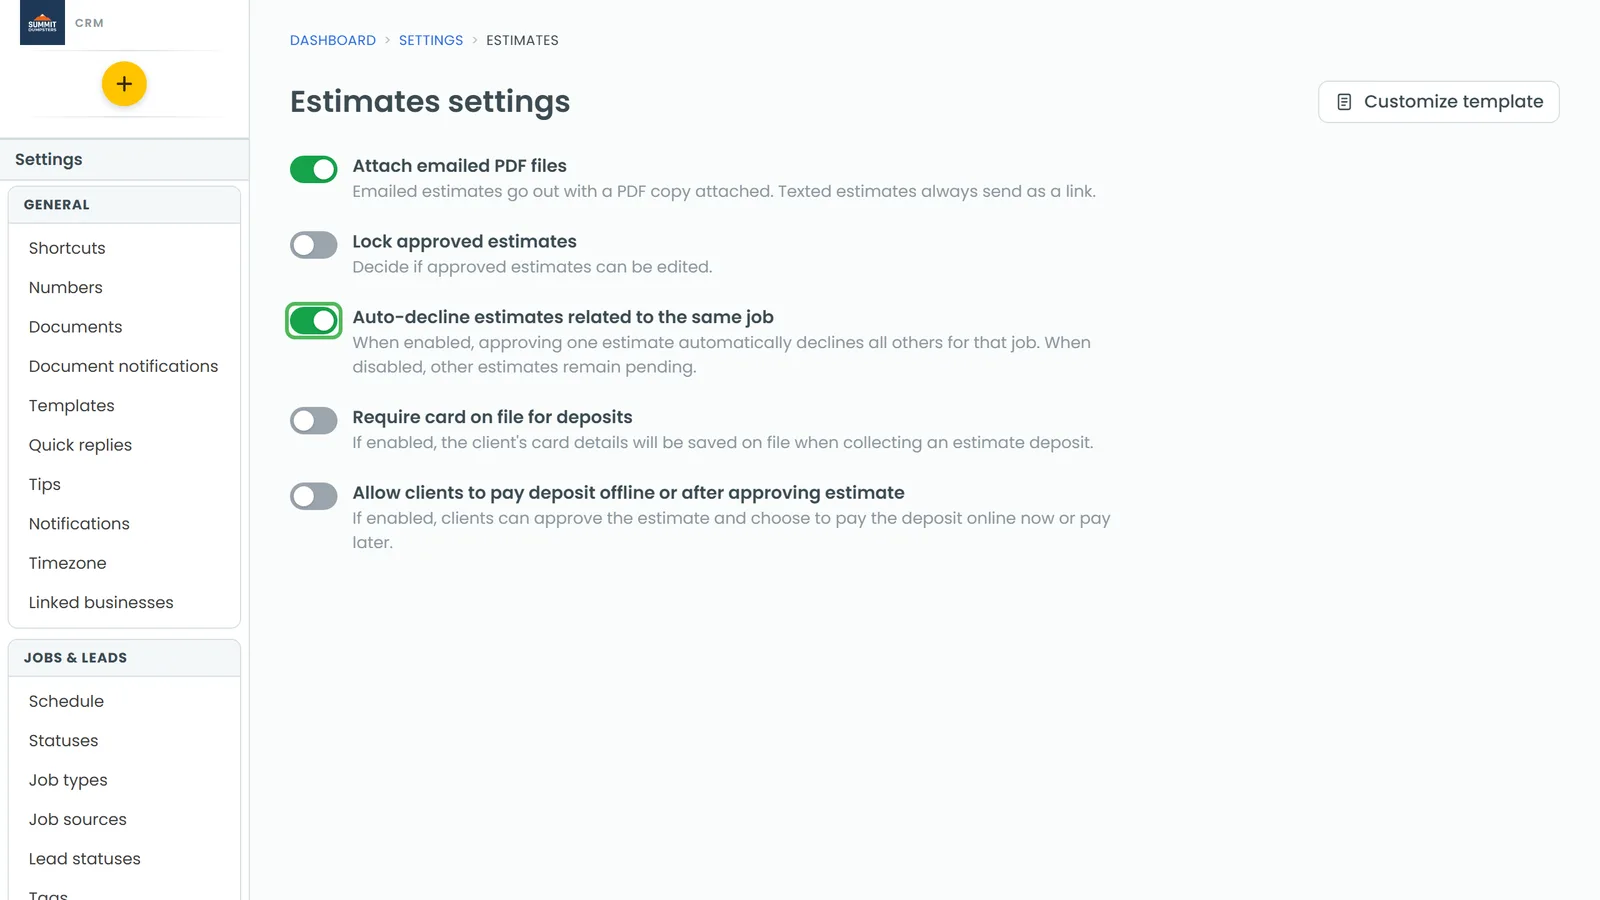
Note: With Auto-decline estimates related to the same job switched on (it's on by default), approving one estimate declines every other Unsent or Pending estimate on the same job or lead. Each one gets a reason saying which estimate was approved. The switch lives under Settings then Estimates, or through the Estimates settings link above the list.
Changing a status by hand
On the estimate page
- Open the estimate.
- Next to Status, pick the new status from the dropdown. It saves straight away.
From the Estimates list
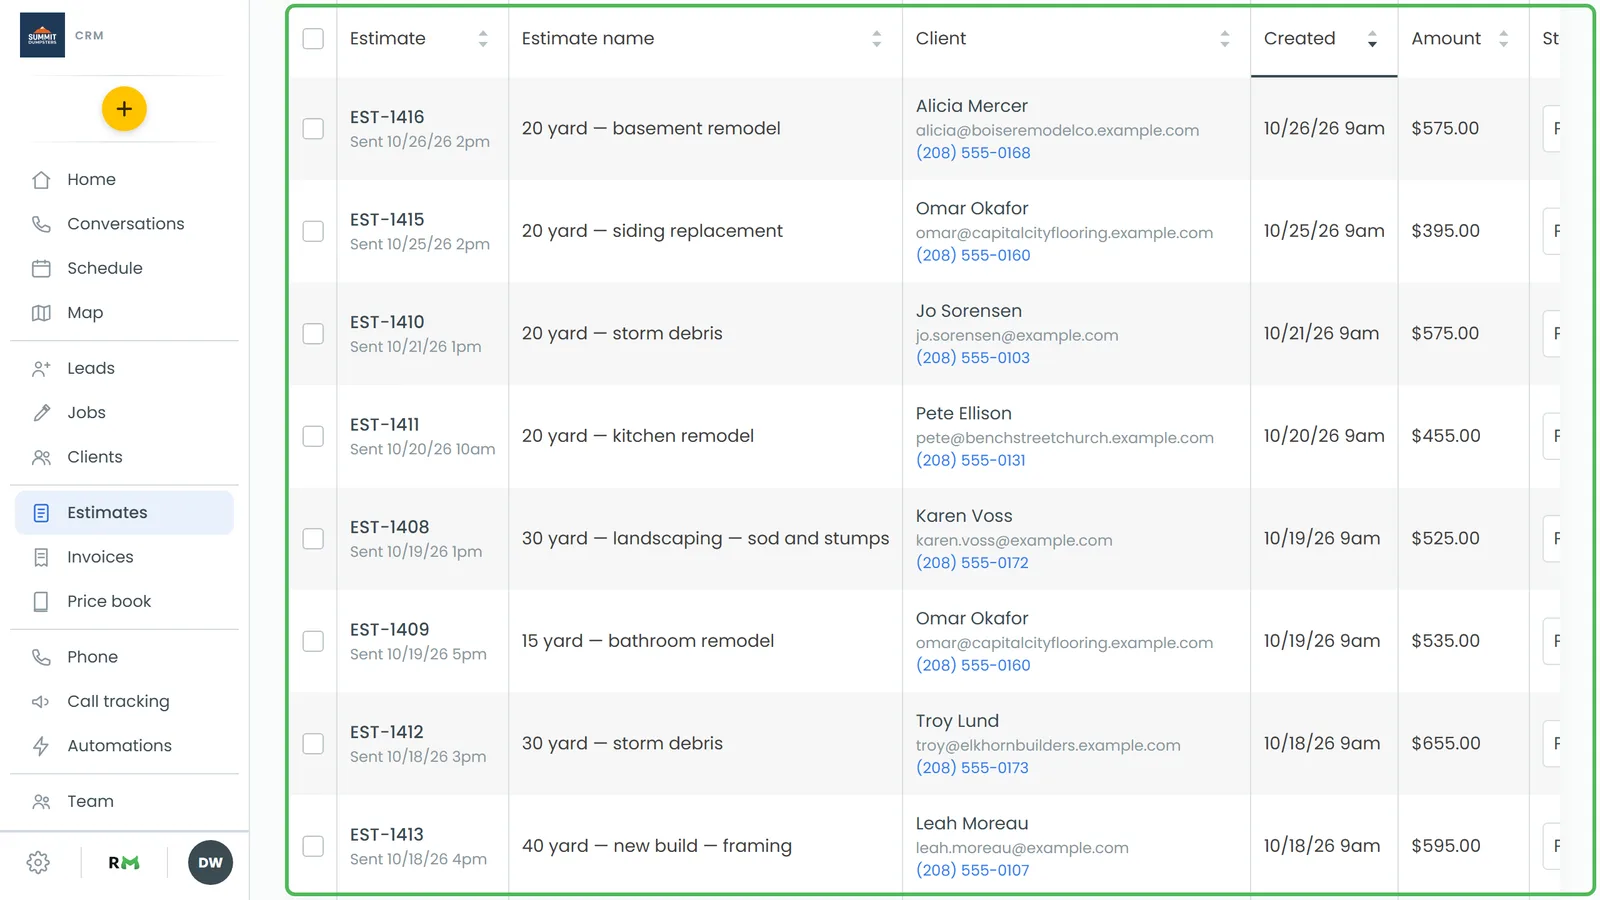
- In the menu, click Estimates.
- In the Status column, pick the new status for that row. It saves without opening the estimate.
On the phone app
- Open the menu and tap Estimates, then tap the estimate.
- Tap the Status row and pick a status from the sheet that slides up.
What a by-hand change does
- Marking an estimate Approved runs your "when an estimate is approved" automations, declines sibling estimates if that switch is on, and moves the lead behind it along. If a deposit is owed, the CRM raises the deposit invoice and the status lands on Approved - Pending Deposit instead.
- Setting an approved estimate back to Unsent or Pending clears the customer's signature. They'll need to approve the new version.
- Won isn't yours to pick. The web estimate page leaves it out of the dropdown, and if you choose it from the list or the app the CRM refuses and tells you why.
Note: Once an estimate has become a job, the Status dropdown on the estimate page is greyed out, on the web and on the app. With Lock approved estimates switched on, the web estimate page greys out the status on approved estimates too. The Status column on the Estimates list still lets you change it.