In this article, you'll learn how to use the Estimates page to keep track of every quote you've sent. It's the quickest way to see what's waiting on a customer, what's been approved, and what still needs a nudge. You can do all of that without opening each estimate.
To open the Estimates page:
- In the menu, click Estimates.
The status tiles
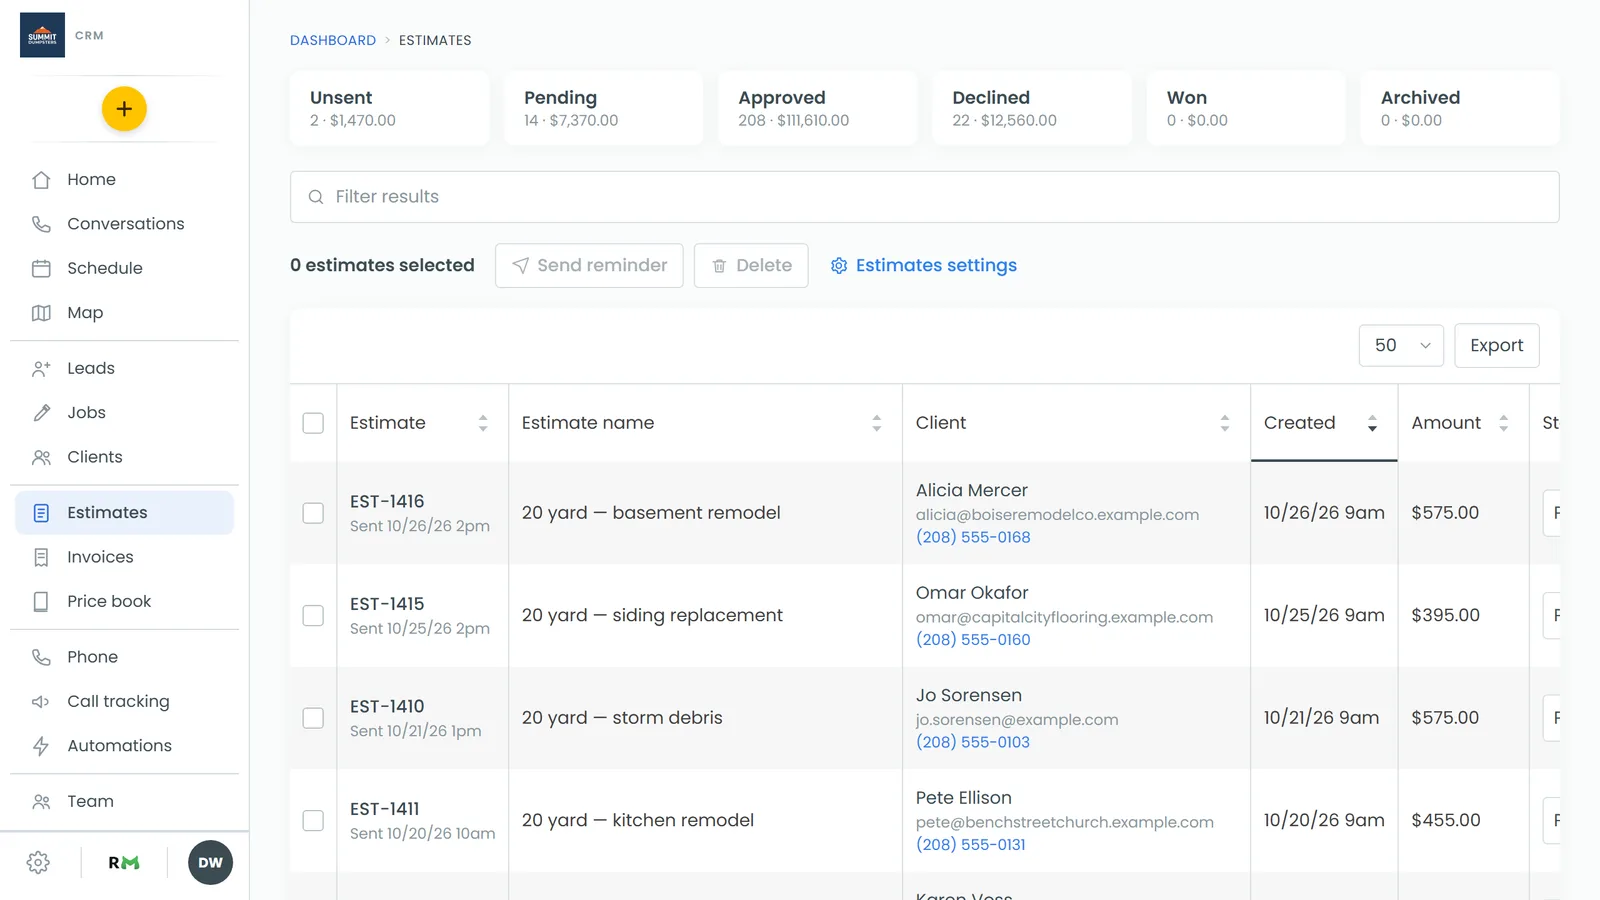
There are six tiles across the top of the page: Unsent, Pending, Approved, Declined, Won and Archived. Each one shows how many estimates have that status and what they add up to in dollars. Look here first to see how much work is waiting on a yes.
Reading the list
Below the tiles is a list of every estimate. These are the columns:
- Estimate: the estimate number. Underneath it says when the estimate was sent, or Not sent.
- Estimate name: the name you gave the estimate, if you gave it one.
- Client: the customer's name, with their email and phone underneath.
- Created: the date and time the estimate was made.
- Amount: the estimate total.
- Status: where the estimate stands. You can change it from here (see below).
- Source: the source of the job the estimate is on.
- Deposit due: the deposit you've asked for, if there is one.
- Job: the job the estimate is on. If the estimate was turned into a job, you'll see that job's number with became next to it.
If a customer approved an estimate and picked a start time, the Status column shows a small wants note with the date and time they asked for.
Sorting and finding estimates
The list opens sorted by Created, newest first. To sort by a different column, click its heading. Click the same heading again to flip the order. A line under the heading shows which column the list is sorted by.
To find an estimate, type in the Filter results box at the top. It searches estimate numbers and names, client names, emails and phone numbers, statuses, sources and job numbers.
To show more or fewer estimates per page, use the drop-down above the list (10, 25, 50 or 100). The arrows at the bottom move between pages.
Opening an estimate and contacting the client
- To open an estimate, click its number in the Estimate column.
- To open the client's page, click their name.
- To call the client, click their phone number and confirm. The call goes out from the CRM phone.
- To email the client, click their email address and confirm. You'll go to their client page to write the email.
- To open the job, click the job number in the Job column.
Changing an estimate's status
You can change a status right in the list.
- Find the estimate.
- In the Status column, open the drop-down.
- Pick the new status: Unsent, Pending, Approved, Approved - Pending Deposit, Declined, Won or Archived.
The change saves on its own. If it doesn't save, the old status comes back and a note at the top of the list tells you why.
Sending reminders and deleting estimates
Tick the box at the start of each row you want. The box in the heading row selects every estimate on the current page. The line above the list then reads N estimates selected, and the Send reminder and Delete buttons wake up.
To send a reminder:
- Tick the estimates you want to follow up on.
- Click Send reminder.
Each customer gets a text if they have a phone number on file, or an email if they don't. When the reminders have gone out, a note at the top of the list tells you how many were sent and names any that failed.
The reminder wording comes from Settings › Templates, under Estimates › Estimate reminders. To change what it says, see Editing the messages sent with estimates and invoices.
To delete estimates:
- Tick the estimates you want to remove.
- Click Delete.
- Confirm when you're asked.
Exporting your estimates
Click Export above the list to download a CSV file of your estimates. It includes the same columns as the list, plus the client's email and phone. It exports whatever the list is showing, so if you've typed in Filter results, only the matching estimates go in the file.
Estimates settings
The Estimates settings link next to the Delete button opens your company's estimate settings. One of them decides whether customers can still see estimates on their portal after the job is marked done. For more, see Letting customers see estimates for done jobs.
On the phone app
The phone app has its own Estimates screen. Open the menu and tap Estimates.
You'll see the same six status tiles, then a table that scrolls sideways. Its columns are Estimate, Client, Job, Created, Sent, Amount and Status. Tap a row to open the estimate. Tap a client's name to go to their page, or a job number to open the job. There's also an Estimates settings link at the top.
Related articles
- How to update estimate statuses
- How to create and send estimates
- Deleting an estimate
- Understanding your estimates report
- Editing the messages sent with estimates and invoices