In this article, you'll learn how to create a job from the phone app on your iPhone or Android. You can book the work while the customer is still on the line, so nothing waits until you're back at a desk.
To open the New job form:
- On the Home, Conversations, Schedule or Contacts screen, tap the yellow + on the bar at the bottom.
- Tap New job.
Start from a customer's page
If the job is for someone you already have, start from their page so the form arrives filled in.
- Tap Contacts and open the customer.
- Tap the + at the top right, next to their name.
- Tap New job.
Fill in the form
The form is a set of sections. Work down them, then tap Create on the bar at the bottom. The bar stays put while you scroll, and the X at the top left closes the form without saving.
Business
You only see this section if you've linked other businesses to your account. Tap the business the job belongs to. The form then uses that business's job types, sources and crew, and the job goes on its calendar.
Client details
- For a customer you already have, start typing in Select existing client. Matches appear after two letters. Tap the right person and their details fill in.
- For a new customer, fill in First name, Last name, Client company name, Email address, Phone number and Ext #.
- Need a second line? Tap + Add number.
- For a new customer, answer Where did they come from? with the Source dropdown. Left alone, it saves as Other.
Once a saved customer is on the form, this section shrinks to their name, address and phone. Tap Show more to open the fields and Show less to fold them away.
Service location
For a new customer, type the Address, Unit, City, State, Zip and Country.
For a saved customer, tap the Address box instead. With one property on file, their address screen opens with the map and a Create new property link. With more than one, you pick from a list first, or tap Create new property to add one. A new property is saved to the customer and set as this job's address.
Job Details
- Job name (optional): a short name that makes the job easy to spot.
- Job type: pick one from your list.
- Job source: pick where the job came from.
- Job description (optional): notes about the work.
If Asset Tracking is switched on in Features and the job type delivers a unit, a rental box appears under Job type. Choose the Unit size, How many and Rental days, plus a Rate if you've set rates up. It shows how many units are free for those dates. If there aren't enough, it names the earliest date that fits, with a Use button that moves the job to that day.
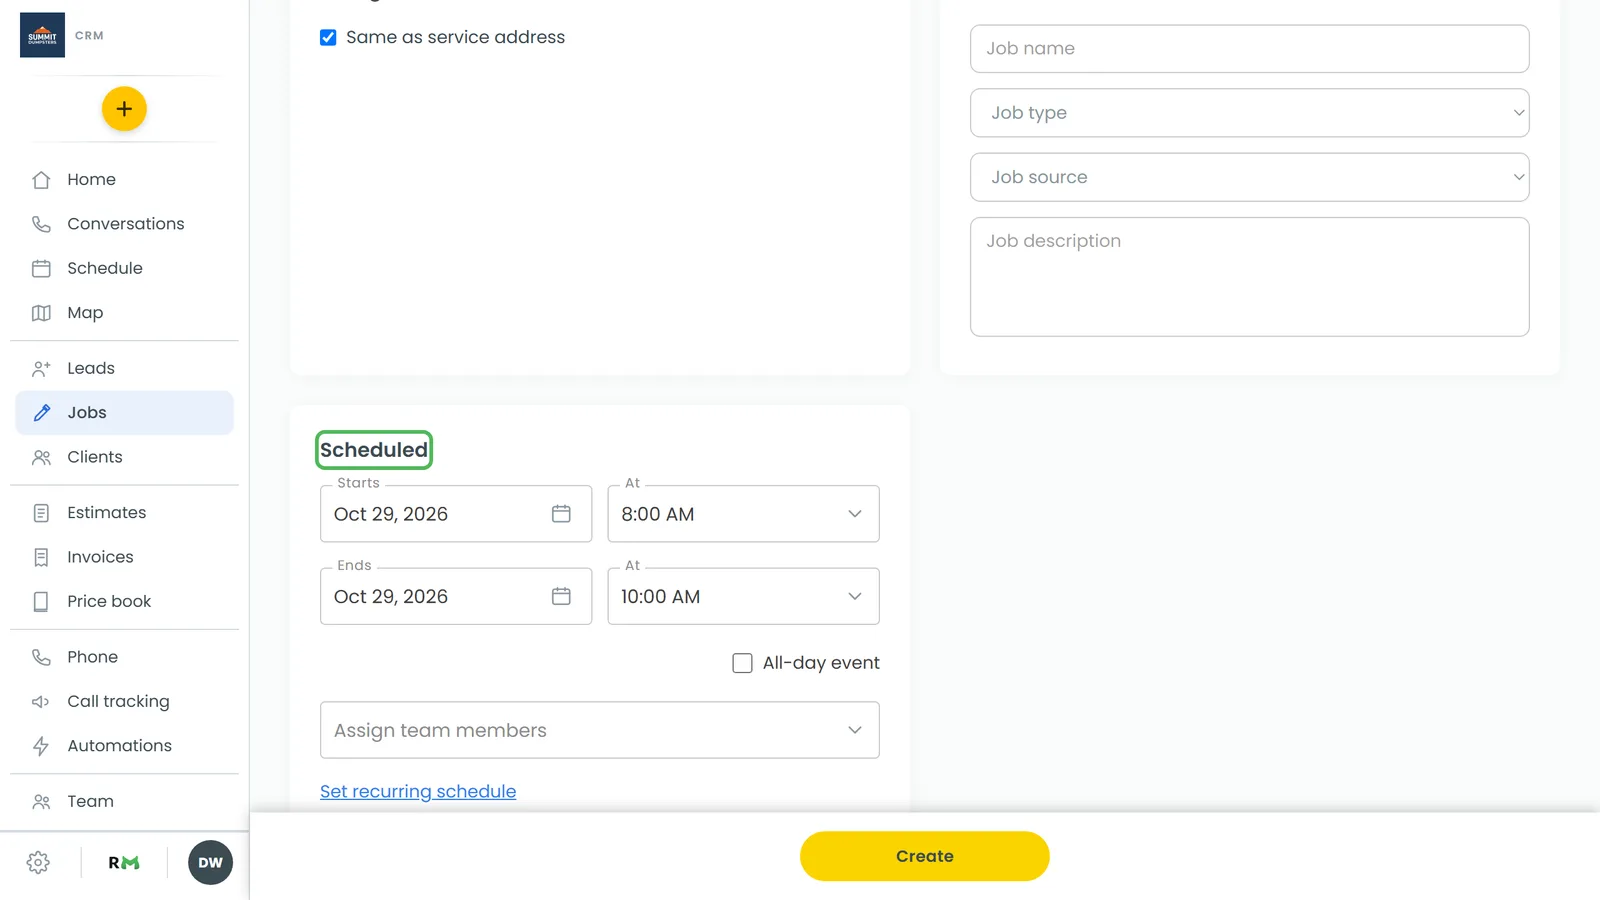
Scheduled
Every job from this form gets a date and time. It starts today, at the time your business opens, and runs two hours.
- Set Starts and its At time. Changing the start time pushes the end time two hours later.
- Set Ends and its At time.
- Tick All-day event if the job takes the whole day. The times disappear and the form shows your open hours for that day instead.
- To repeat the job, tap Set recurring schedule. Pick how often it repeats, when the jobs stop, how many days ahead to create them and how each one is billed, then tap Save.
Create the job
Tap Create. When the job is saved, its page opens. If you booked it for a linked business, you land on the schedule instead.
If a rental would use more units than you have free, you'll see This would oversell. Tap Go back to change the dates, or Create anyway to book it and leave it waiting for an admin's approval.