In this article, you'll learn how to add photos to your website's gallery, label them with a caption and a category, and take photos down. Real photos of your work make your site feel trustworthy, and the gallery is where people go to see them.
The photos you add here show on your site's gallery page. Edits go live on your site within a couple of minutes.
To open your gallery:
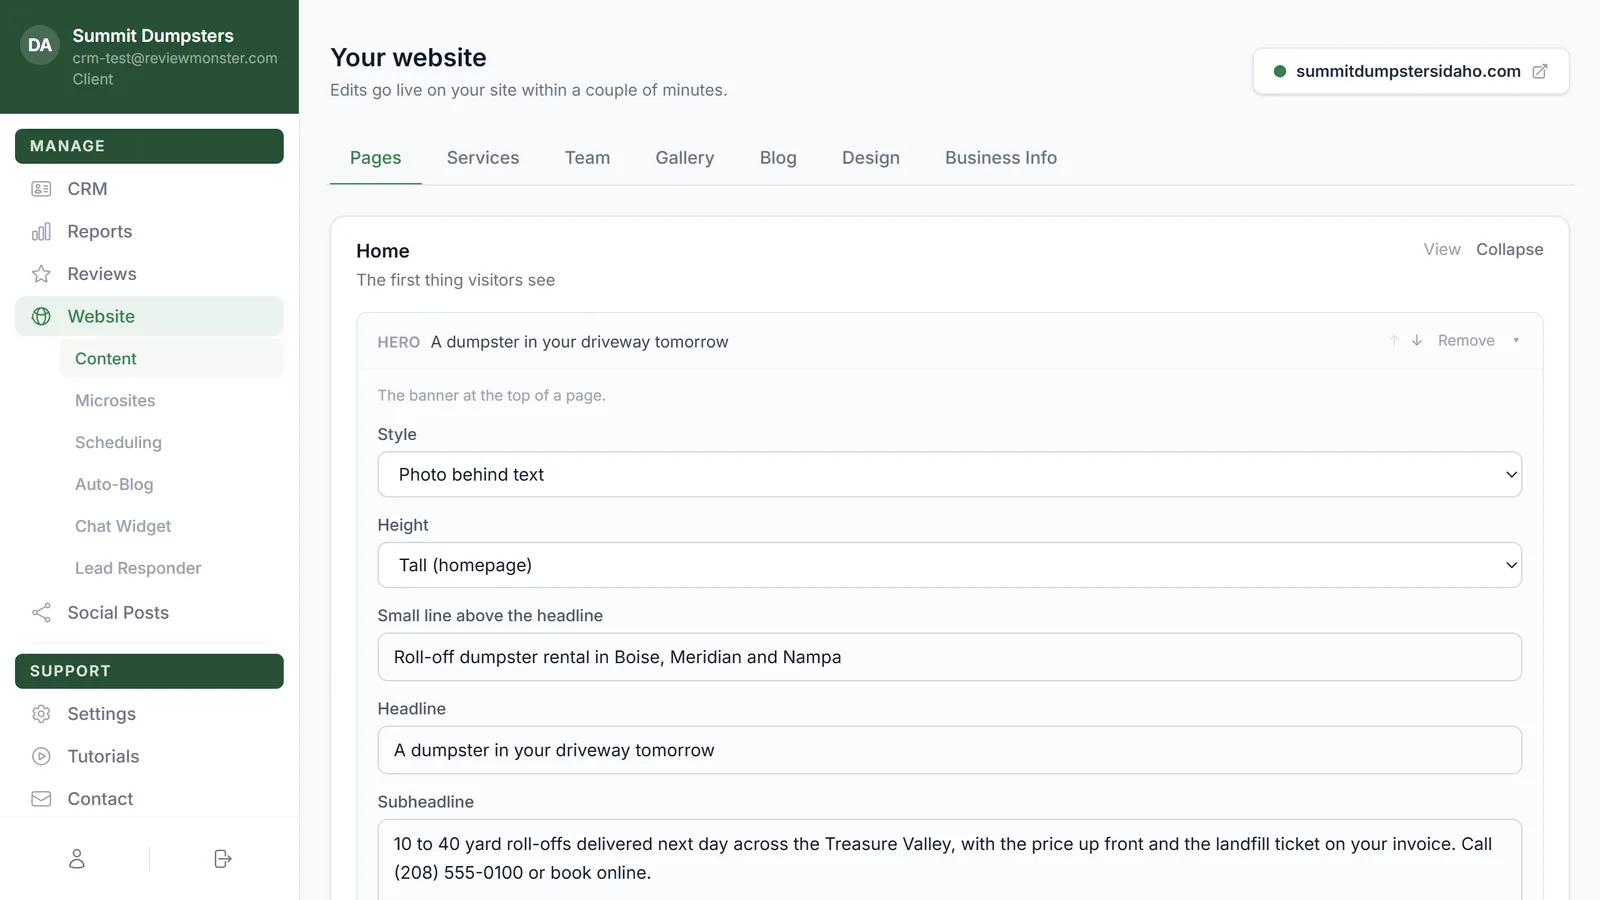
- In the menu, click Website.
- Click the Gallery tab.
Upload photos
You can pick several photos at once. JPEG, PNG, WebP and GIF files all work.
- On the Gallery tab, click Upload photos.
- Choose one or more photos from your computer or phone.
- Wait while the button reads Uploading…. Each photo then shows up as its own card.
If a photo doesn't go through, you'll see a red message above the photos. Try that one again.
Add a caption and a category
Every photo card has two boxes under the picture.
- Caption — a short line about the photo. It shows with the photo on your site, and it's also used as the photo's description for search engines and screen readers.
- Category — a label that groups photos together, like "Facility" or "Before and after". It shows as a small tag on the photo, and you can use it to show only certain photos in a section (more on that below).
To change them:
- Type in the Caption box, the Category box, or both.
- Click Save changes. The button only appears once you've changed something.
- You'll see Saved next to it when it's done. If you see "Couldn't save — try again", click it again.
Show one category in a Photo gallery section
Pages on your site can have a Photo gallery section, which pulls in photos from your Gallery list. That section has a field called Only this category.
- Leave it blank and the section shows all your photos.
- Type a category name and it shows only the photos with that exact category. Capital letters don't matter, but the rest of the word does, so "Facility" matches "facility" but not "Facilities".
The same section also has How many to show (0 shows them all) and Text when there are no photos yet, which appears if nothing matches. For how to add and edit sections, see Editing the pages on your website.
Delete a photo
- On the photo's card, click Delete.
- You'll be asked Remove this photo? Click Yes, delete to take it off your site, or Cancel to keep it.
Related articles
- Website overview
- Editing the pages on your website
- Sections you can add to a website page
- Uploading photos and videos for your posts and website
- Adding your team to your website