In this article, you'll learn how to set up what your online booking page asks for and what happens after someone books. You can choose which details customers fill in, give them a list of your services, write their confirmation text and email, and pick who in your office gets told.
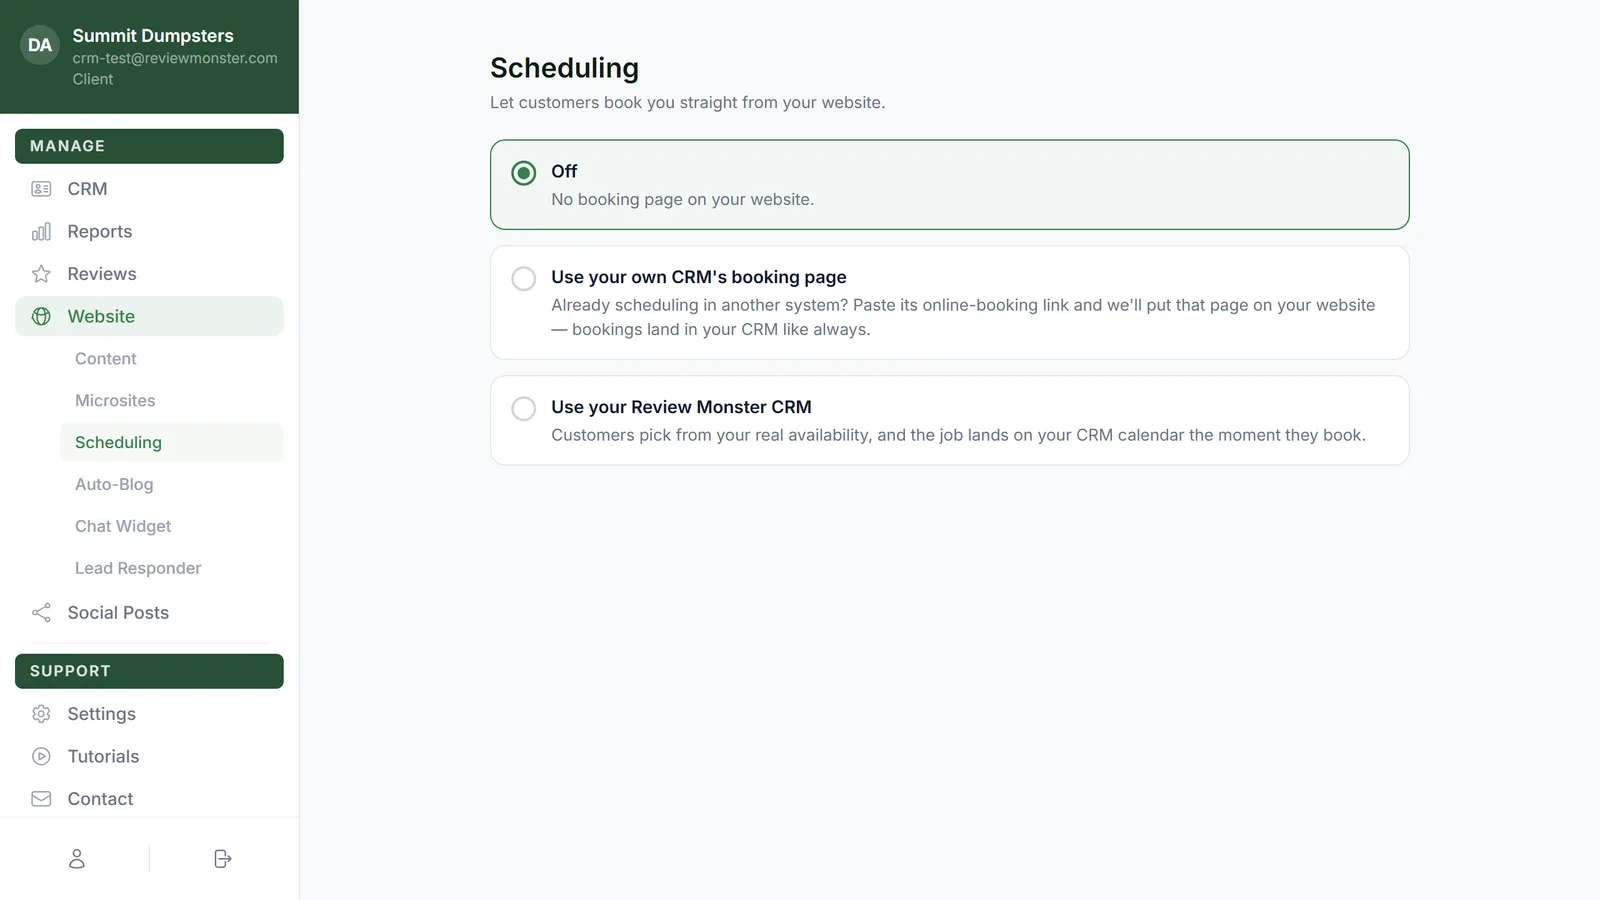
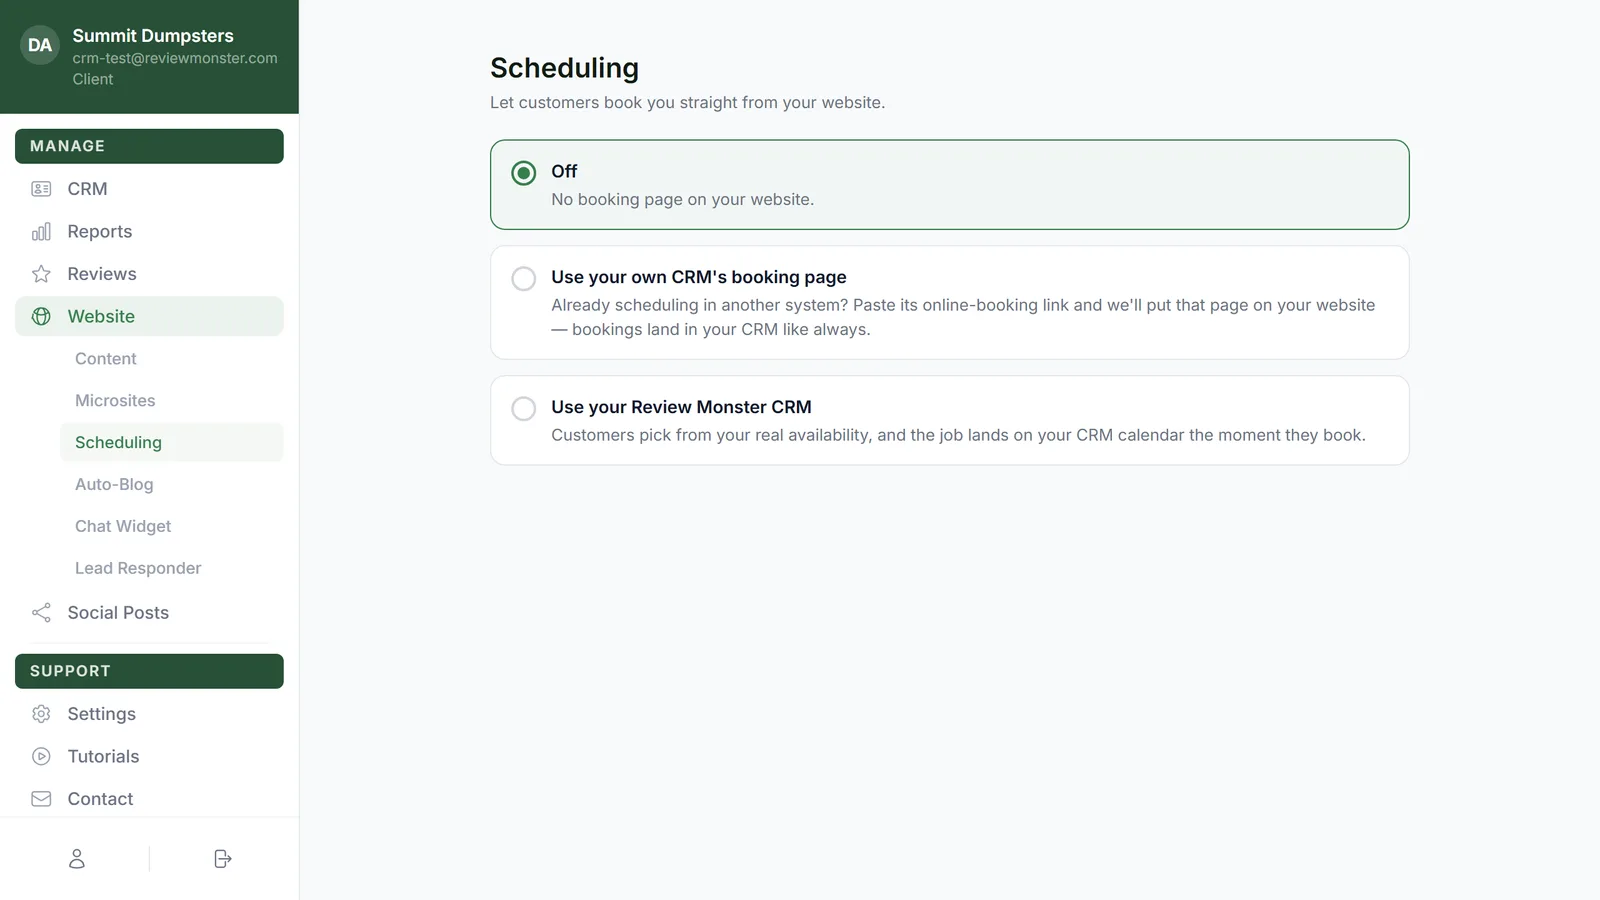
These settings live in your Review Monster dashboard. You'll see them once your website's scheduling is set to Use your Review Monster CRM. If you haven't turned online booking on yet, start with How to turn on online booking.
To open your booking settings:
- In the dashboard menu, click Website, then Scheduling.
- Make sure Use your Review Monster CRM is selected. The cards below it only show while it is.
Once your website is live, the top of the page shows the link to your booking page (your domain followed by /book).
Choosing what the form asks for
Customers always have to give their name and phone number. Without those there's no one to book. Everything else is up to you, in the What the form asks for card.
- Find Email address, Service they need, Service address and Job details.
- Next to each one, pick Don't ask, Optional or Required.
- Click Save changes.
Here's what each choice does on your booking page:
- Don't ask hides the field.
- Optional shows it, marked "(optional)", and lets the customer skip it.
- Required shows it, and the customer can't book until it's filled in.
Service address adds a street address, unit, city, state and ZIP. When it's required, the street address and city have to be filled in. Job details shows up for customers as a box labeled "Anything we should know?"
Giving customers a list of services
The Services to choose from box only shows when Service they need is set to Optional or Required.
- In Services to choose from, type one service per line. For example: Junk removal, Garage cleanout, Moving help.
- Click Save changes.
Customers then get a "What do you need done?" dropdown with your list. If you leave the box empty, they get a text box and type what they need.
If a service in your list has the same name as one of your job types, the booked job gets that job type. The job is also named after the service they picked. To set up matching job types, see How to add job types.
Writing the customer's confirmation
The Message to the customer card sets what customers get after they book.
- In Confirmation text, write the text message they'll get.
- In Confirmation email — subject and Confirmation email — message, write the email.
- Click Save changes.
You can use these placeholders in all three boxes:
- {{first_name}}: the customer's first name
- {{business_name}}: your business name
- {{time}}: the date and time they booked
Leave Confirmation text blank to send no text. Leave Confirmation email — message blank to send no email.
Choosing who hears about new bookings
The Who hears about new bookings card sets who in your office gets a heads-up when someone books or asks for a time.
- In Text these numbers, type the phone numbers to text.
- In Email these addresses, type the email addresses.
- Separate more than one with commas, like (208) 555-0100, (208) 555-0101.
- Click Save changes.
If you leave the email box blank, booking emails go to your account email so nothing gets missed.
Checking the customer's phone and email
When a customer clicks to book, we check their phone number and email before saving the booking. If the number is made up or the email doesn't work, the booking doesn't go through, and they're asked to fix it and try again. That keeps fake bookings off your calendar.
The same settings in the CRM
A few of these settings can also be changed in the CRM, and they're the same settings, not copies. Change one and the other changes too.
- Settings › Online booking has Text the customer after booking, Notify the office by text and Notify the office by email. They match Confirmation text and the two boxes in Who hears about new bookings.
- Settings › Templates has an Online booking section with the confirmation text and the confirmation email.
The form fields and the services list are only in the dashboard.
What you can't change
Your booking page uses your website's own colors and fonts. There's no separate setting for its look, title or logo. To change how your site looks, see Changing your website's colors, fonts and layout.