In this article, you'll learn how to build an estimate on the phone app and send it to your customer. It's handy when you're standing in someone's garage or yard and want the quote in their inbox before you leave.
There are two places to start one: from a job, or from a client's page when there's no job yet.
Start an estimate from a job
To add an estimate to a job:
- Open the job.
- Tap the Finance tab.
- Next to Estimates, tap the plus icon. The estimate is created and opens straight away.
You can also tap Estimates to open the section first. If the job doesn't have one yet, you'll see No estimates added with an Add estimate link under it. If it already has some, they're listed with their status and total, and Add estimate sits above them. Tap any estimate in the list to open it.
Start an estimate from a client's page
Use this when the customer wants a price before there's any work booked.
To start an estimate for a client:
- In the menu, tap Clients and open the client.
- Tap the plus icon at the top right, next to their name.
- Tap New estimate.
The estimate opens right away. Behind the scenes, the CRM opens a lead for that customer first and hangs the estimate off it, so the quote shows up with the rest of their history. You'll find it later under Estimates on the client's page.
Add items from your price book
A new estimate opens on its own page, with the customer's details at the top, a Status row, and an Items section under that. Until you add something it reads "Nothing quoted yet".
To add an item:
- Tap Add item (or the plus icon next to Items). Your price book opens with the cursor already in Search.
- Find the item. Type to search the whole book, open Categories to browse one category, or pick from Items, which starts with the ones you've used recently.
- Tap the plus icon on the item's row to add it at its price book price. It lands on the estimate and you're back on the estimate page.
Want to change the quantity or price first? Tap the item's name instead of the plus icon:
- Tap the price to type a different one, and use − and + to set the quantity.
- Change the Description under them if you want different wording on this quote.
- Tap Edit at the top right if you also need to change the item name, unit price or whether it's taxable, then tap Apply.
- Tap Add to estimate. The button shows the line's total.
Changes you make here only apply to this estimate. Your price book stays the same.
To change a line after it's on the estimate, tap it. To take it off, tap the X at the end of its row.
Finish the details
Below the items you can add Notes for the customer to read with the price, and tap Add photos to take a photo or choose some from your library. The totals block underneath has a Discount and a Deposit, each with a $ and % switch, so you can use a flat amount or a share of the total. If you've set up tax rates, you can pick the Tax rate there too. Everything saves as you go.
Send the estimate
To send it:
- On the estimate, tap Send to client at the bottom. (Once it's been sent, the button reads Send Again.)
- On the Send estimate page, choose Via email or Via SMS.
- For email, check To, add anyone in Cc, and look over the Subject and message. For a text, check the Phone number and the message.
- Tap Send email or Send text.
The message is filled in from your estimate template, with the customer's details and a link to the estimate already in it. You can edit it for this send. To change the wording for every future estimate, tap Edit template, make your changes and tap Save template.
After it goes out, the estimate shows a line like "Sent - 10/16/26 2:05pm (email)" under its name, and its status moves from Unsent to Pending on its own.
Find your estimates later
You've got a few ways back to an estimate:
- On the job, under Finance > Estimates.
- On the client's page, under Estimates.
- In the menu, tap Invoices and then the Estimates filter at the top of the list. You can search by number, client, job or status.
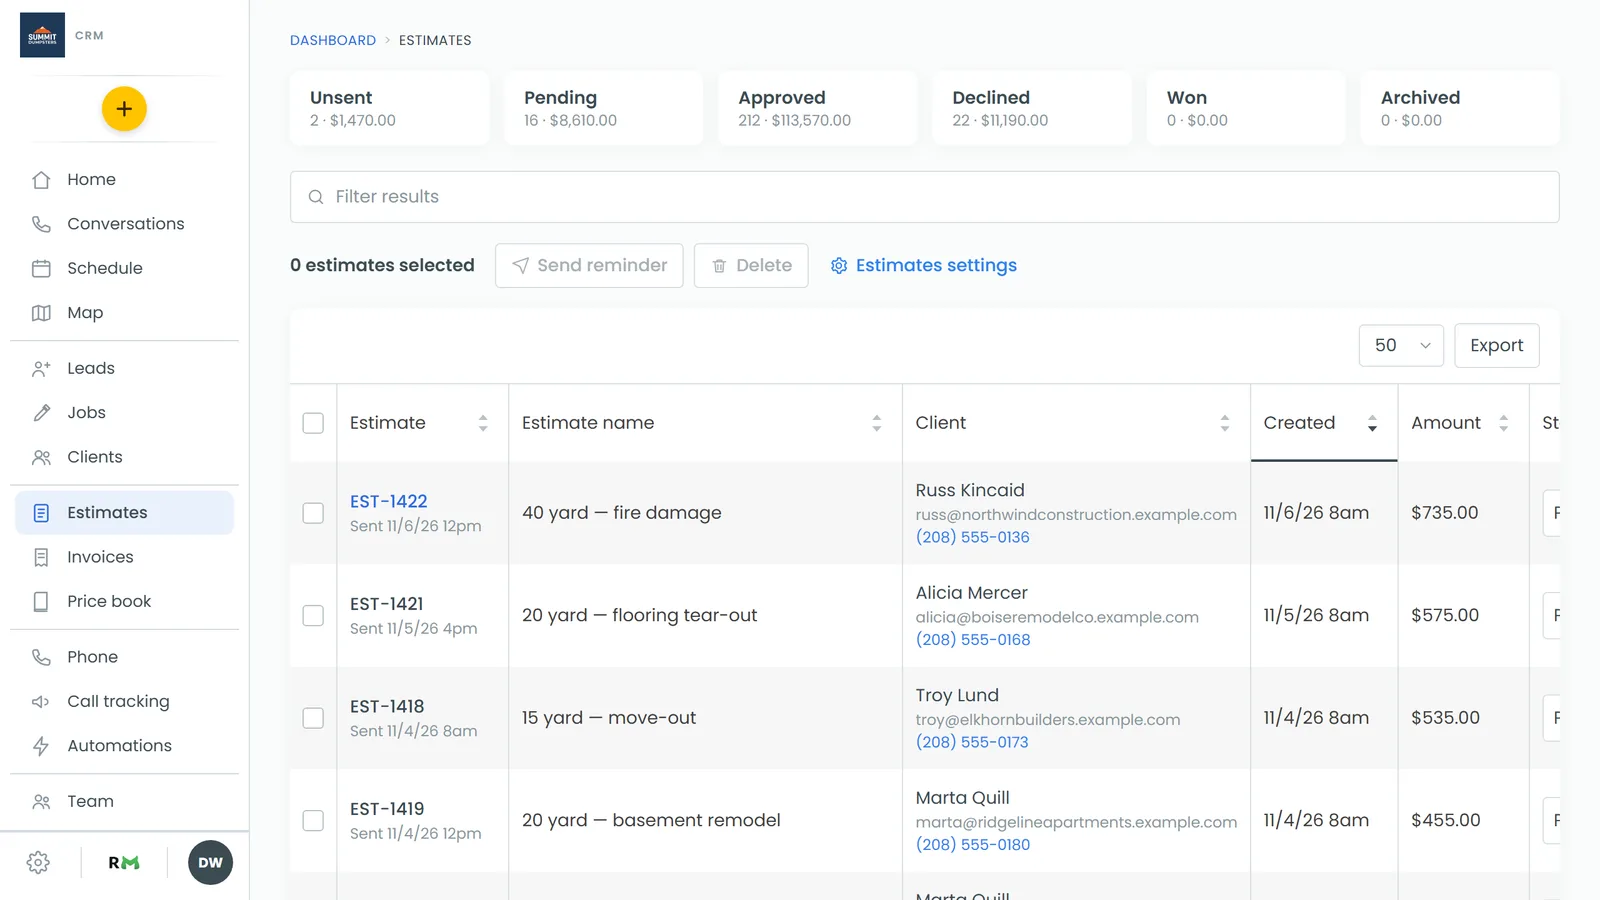
- In the menu, tap Estimates for the full list, with a count and total for each status at the top.