In this article, you'll learn how to create an invoice from a job on the phone app, send it to your customer by email or text, and find it again later. It's the quickest way to get the bill into the customer's hands before you've left the driveway.
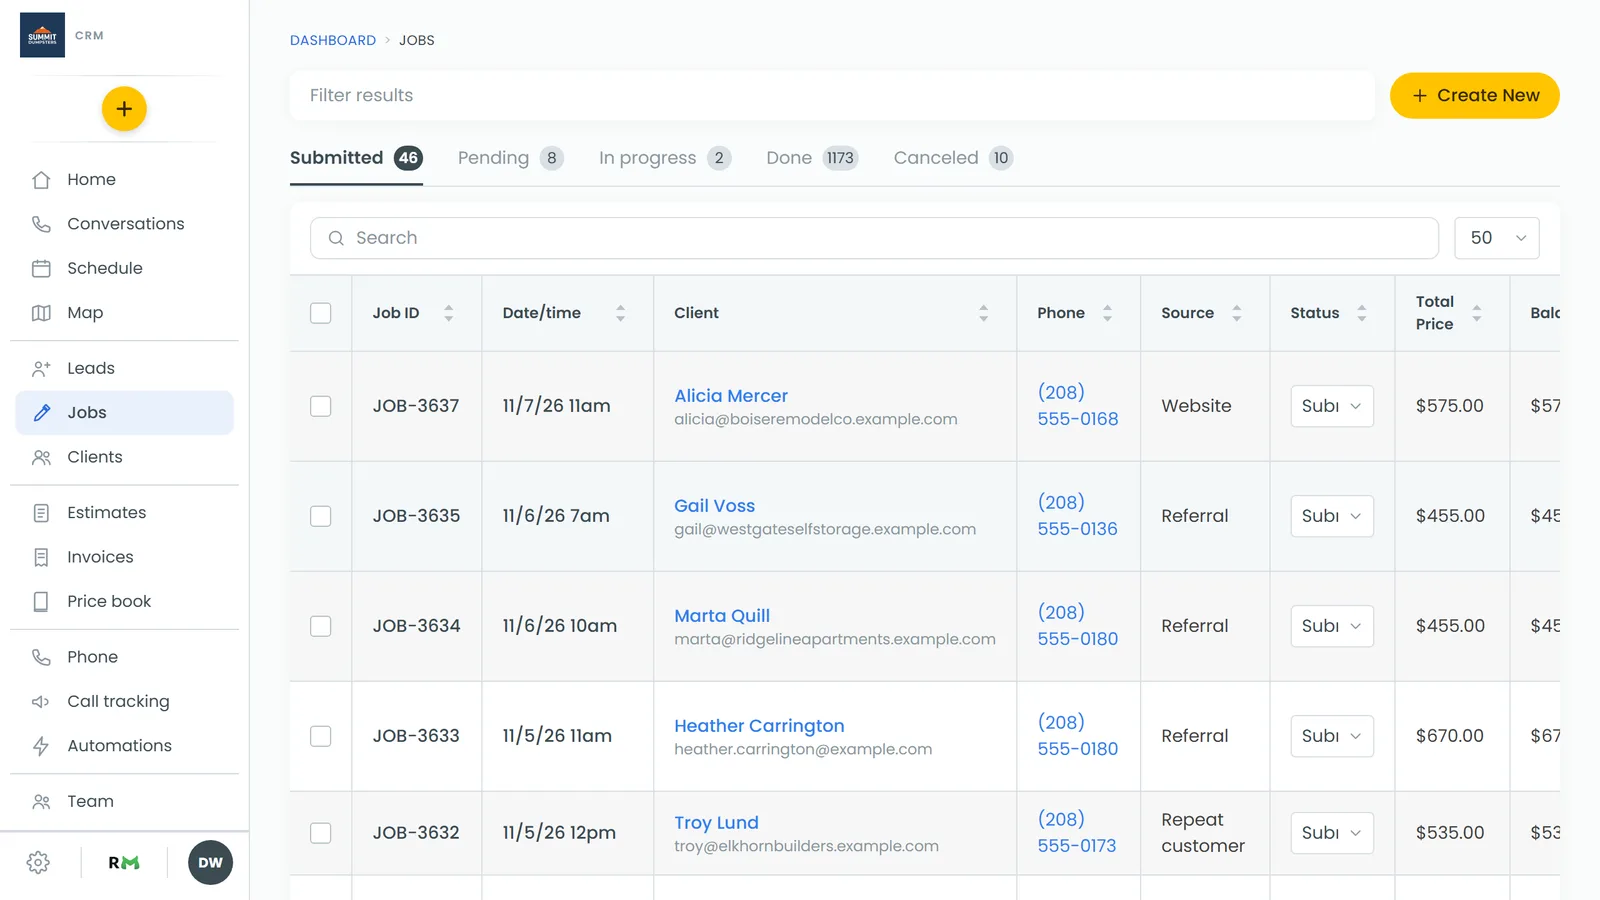
To open a job's Finance tab:
- Open the menu and tap Jobs, then tap the job you want to bill.
- Tap Finance at the top of the job.
Creating an invoice
On the phone app, every invoice starts from a job. There's no way to make a standalone invoice that isn't tied to one, and the + on a client's page offers a new job, lead or estimate but not an invoice. The invoice bills whatever is on the job's Items list, so get the items right first.
Add the items you're billing for
- On the Finance tab, tap the + on the Items row. Your Price book opens.
- Type in Search, or open Categories to browse. Before you type, Items shows the five you used most recently, marked Recently used.
- Tap the + next to an item to add it as is. Or tap the item to change the price, the quantity or the description first, then tap Add to job.
- Check the totals under the list. Tap Tax rate to pick a rate from Choose tax, or Discount to set one as a percentage or a dollar amount and tap Apply.
Create the invoice
- At the top of the Finance tab, under Total and Balance, tap Create invoice.
- The invoice page opens. Its header reads Creating invoice… for a moment, then shows the invoice number.
The invoice page shows the customer's name and address, then Total, Due, Invoice date and Due on. Below that, Items lists what's being billed with the sub-total, tax, discount and total. There are also Payments and Signatures sections.
Once a job has an invoice, the button on the Finance tab reads View invoice and opens that same invoice instead of making another. Under it you'll see Not sent yet until it goes out, then one line for each send, like "texted" or "emailed" with the date and time.
Sending an invoice
- On the invoice page, tap Send invoice.
- Choose Via email or Via SMS at the top. The form opens on email when the customer has an email address on file.
- Check who it's going to. For email, To takes one address and Cc takes up to five more. For text, Send to (phone number) takes one number and Also text takes up to five more, separated by commas.
- Read over the message. It's filled in from your company's template, and email has a Subject too. Anything you type here changes this send only.
- Under Let client pay with:, leave Credit card on to let the customer pay by card from the link, or switch it off.
- Tap Preview to see what the customer will see, then tap Send.
A "View Document" link to the customer's portal is added after your message, so you don't need to paste one in. After the first send, the button and the form's heading both read Send invoice again.
Other things you can do from the invoice page
Tap the three dots at the top right for:
- Preview opens the customer's page for the invoice.
- Rename invoice gives it a name that's easier to find.
- View as client opens the customer's portal, where the invoice sits with its pay button.
- Delete invoice removes it after you confirm.
If there's a balance owed, you'll also see Collect payment under the send button. Payments you've taken show under Payments, and the three dots on each one offer Send receipt, Refund payment and Remove.
Finding your invoices later
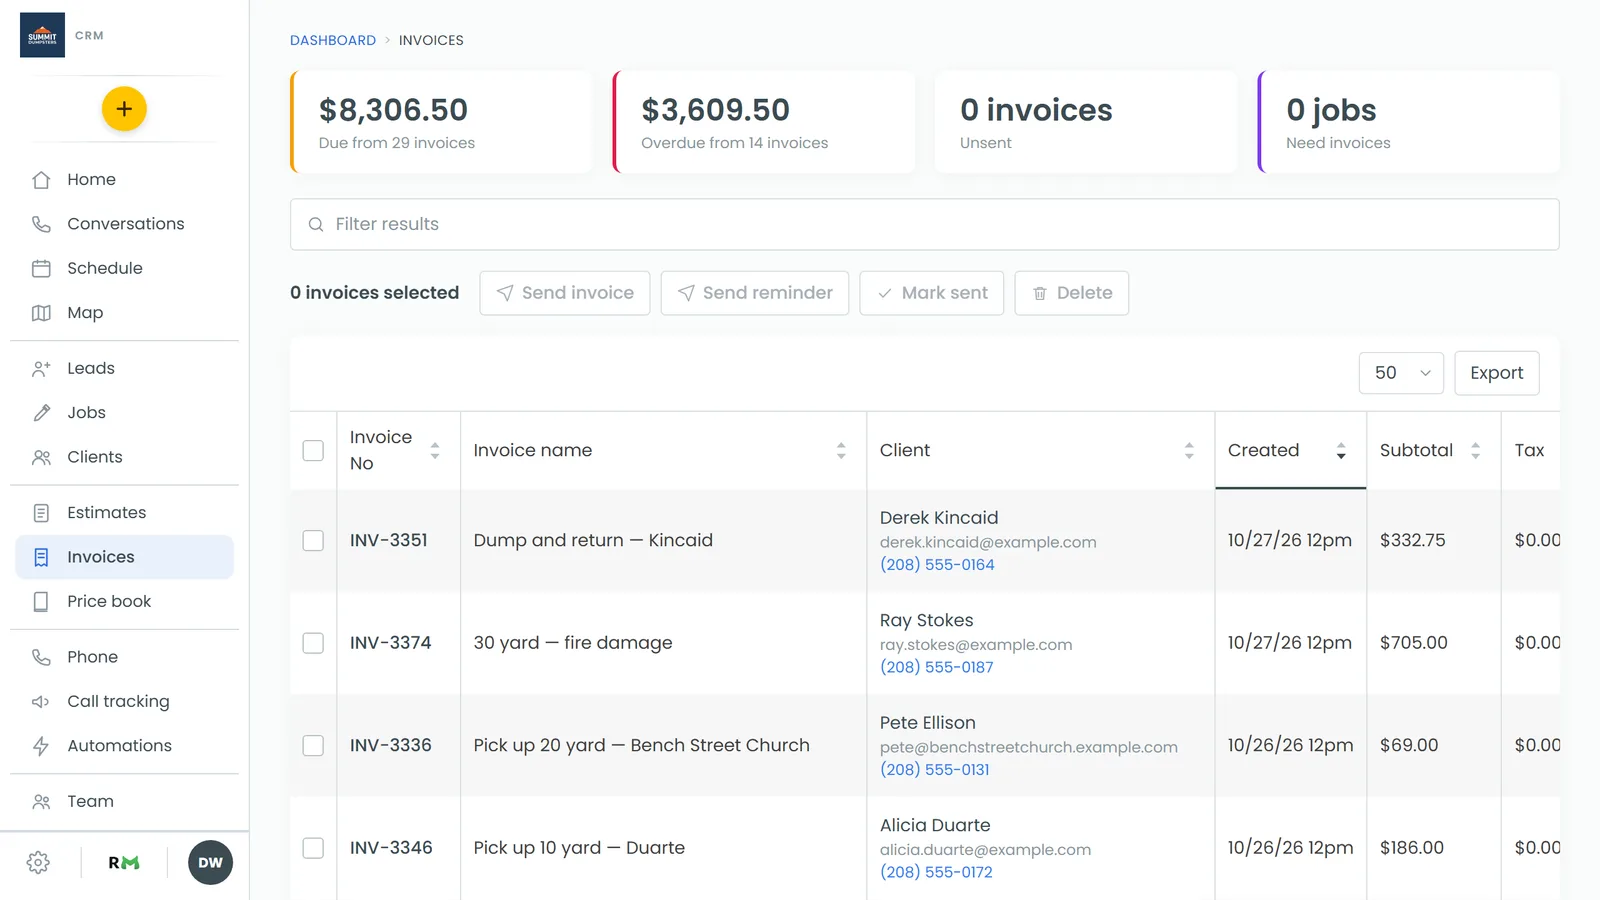
- Open the menu and tap Invoices.
- The top shows what's due, what's overdue, how many invoices are unsent and how many estimates are outstanding.
- Tap All, Invoices or Estimates to filter. The list holds both kinds of document.
- Search by number, client, job or status.
- Tap a row to open the invoice. Tap the client's name to go to the client, or the JOB- number to go to the job.
An invoice with a balance past its due date shows how many days overdue it is, in red, on the list and again on the invoice page. You can also open a client's page and tap their Invoices row to see just theirs.