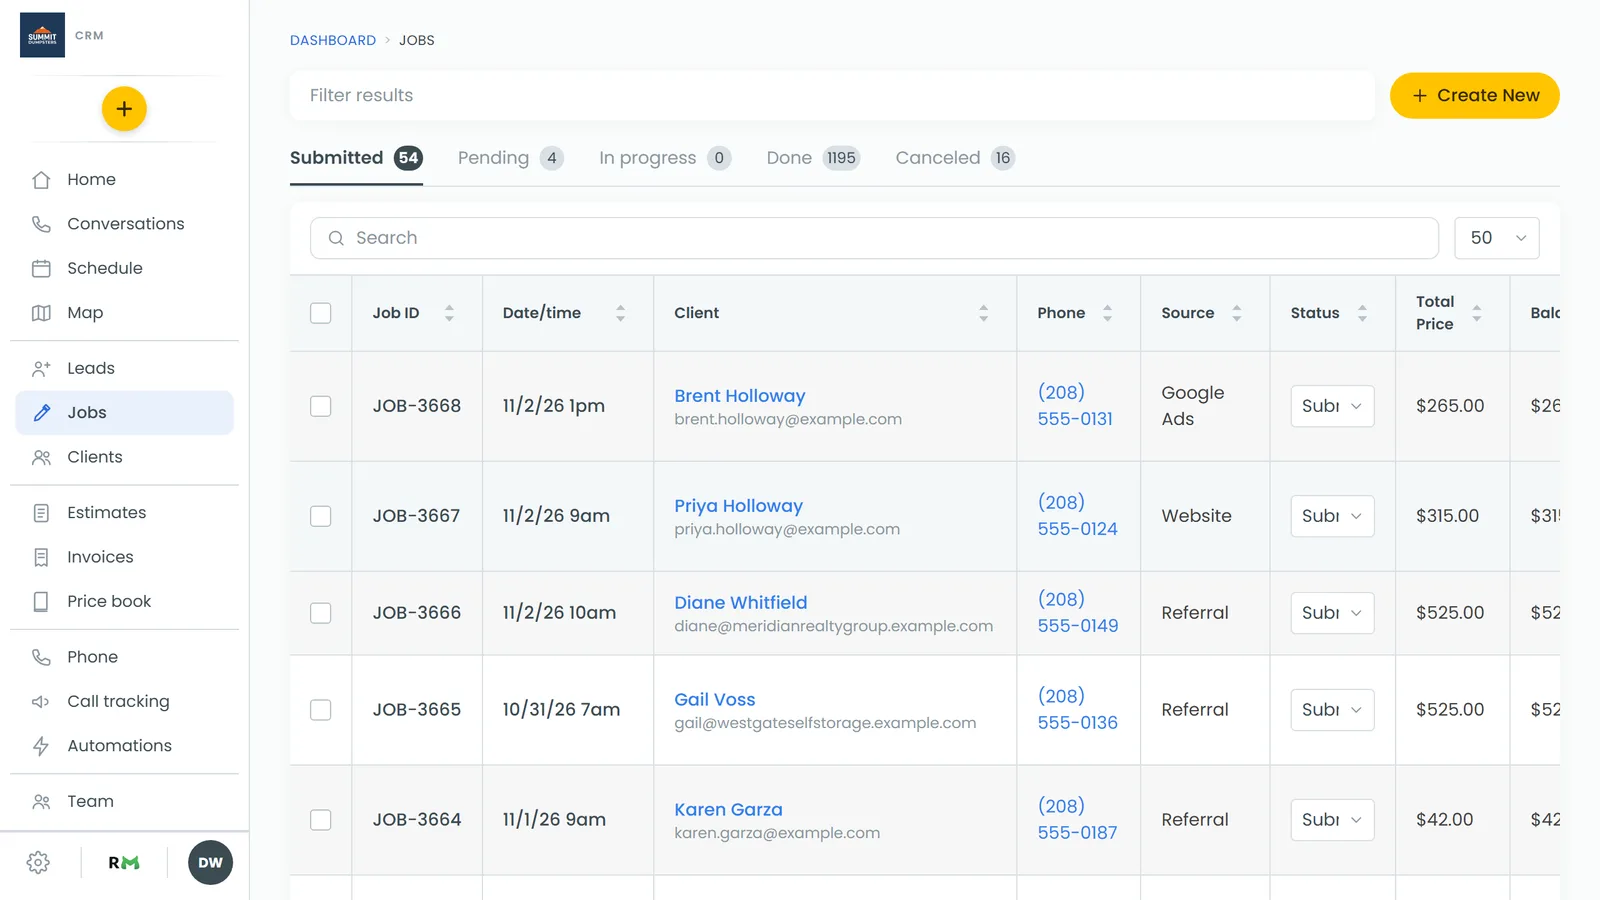
In this article, you'll learn what happens after a customer approves an estimate, and the two ways to turn that approved estimate into a job. Approving never creates a job on its own. That's deliberate: you may still need to talk to the customer about when the work happens. The job gets created when you're ready, and the estimate's items and any deposit come with it.
There's no button that turns an estimate straight into an invoice. The invoice is always created from the job.
What approval does
When the customer approves and signs an estimate from the link you sent:
- With no deposit required, the estimate's status becomes Approved right away.
- With a deposit required, the CRM raises a deposit invoice for that amount and sends the customer straight to pay it. Until it's paid, the status reads Approved - Pending Deposit. When the deposit lands, the status becomes Approved and the office is notified.
The deposit is a real invoice. You'll find it under Invoices like any other, and if the work never happens you can refund it from there.
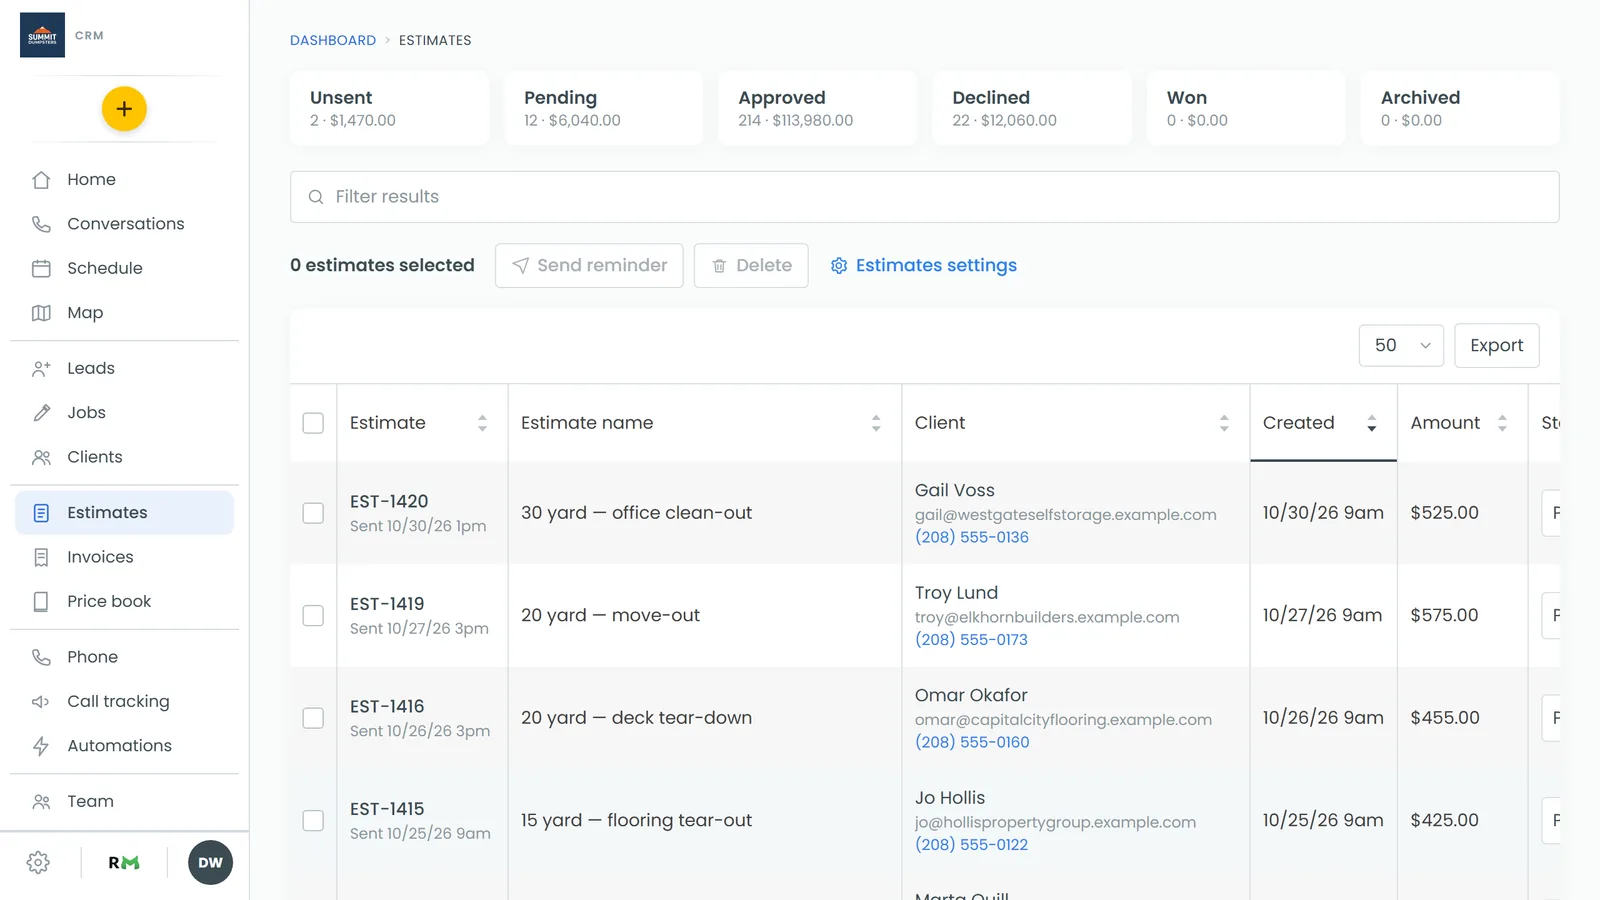
To open an estimate:
- In the menu, click Estimates.
- Click the estimate's number to open it.
Route 1: apply it when you create the next job
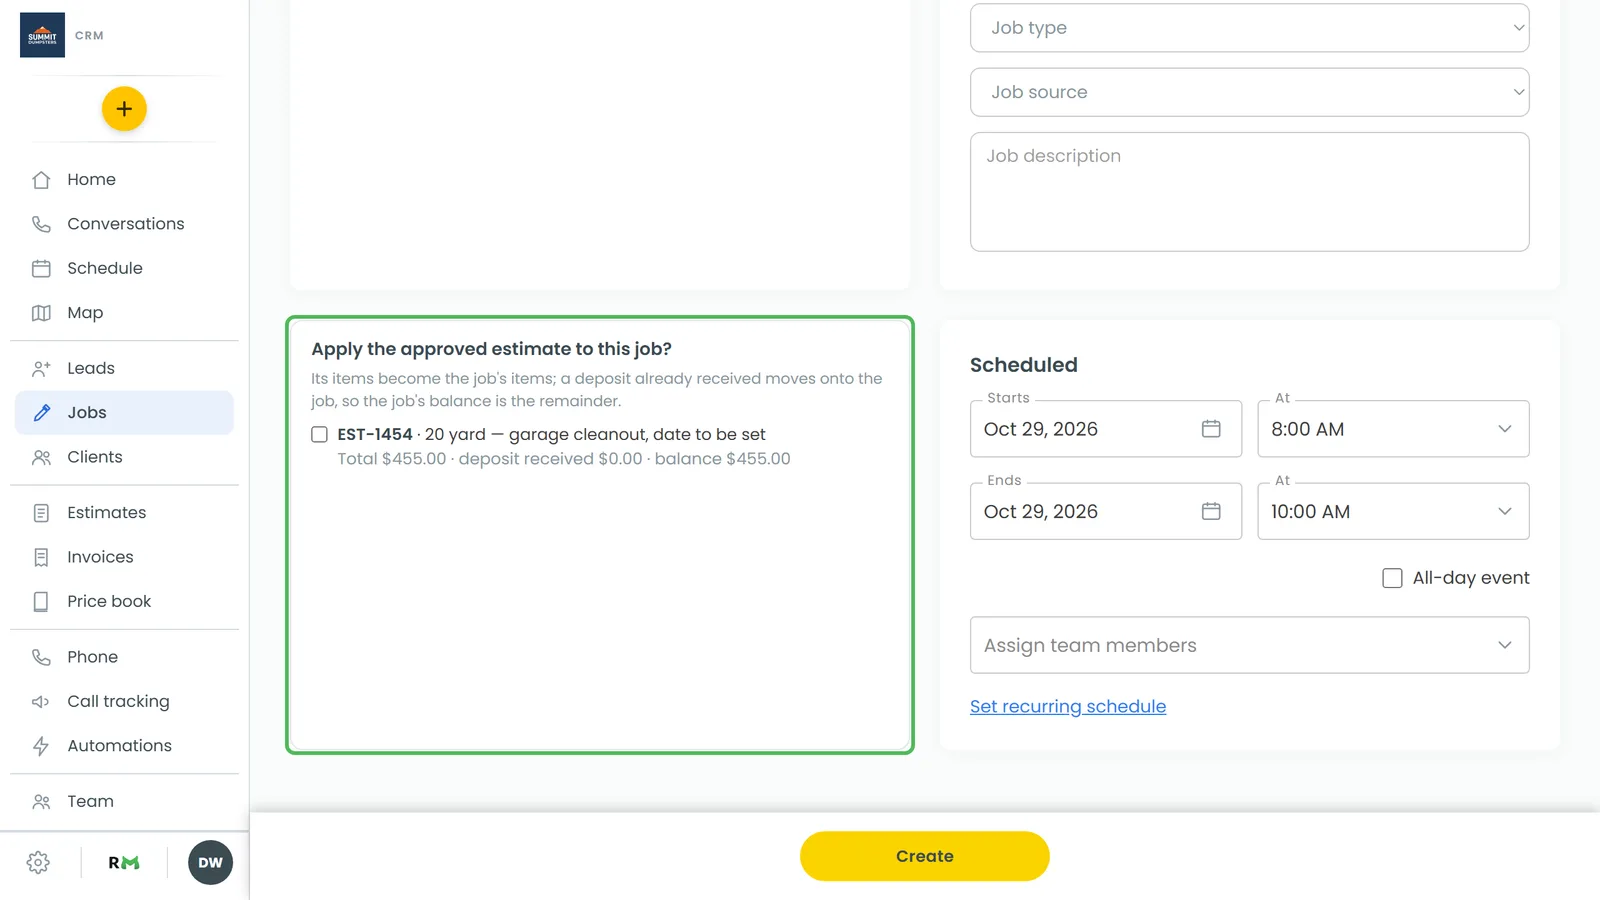
Start a new job for that customer the way you always do. If they have any approved estimates waiting, the job form shows Apply an approved estimate to this job? with one row per estimate: its number, total, deposit received and balance.
- In the menu, click Jobs, then Create new and pick Job.
- Pick the customer.
- Under Apply an approved estimate to this job?, tick the estimate you want. If the customer has two waiting, both are listed; tick as many as apply.
- Set the date, crew and anything else, then save.
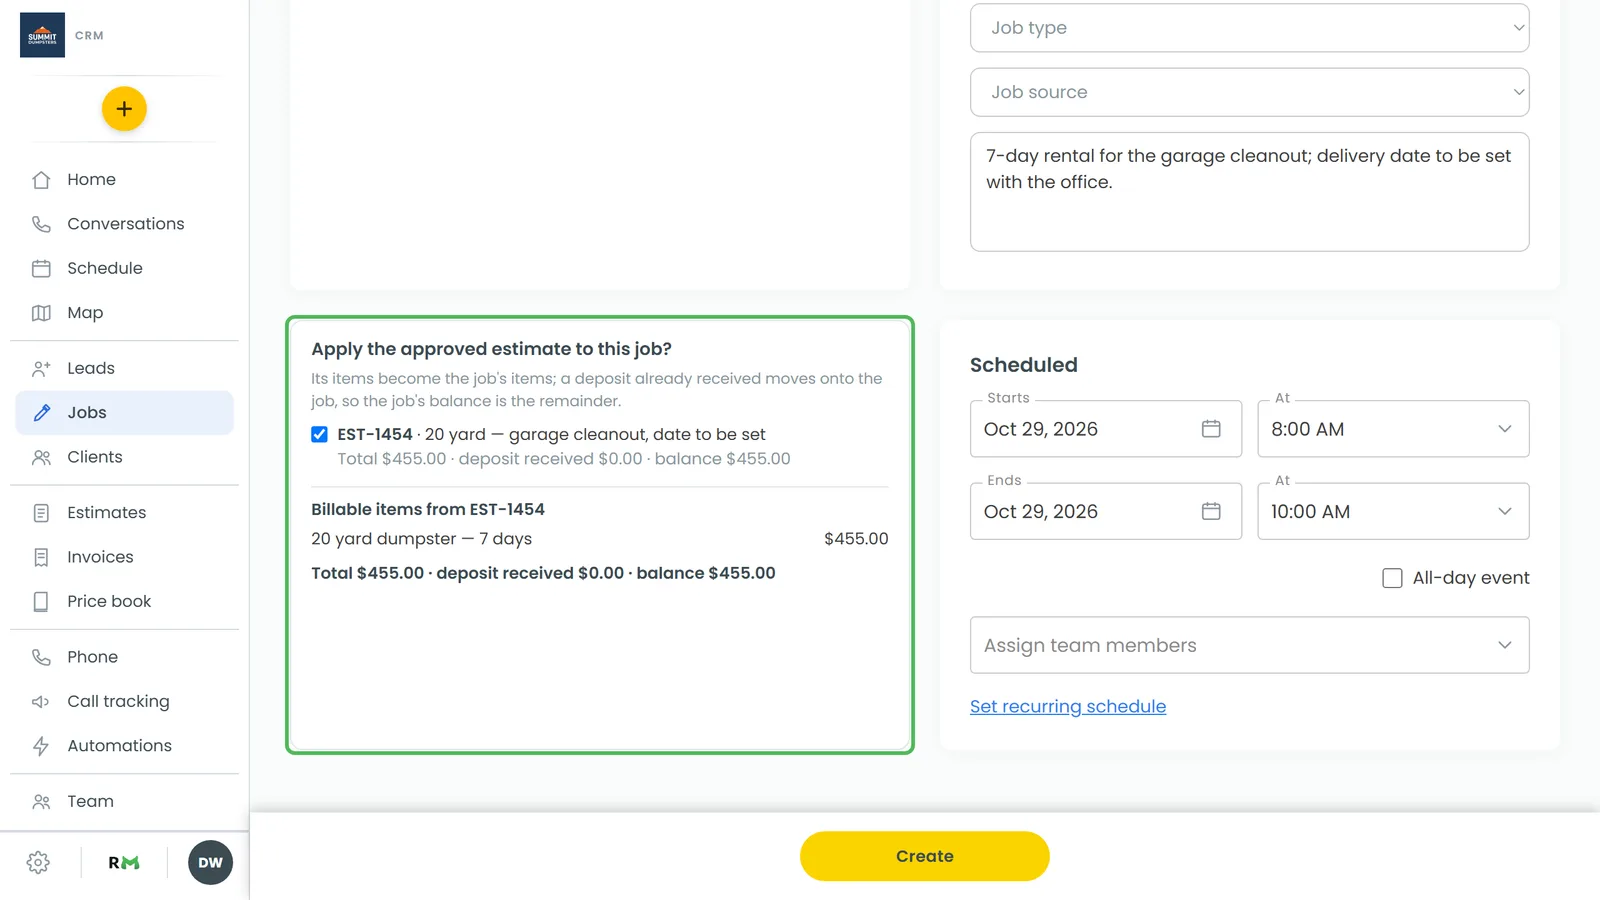
The estimate's items land on the job as its billable items, and the deposit the customer paid moves onto the job as a payment.
The phone app works the same way: the box appears on the new-job screen once you've picked the customer.
Route 2: Copy to job from the estimate
- Open the approved estimate.
- On a computer, click Actions at the top right, then Copy to job. On the phone app, tap Copy to job at the bottom of the estimate (it's also under ⋮).
- The new-job form opens already filled in: the customer, the service address, and a read-only Billable items from the estimate list with one money line: Total · deposit received · balance.
- Set the date and crew, then save. The job is created with the estimate applied.
What comes across to the job
- The customer, the service address, and the estimate's name as the job name.
- The priced items, with their quantities and prices. Optional items the customer didn't take stay behind.
- The job type and source from the job the estimate was quoted on. If it wasn't quoted on a job, the source comes from the customer.
- The deposit invoice and the payment on it.
Once it's a job, the money is simply the job's balance: the job's total from its items, less what the customer already paid as a deposit. The invoice you create from the job bills that remainder.
If the estimate came from a lead, that lead is marked Won.
What happens to the estimate
The estimate keeps its own number and stays locked. Under its status you'll see Became followed by the job number, which links to the job. You can't apply the same estimate twice, and nothing done on the job can un-approve it.
Create the invoice from the job
- On the job, click Create Invoice at the top right. On a phone, open the job's Finance tab and tap Create invoice.
- Collect payment or send the invoice from there. It bills the balance, with the deposit already counted.