In this article, you'll learn how to split one bank charge across two or more categories. Say you spent $340 at the hardware store, with $260 for job materials and $80 for shop supplies. A split files each part where it belongs, so your category totals stay accurate.
Bookkeeping is a feature you switch on in Features first. If you haven't set it up yet, see Turning on Bookkeeping and connecting your bank.
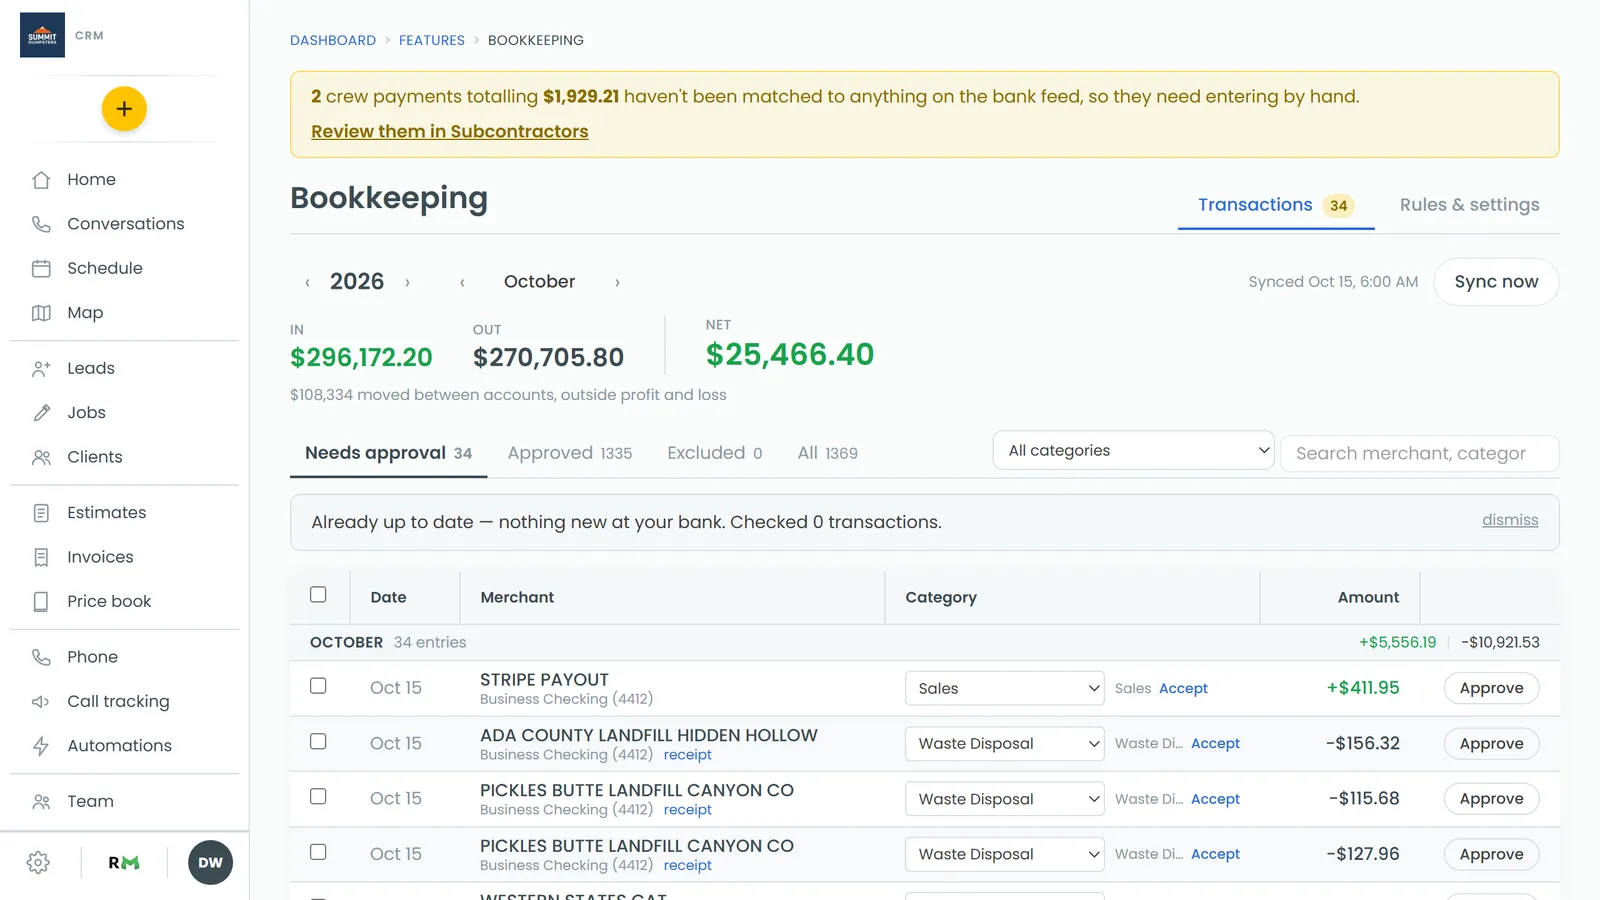
To open your transactions:
- In the menu, click Bookkeeping.
- Make sure the Transactions tab is selected.
Split a charge
- Find the charge and click its merchant name. The row opens up underneath.
- Click Split into categories. The Split this expense window opens, with the charge's merchant, date, account and total at the top.
- You start with two lines. The first one already has the charge's current category (if it had one) and the full amount. Each line has:
- a category picker (Pick a category)
- a dollar amount
- a rest button, which puts whatever's left over on that line, so you don't have to do the math
- an optional note
- a ✕ to remove the line
- Pick a category for each line and type the amounts.
- Need more than two categories? Click + Add a line. The new line starts with whatever amount hasn't been assigned yet.
- Check the indicator next to + Add a line:
- Balanced means the lines add up to the charge exactly.
- Unassigned $x means you still have money to place.
- Over by $x means the lines add up to more than the charge.
- Click Save split.
Save split stays greyed out until the lines balance to the cent and every line has a category. A split also needs at least two lines, so the ✕ won't work when only two are left.
What a split looks like
Once it's saved, the row's Category column says Split across 2 (or however many lines you made). Hover over it to see the category names. Open the row and you'll see each category with its amount and note.
Each line counts toward its own category. The month's totals, the All categories filter and the search box all use the split lines, not the charge as a whole. So filtering by "Job materials" shows the hardware store charge, and only the $260 counts toward that category.
A split charge still needs approving like any other. See Categorizing and approving transactions.
Change or remove a split
- Click Split across N in the Category column. Or open the row and click Edit split.
- To change it, adjust the lines and click Save split.
- To undo it, click Remove split. The charge goes back to having no category, ready to be filed under one.
Split charges automatically with a rule
If the same charge comes in every month and always splits the same way, like a phone bill that's part business and part personal, you can have a rule do it. Rules split by percentage instead of dollars, so the same rule works whatever the amount is. See Creating categorization rules.
Related articles
- Bookkeeping overview
- Categorizing and approving transactions
- Creating categorization rules
- Managing expense categories
- Reading your books at month end