In this article, you'll learn how to add photos and videos of your work during onboarding. Every photo you upload becomes a daily post on your Google profile, and we build your website from the same set, so the more real job photos you send, the better.
To open the step right after checkout:
- Work through onboarding until you reach the SEO section in the left rail.
- After Searches, you land on Photos and videos of your work.
To open it later from your dashboard:
- In the menu, under Support, click Settings.
- Click Onboarding. The steps on your plan list underneath it.
- Click Photos & videos.
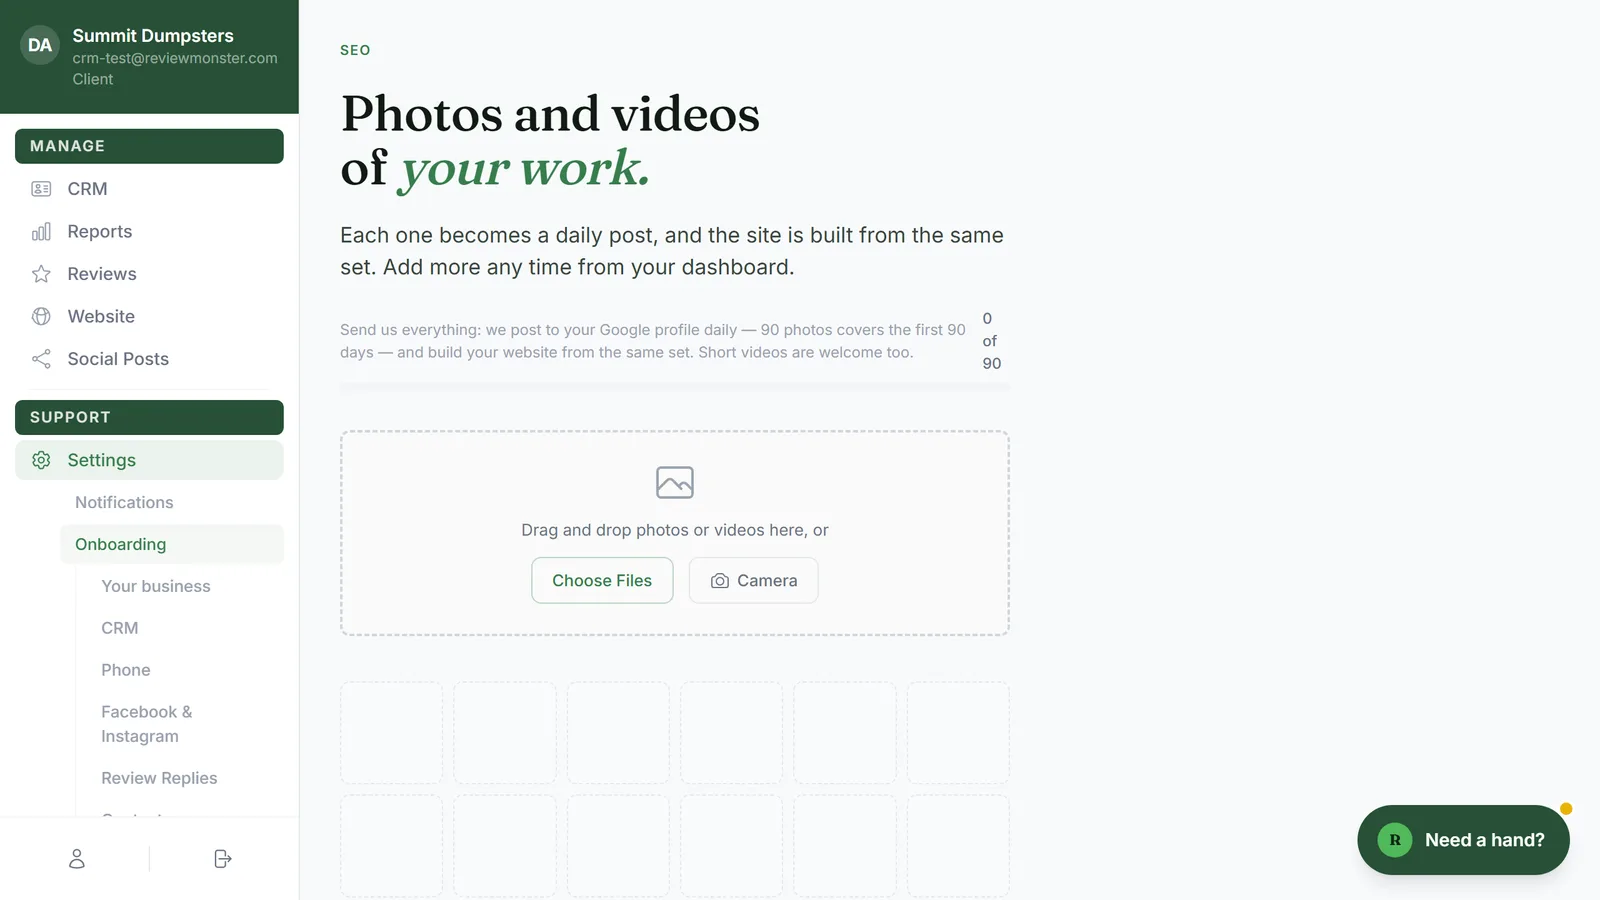
Check how close you are to the target
Above the upload box there's a short line and a green meter that reads something like 12 of 90. Ninety photos covers your first 90 days of daily Google posts. Only photos count toward the meter. Videos are a bonus on top, and they're welcome.
Once you pass 90, the meter turns bright green and the line tells you that you have enough photos for daily posts.
Upload photos and videos
You've got three ways to add files:
- Drag and drop: drag photos or videos from your computer onto the dashed box that says Drag and drop photos or videos here, or.
- Choose Files: click Choose Files, pick as many photos and videos as you like, and open them. Up to 100 go in per batch.
- Camera: click Camera to take a photo with your device's camera. This one takes photos only.
This step only takes pictures and video clips. Anything else you pick, like a PDF, is left out, because everything here goes out as a post.
Watch the uploads go through
Under the box, each file that's still on its way gets its own line with a spinner, the file name and where it's at: Queued, Resizing or Uploading. Videos show a percentage as they send.
While files are sending, a yellow Keep this page open notice shows up above the box. Stay on the page until it goes away. If you close or leave it, anything still sending stops, and your browser will warn you before you go. When everything's in, the notice turns green and says All uploaded — safe to leave this page.
If a file fails, you'll see a red notice that says it didn't make it. The rest are in, so pick just the failed ones again to resend.
Page through what you've added
Your uploads fill a gallery six across, newest first, with dashed empty squares for the photos still to come. Each page holds 30. Use Next and Back under the gallery to move between pages. The count between them shows which squares you're looking at, like 1–30 of 90.
Remove a photo or video
- Hover over the thumbnail you want gone. On a phone, the button is always showing.
- Click the small X in its top-right corner.
It's removed right away, so it won't be posted or used on your site.
Skip it for now
Don't have your photos handy? Click Later to move on to Agreements. Clicking Continue does the same once you're done uploading, and Back returns you to Searches. Anything you've already uploaded is saved the moment it finishes, whichever button you use.