In this article, you'll learn how the CRM works out where each online booking came from, how to label your ad links so each one gets its own Source, and where to look it all up. Once it's set up, you can see which ads and links are turning into booked jobs.
To see a customer's Source on the web:
- In the menu, click Clients, then click the customer.
- Click the ⋮ at the top of the customer card. The Customer details line shows Source: followed by where they came from, then the channel, for example "booking via yourdomain.com".
- Click edit to change the Source or Channel drop-downs by hand, then click Save.
Nothing to set up on the booking page
Settings › Online booking has no source or campaign picker, and your booking link is the same for everyone. Instead, your website remembers the first page of each visit: the site that sent the visitor and the landing address with any tags on it. A tagged arrival is kept for 90 days, so someone who comes back later from a bookmark still counts for the ad that first brought them.
What the booking page records
When a visitor books, two things are saved on their customer record:
- Source is where they came from. A Google Ads click becomes Google Ads. A visitor sent by an AI assistant becomes AI search. A tagged link names its Source (see below). Everyone else, including someone who found you in a Google search or followed a link from another website, is filed under Website. A booking on one of your satellite sites is filed under Microsite.
- Channel is booking. On the phone it reads Online booking.
The Source is set once and never changed automatically. If the person is already a customer with a Source, the booking keeps the one they have. Only a hand edit on their page changes it.
What the job gets
The booked job carries the same Source in its Job source field. When your booking page takes requests instead of booking straight onto the calendar, the lead carries the Source, and the job you create from it takes it too.
Adding a Source for each ad
A tagged link only files under a Source that already exists in your list. If the name isn't there, the booking is filed under Other instead. So add the Source first.
To add a Source:
- In the menu, click the gear icon at the bottom, then click Job sources.
- Type the name in the New job source box, for example Facebook or Spring Mailer.
- Click Add.
In the app, open Settings and pick the Job sources tab. The same box and Add button are there.
Labeling your ad links
Google Ads adds its click ID on its own, so there's nothing to do there. For everything else, add a UTM tag to the end of the booking link you put in the ad or on the flyer. Put a question mark after the address, then the tag:
- utm_source=facebook files bookings under Facebook.
- utm_source=yelp, nextdoor, thumbtack, angi, bing, duckduckgo, yahoo, tiktok, youtube or linkedin files under that name.
- Any other value is turned into a name with capital letters. utm_source=spring-mailer looks for a Source called Spring Mailer.
Each name has to match a Source in your Job sources list, or the booking lands under Other. Make a different link for each ad and repeat for every place you advertise.
Seeing Source in the Clients list
- In the menu, click Clients.
- Click Fields. The Visible fields panel opens.
- Under Unselected fields, tick Source and Channel.
- Click Save fields. Both columns can be sorted from their headers.
Seeing it in reports
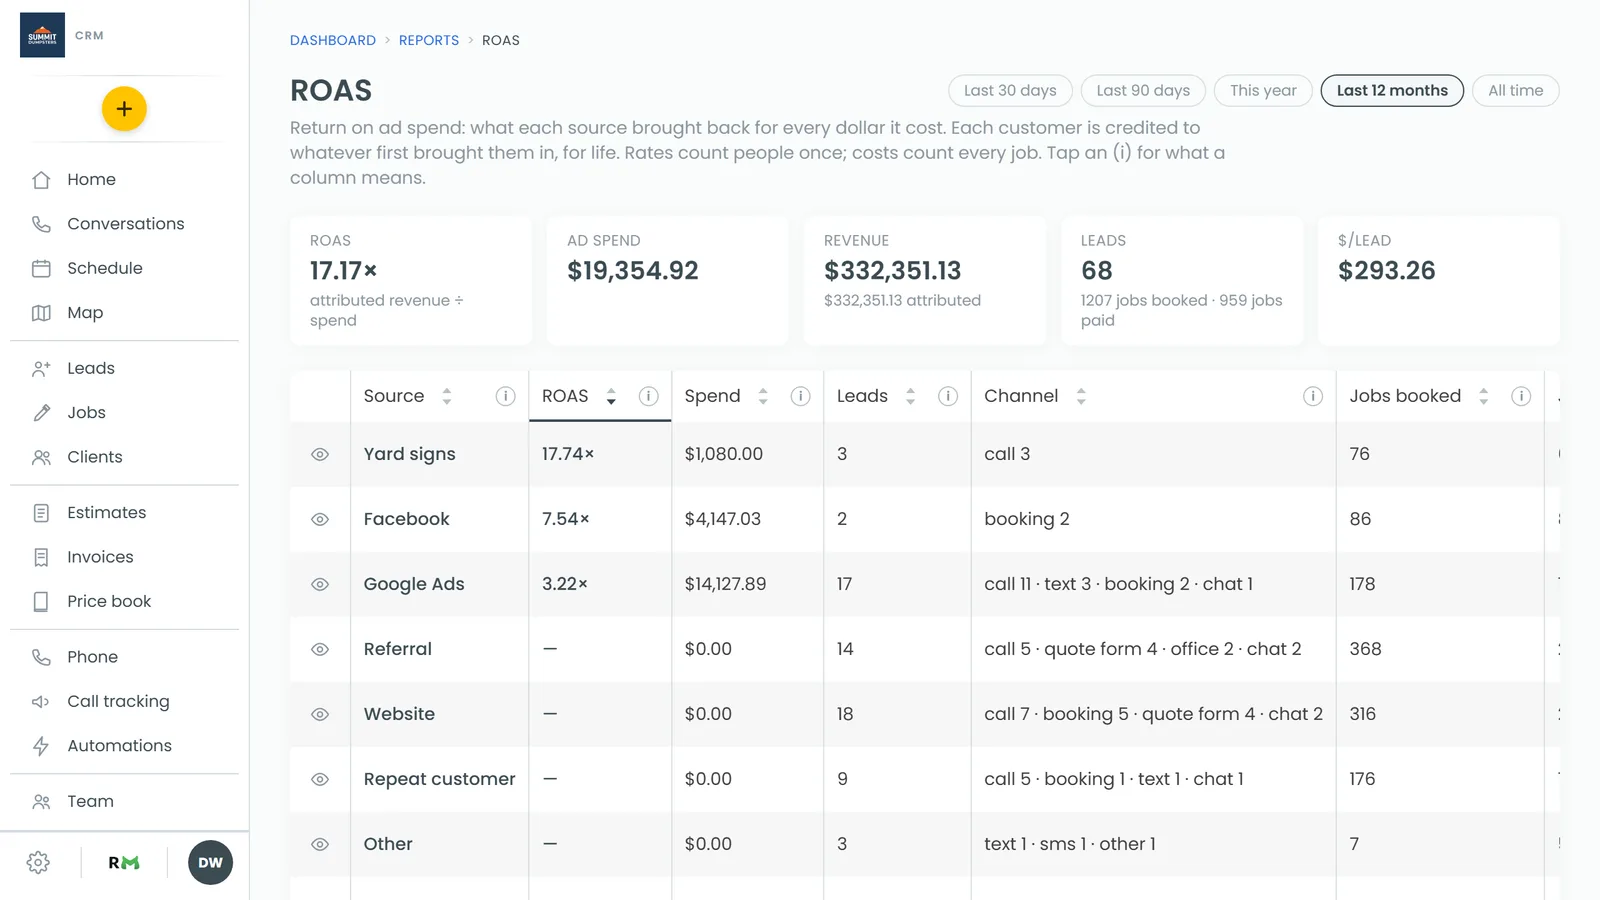
In the menu, click Reports, then ROAS. Each Source is a row with ROAS, Spend, Leads, Channel, Jobs booked, Jobs paid, Revenue, $/lead, $/booking, $/conversion, Booking rate, Close rate, Avg job and Contacts. Click the i next to a column name to read what it means. Customers with no Source sit in the Unattributed row so the totals still match your books. Spend comes from bank charges matched by your Spend rules, or amounts you add with Add spend on the same page.