In this article, you'll learn how to give each person on your team a role, change what a role can do, and create roles of your own. Your office manager probably needs more than a tech in the field, and roles let you show each person only what they need.
To open roles and permissions:
- At the bottom of the menu, click the gear icon to open Settings.
- Under Users & roles, click Roles & permissions.
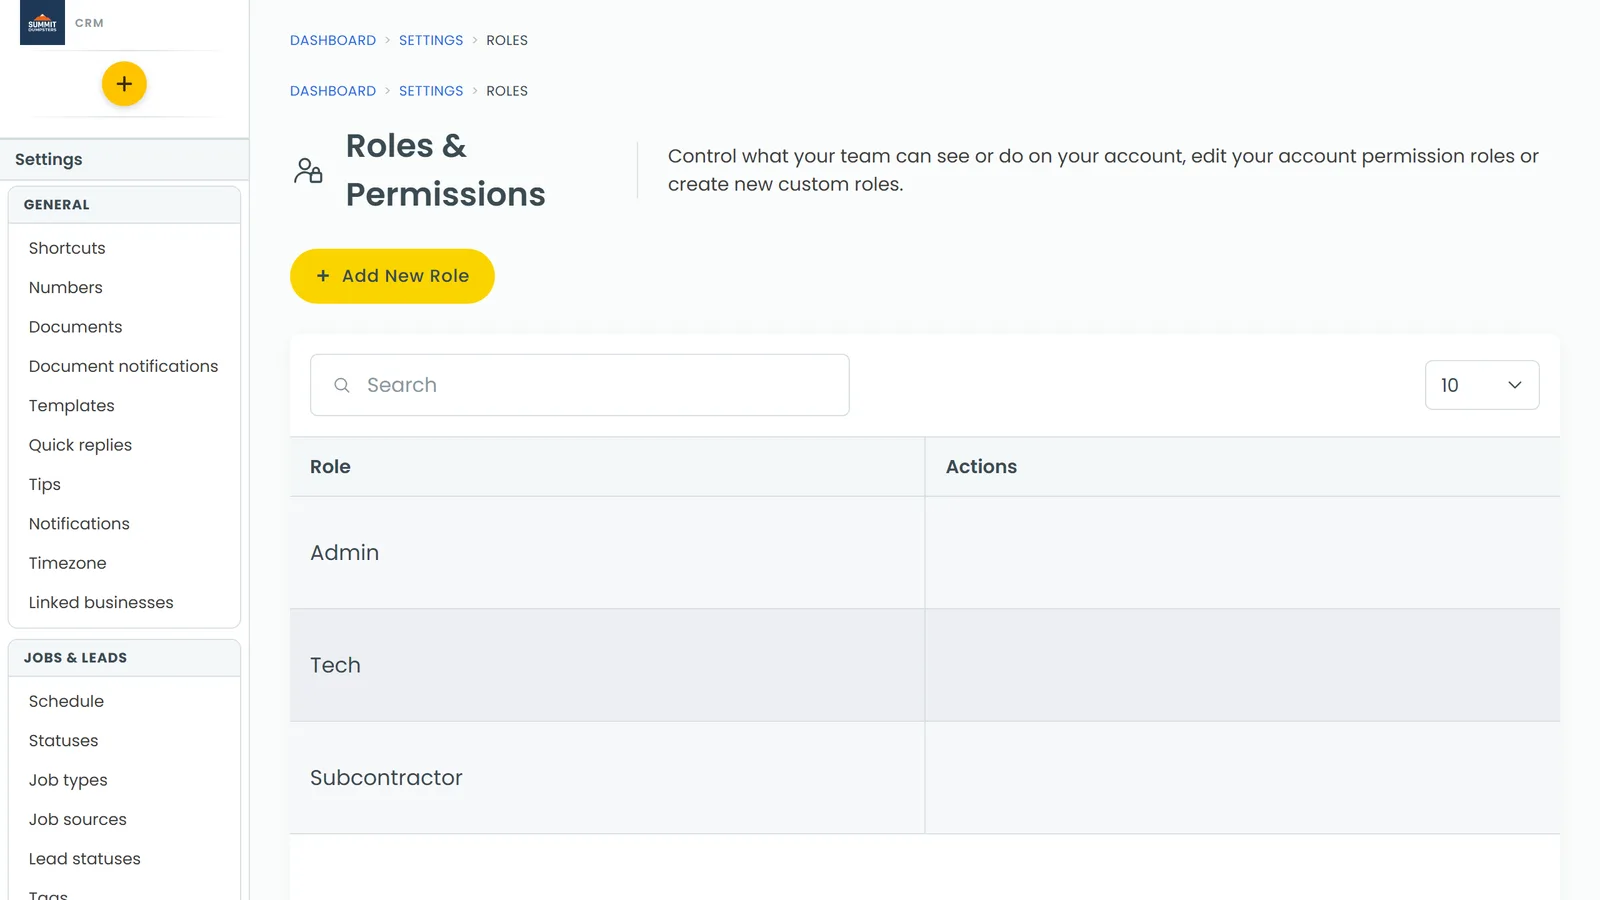
The built-in roles
Every company starts with three roles:
- Admin has every permission, always. You can't open it or change it.
- Tech starts with a set of everyday permissions turned on, like Messaging, Close Jobs, Charge Credit Cards and Pricebook Access. You can change any of them.
- Subcontractor starts the same as Tech, but with Other Users Jobs, Delete Job Payments and Other Users Schedule turned off. So a subcontractor only sees their own work. You can change these too.
Built-in roles can't be deleted.
What the permissions cover
Each permission is a switch with a short description under it. Here's how they group together:
- Settings and the office: Dashboard, Account Settings, User Settings, Job Settings, Lead Settings, Notifications
- Jobs: Add Jobs, Other Users Jobs, Job History, Close Jobs, Cancel Jobs, Reschedule Jobs, Change Job Type, Modify Done Jobs
- Clients, leads and messages: Clients, Client Job History, Merge Clients, Leads, Convert Lead To Job, Messaging, Client's Messages
- Money: Financial Data, Charge Credit Cards, Delete Job Payments, Change Payment Options On Invoices And Estimates, Pricebook Access
- Team schedule: Schedule Admin, Other Users Schedule, Time Off Approval/Decline
Changing a role's permissions
- On Roles & Permissions, click the role you want to change.
- A panel opens called Edit permissions for role followed by the role's name.
- Turn each switch on or off. Use the Search box to find a permission by name or description.
- Click Save, or Cancel to close without changing anything.
You'll see "Permissions saved" at the top of the screen. The change applies to everyone who has that role.
Creating a new role
- On Roles & Permissions, click + Add New Role.
- In the Create Role box, type a name in Role Name.
- Click Save.
- Click the new role in the list to open it.
- Turn on the permissions this role should have, then click Save.
Deleting a role you made
Roles you created have a Delete Role button on their row. Click it and confirm. Anyone who had that role is moved to Tech.
Giving someone a role
When you invite them
- Open Settings, then Team management under Users & roles.
- Click + Add New and stay on the User tab.
- Fill in their details and pick a role in Permission level.
- Click Invite user.
Subcontractors are invited from the Subcontractor tab instead, so that role isn't in the Permission level list.
After they're on the team
- In Team management, click the person's row to open their User Profile.
- Under Roles and permissions, choose a role from the Role dropdown.
- Click Save at the bottom of the page.
Hiding features from one person
On the same profile, below Notes, there's a list called CRM features this login sees (unticked = hidden). It shows the features your company has turned on in the store. Untick one to hide it from just this person, whatever their role says. Each tick saves as soon as you click it.
This list only shows for someone who can log in and isn't an Admin.
Related articles
- How to add team members
- How to customize your account settings
- Choosing your shortcuts and features
- Finding your reports and who can see them
- Logging in and out