In this article, you'll learn how to teach the chat assistant on your website about your business: the questions you answer every week, the background it should know, and the rules it must always follow. The assistant reads everything on this page at the start of every conversation, so the more you give it, the more accurate its answers are.
To open the assistant's settings:
- In your dashboard menu, click Website. The Website sub-menu slides open.
- Click Chat Widget.
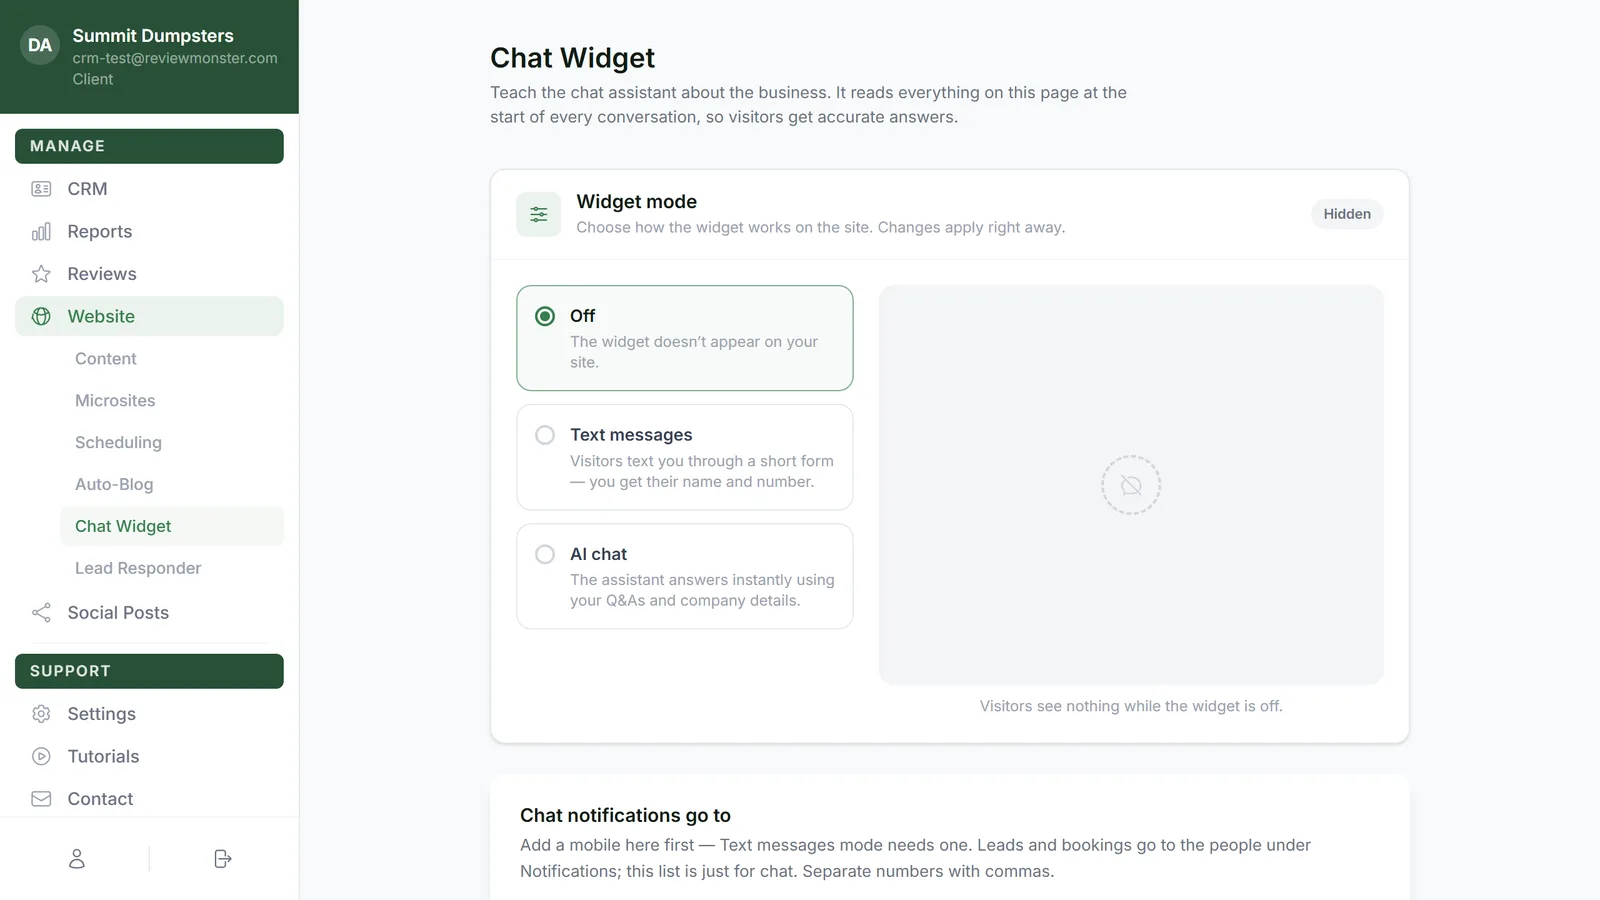
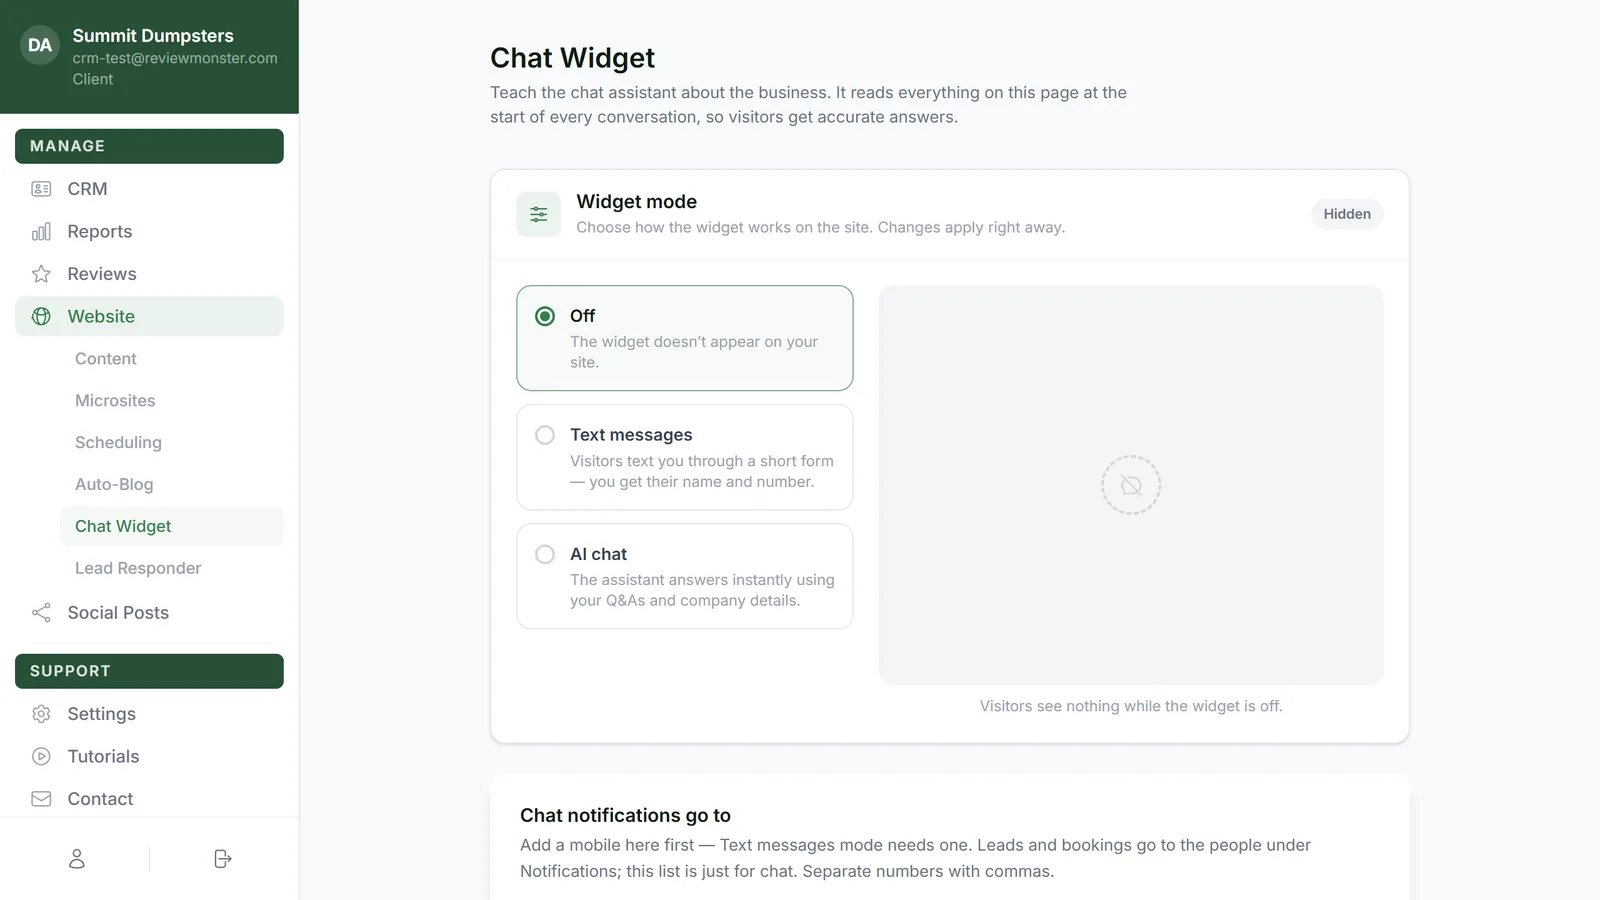
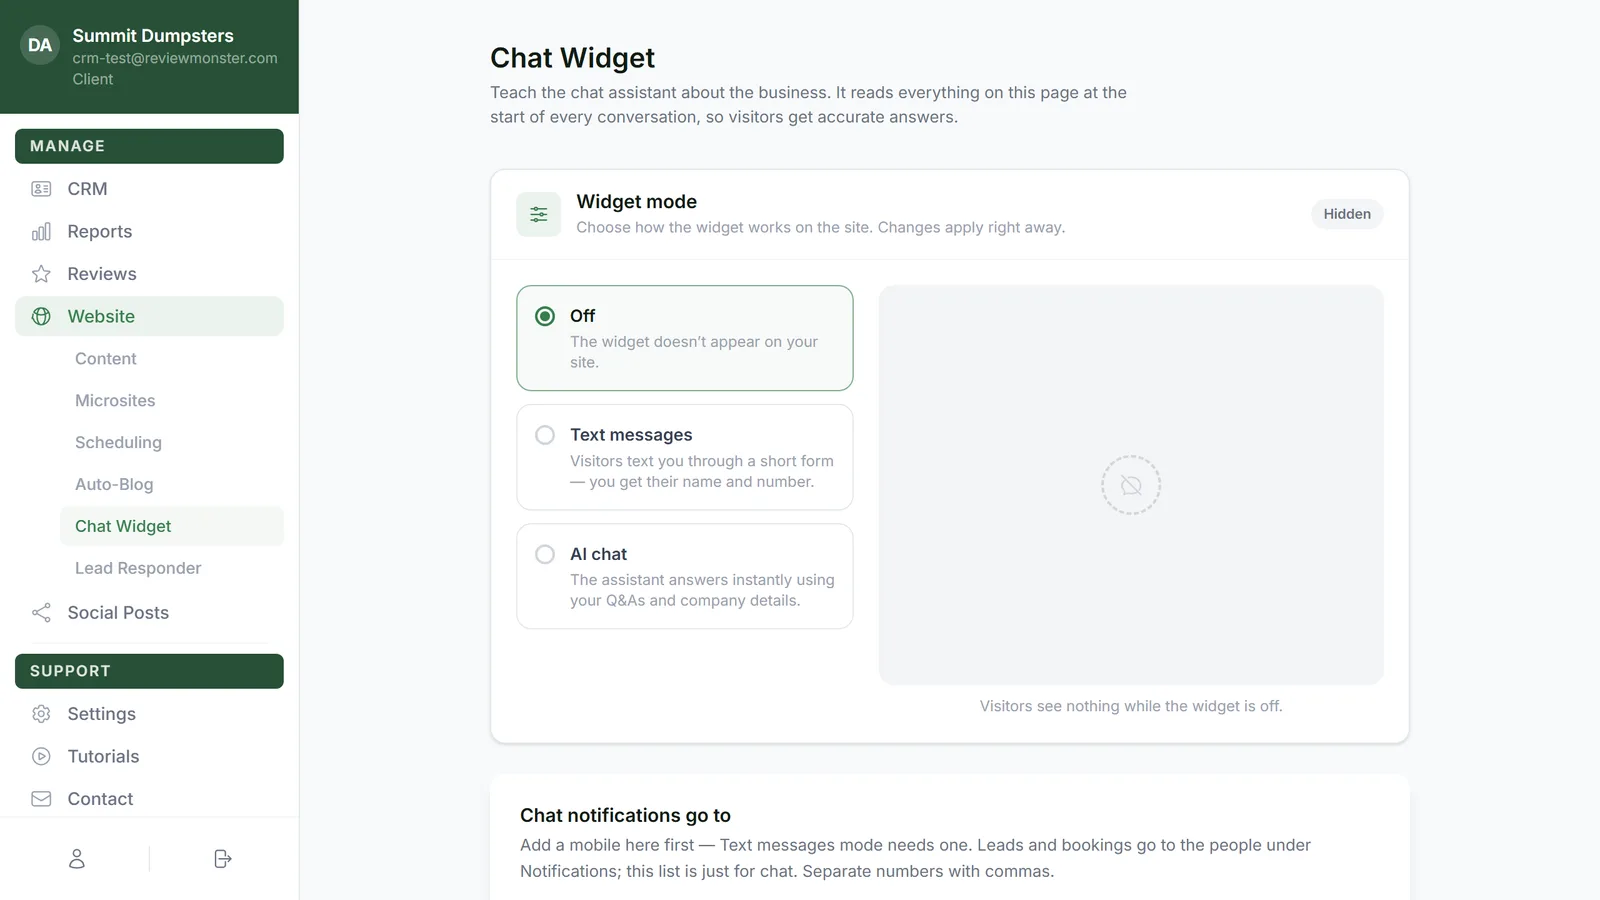
- Under Widget mode, make sure AI chat is selected. The badge at the top of the section reads Live · AI chat, and the Questions & answers, Company details and Instructions sections appear below.
Questions & answers
Write the questions customers ask most and the exact answer you want given. The assistant reuses these answers, in its own words when that reads better, but it never changes the facts.
Importing questions from your website
If your site already has an FAQ, you don't have to retype it.
- In the Questions & answers header, click Import from followed by your website's address.
- The button reads Scanning while it works. It reads up to a dozen pages, starting with FAQ, services, pricing and about pages, and pulls out question-and-answer pairs.
- A green note tells you how many questions it found and asks you to review them below, then save. If nothing new turned up, it tells you how many pages it scanned instead.
- Read through each imported pair and fix any wording you don't like.
Questions already in your list aren't imported twice. Nothing is saved until you click Save changes, so you can remove anything you don't want first.
Adding a question by hand
- Click Add a question.
- Under Visitor asks, type the question the way a customer would ask it.
- Under Assistant replies, type the answer you want given.
Removing a question
- Hover over the question. An X labeled Remove this question appears in its top-right corner.
- Click it. The row disappears, and the change is kept once you save.
Company details
Company details are background the assistant reads before answering: your services, your service area, your pricing approach, your policies. You can paste as much as you like.
- Click Add company details.
- Give the block a title, such as Services we offer.
- Type or paste the details in the text box below the title.
- Add more blocks for other topics. A good start is one block for services, one for your service area, and one for pricing or policies.
To remove a block, hover over it and click the X labeled Remove this block.
Instructions
Instructions are rules the assistant always follows, no matter what a visitor asks. They sit above everything else, including your company details and your answers. New accounts start with one rule: never give exact pricing, and offer to have someone follow up with a quote instead.
- Click Add a rule.
- Type the rule in plain words, such as "Never promise a same-day appointment."
- Add one rule per row.
To remove a rule, hover over it and click the X labeled Remove this rule.
Saving your changes
As soon as you edit anything, a dark bar appears at the bottom of the page reading Unsaved changes.
- Click Save changes.
- The bar reads Saving, then Saved with a green check, and goes away on its own.
If the bar reads Couldn't save, click Save changes again.
What the assistant does with all this
The assistant only states facts from your company details, your questions and answers, and passages it pulls from your own website. It starts reading your site as soon as you switch the widget on. If a visitor asks something none of those cover, it says someone will follow up rather than guessing. It never invents prices, availability, timelines or guarantees. Where your website and your typed details disagree, your typed details win, and your rules win over everything.
Once it has helped, the assistant asks for the visitor's full name, a phone number or email, and the address where the work is needed. It asks naturally, never before answering a question, and lets it go if the visitor would rather not say. When it has all three, the chat becomes a lead. If you use the CRM, the lead lands there too, under the source Chat widget.
Who hears about a chat lead
The Chat notifications go to section near the top of the page shows the mobiles and email addresses that get told about a new lead. These are the same lists you see under Settings then Notifications. Change them in either place and the other updates.
- Type mobile numbers in the first box, separated by commas.
- In AI chat mode a second box appears for email addresses. Separate those with commas too.
- Click Save. Each number and address is checked first, and a landline or a dead address is refused with the reason.
Whether a chat lead sends a text, an email or both follows the New lead row under Notifications. If that row has Text switched off, no mobile is texted, even though the number is listed here.