In this article, you'll learn how to send a document to a customer straight from a job on the phone app. It's handy for a work order, a waiver, a checklist or anything else you've built as a custom document, and you can ask the customer to sign it.
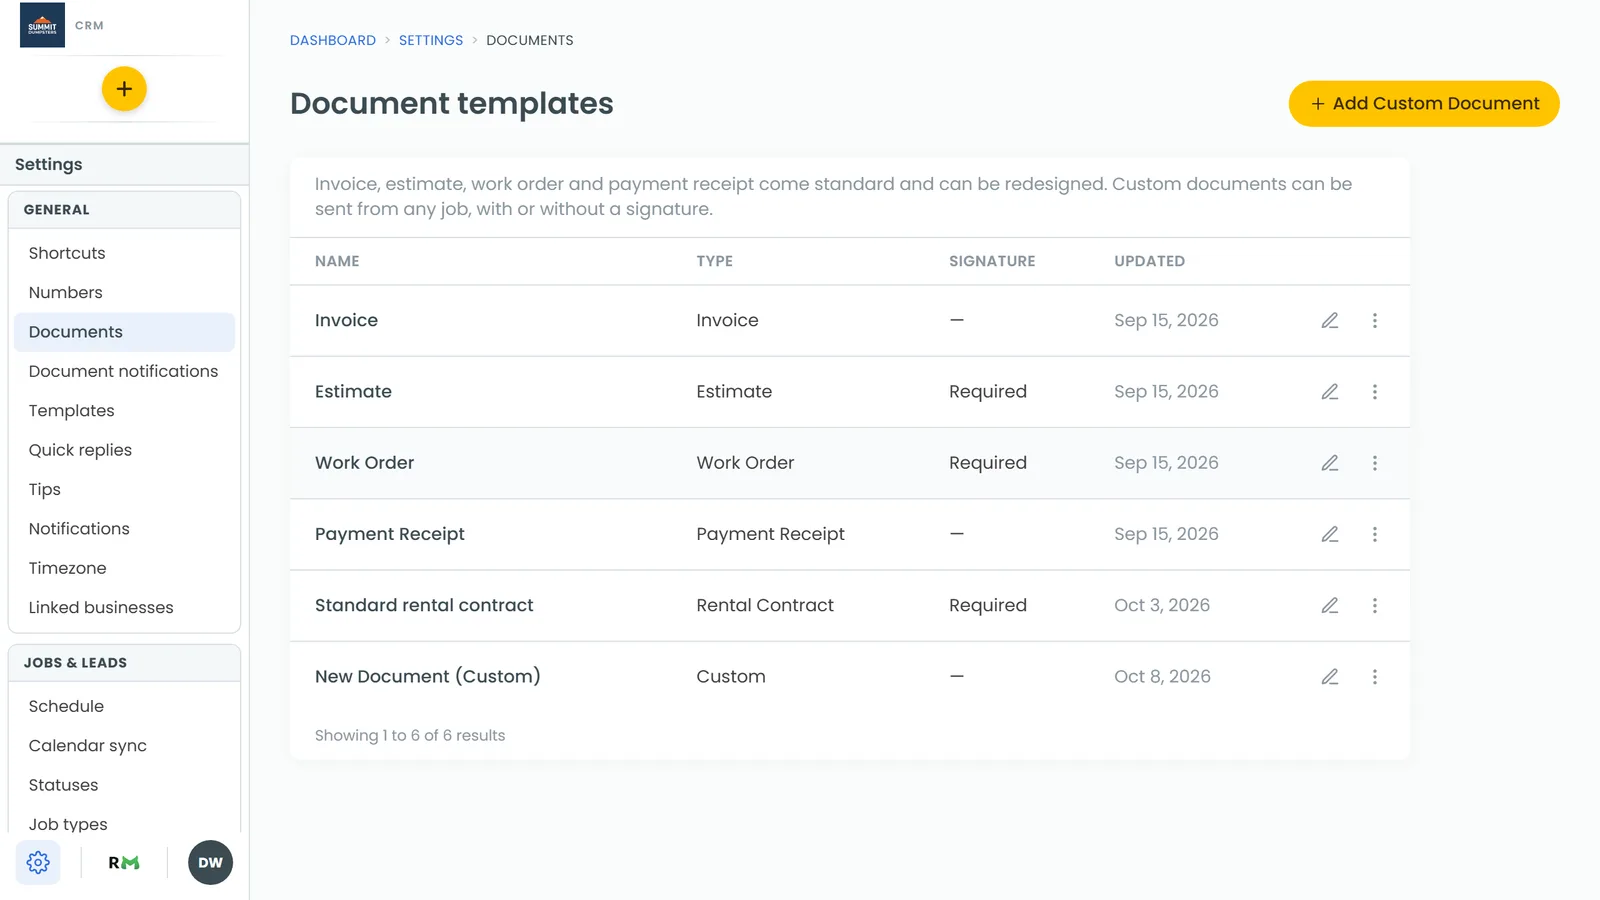
Every company starts with Invoice, Estimate, Work Order and Payment Receipt templates, and you can add your own custom documents. All of them live in Settings › Documents, and any of them can be sent from a job.
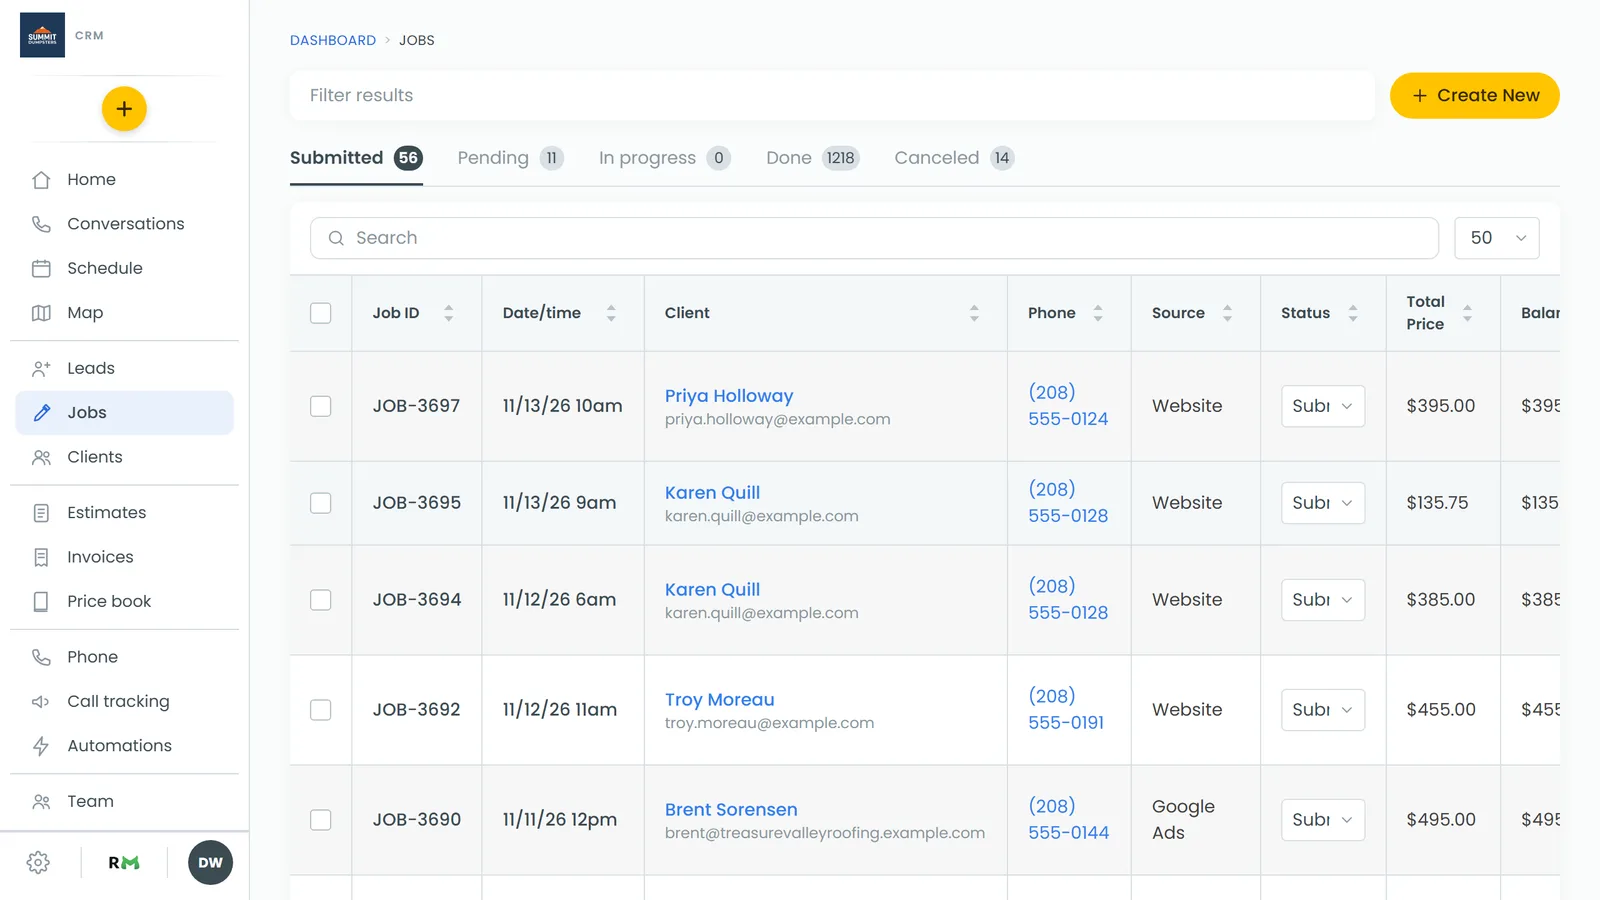
To find a job's documents:
- In the app menu, tap Jobs or Schedule, then tap the job.
- Stay on the Details tab and scroll down to Documents.
The block lists everything already sent from this job. If nothing has gone out yet, it says Nothing sent yet.
Send a document
- In the Documents block, tap Send document.
- Under Document, tap the one you want. Your own templates show (Custom) after the name. Work Order is picked for you to start with.
- Turn Ask the customer to sign it on or off. It starts out matching the template's own signature setting, and you can change it just for this send.
- Choose how to send it:
- Text texts the link to the customer's phone number.
- Email emails it to the customer's email address.
- Share link opens your phone's share sheet, so you can copy the link or send it some other way.
After a text or email, the sheet closes and you'll see Document texted to the customer. or Document emailed to the customer. The customer opens the link in their portal, and if you asked for a signature, they sign it there.
See where a document has got to
Each document in the block shows its latest step:
- Sent by text or Sent by email, with the date
- Viewed, once the customer opens it
- Signed by and the customer's name, once they sign
- awaiting signature after the name, when you asked for a signature and it hasn't come in yet
- Link created, when you only shared the link
Tap any document to open it the way your customer sees it.
Add or design document templates
If you're an admin, open the app menu and tap the gear at the bottom. Under General, tap Documents. The Document templates screen lists your templates with their type, and Signature required on any that ask for one. There you can:
- Tap Preview to open a sample of any template as a PDF.
- Tap Duplicate to make a copy you can rename and send.
- Tap Delete on a custom document. The app asks you to confirm first.
- Tap + Add Custom Document, type a Name, then tap Create.
Designing a template, meaning its blocks, fields and layout, happens on the web CRM. The app tells you so on that screen, and the Document designer (web) row in the same settings list opens it in your browser.
To build one from scratch on the web, see How to create a custom document from scratch. To send from the web instead of the app, see Generating and sending custom documents.