In this article, you'll learn how to set up Database Reactivation (DBR): the slow, steady run of review requests that goes to customers you served before Review Monster started sending for you. You'd use it to turn an old customer list into fresh Google reviews without texting everyone on the same afternoon.
Review Monster switches DBR on for your account. Reviews is on the menu for plans that include review requests, and if you don't see DBR under it, it's turned off for you and you can ask us to open it.
To open DBR:
- In the dashboard menu, click Reviews. The list under it slides open.
- Click DBR.
Where the past-customer list comes from
DBR only sends to contacts that came in as reactivation contacts. That's the one-time Past customers to ask step during onboarding, or a list Review Monster prepares and imports for you. Before an import like that goes in, you get a private page to check the list. Everyone starts as Keep, and you mark anyone who should be DNC or Not a customer. Your taps save as you go, and Done starts the import.
Customers you add later on Reviews › Contacts get a regular review request instead, not a DBR one.
Turning DBR on or off
- At the top of the page, click the Enable database reactivation switch.
- The change saves on its own. There's no separate save button for the switch.
The first time you switch it on, that date is saved as your DBR start date, for good. Switching it off pauses sending and keeps that date. Switching it back on picks up where it left off.
Setting how fast requests go out
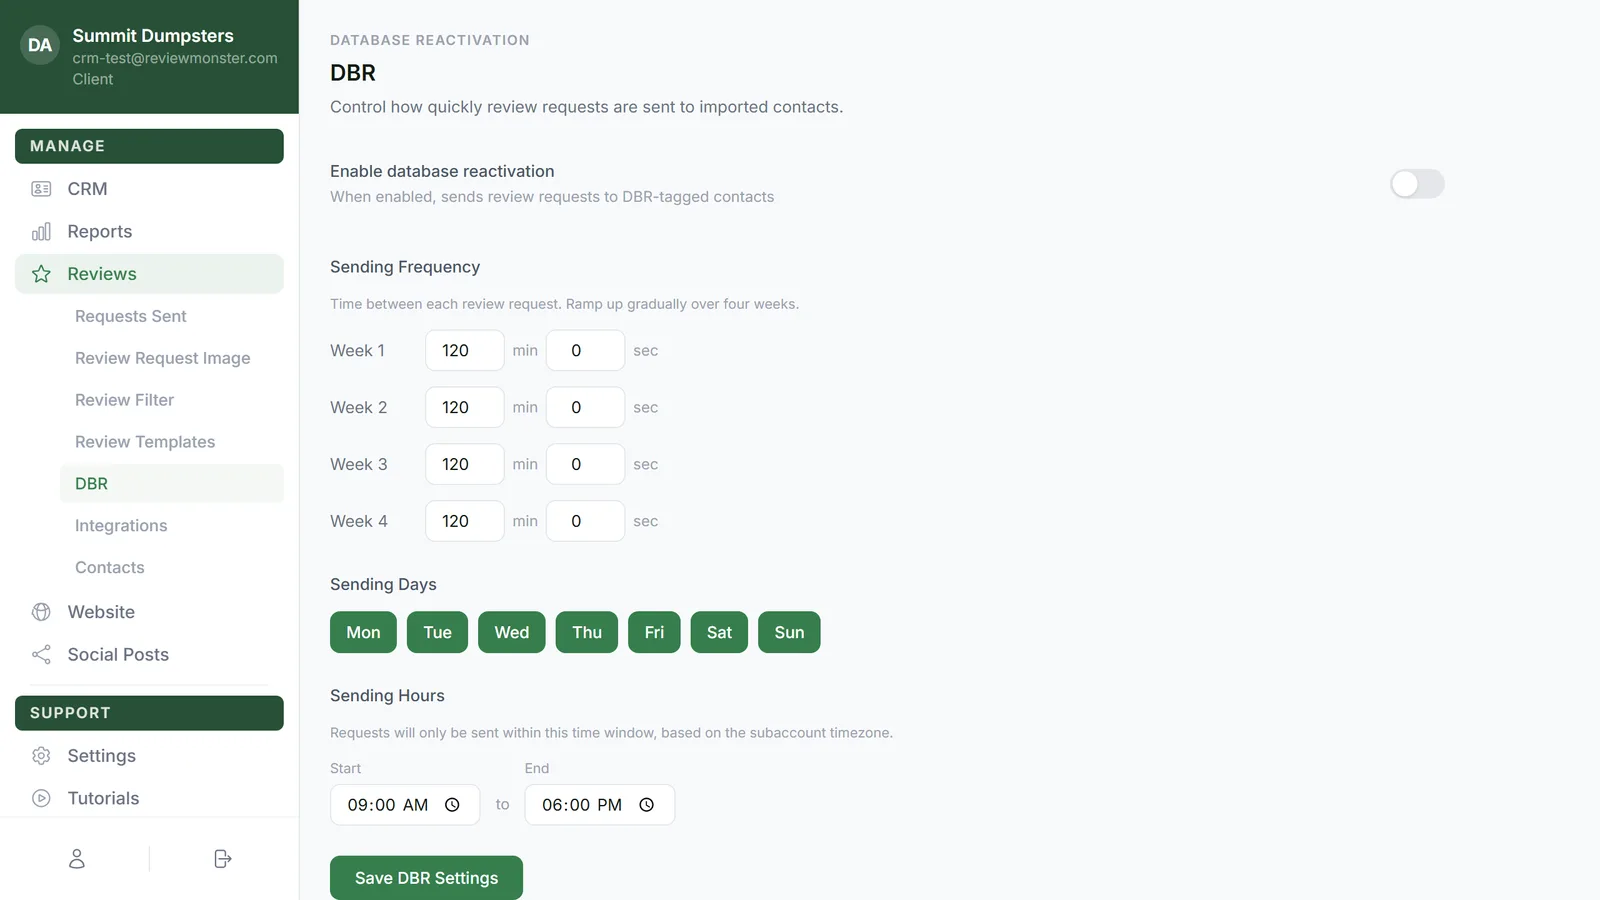
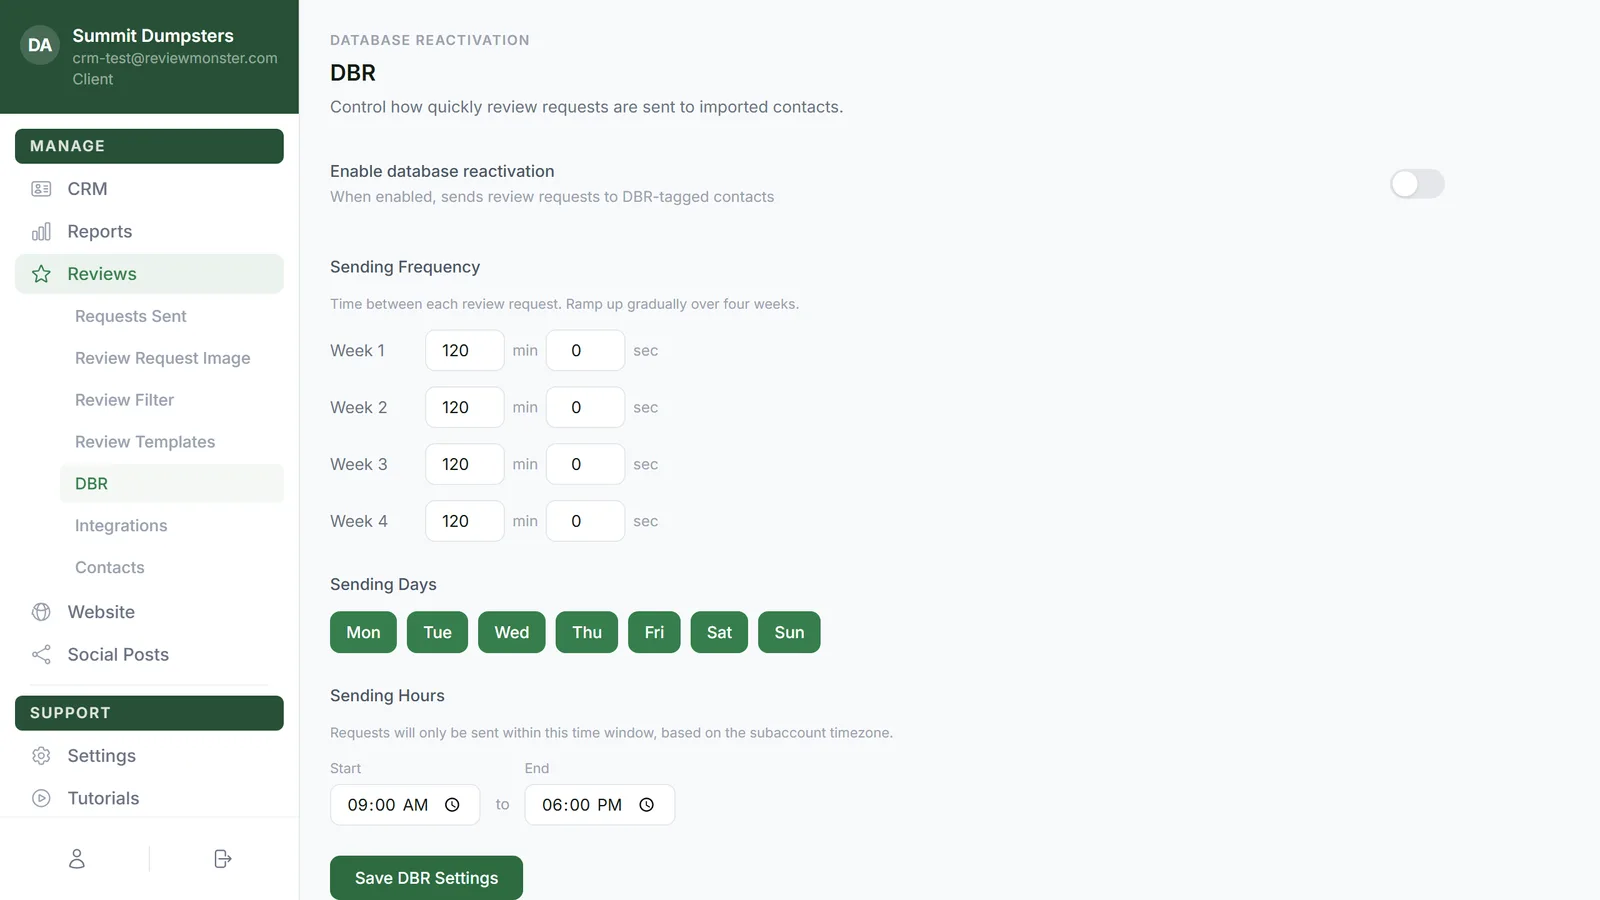
Under Sending Frequency, you set the gap between one review request and the next. There's a row for Week 1, Week 2, Week 3 and Week 4, each with a min box and a sec box.
- Type the minutes and seconds you want between requests for Week 1.
- Do the same for Week 2, Week 3 and Week 4.
- Click Save DBR Settings. The button reads Saving... and then Saved.
The four weeks count from the first time sending was switched on for your account, whether that was DBR or your regular review follow-ups. After week four, the Week 4 gap stays in place. Texts and emails are paced separately, so each channel waits its own gap, and a regular review request going out counts toward the gap too.
Choosing sending days and hours
- Under Sending Days, click a day to turn it on or off. Green means on. The days run Mon through Sun.
- Under Sending Hours, set a Start time and an End time.
- Click Save DBR Settings.
Requests only go out on the days you leave on and between those two times, in your business's time zone. Until you change them, every day is on, the hours are 9:00 to 18:00, and each week's gap is 120 minutes.
Editing the DBR text message
Below the settings is the DBR SMS Template card. It's separate from your regular review-request texts, so you can mention the past job.
- Click 1 or 2 to pick which text you're editing. The small round dot beside each number turns that text on or off, and it saves as soon as you click it.
- On text 2, set Template 2 delay in hr and min. It saves when you click out of the box.
- Click a field button to drop it into the message: First Name, Business Name, Link or Owner First Name.
- If your templates already use them, you'll also see Job Type, Short Address and Last Job Time, which fill in from what we know about the contact's last job.
- Turn Include image in SMS on or off.
- Click Save SMS Template. A Preview of the finished text shows underneath.
Editing the DBR email
The DBR Email Template card works the same way.
- Click 1 or 2 to pick the email, and use the dot to turn it on or off.
- On email 1, set Email 1 delay, which is how long after the first text it goes. On email 2, set Template 2 delay, counted from the previous email. Both save when you click out of the box.
- Next to Format, choose Plain Text or HTML. With HTML, you can turn on Include image at top. Choosing Plain Text switches the image off.
- Write the Subject Line and the Email Body, using the same field buttons.
- Click Save Email Template. A Preview shows the subject and body underneath.
Why a job-done request always wins
If a customer on your DBR list has a new job finished in the CRM, their regular review request takes over. Any DBR messages still waiting for them are retired, and that customer never comes back into DBR. The point of reactivation is reaching people you haven't asked yet, and a fresh job is a better reason to ask.
A few other rules keep DBR polite:
- A customer who clicks through to leave a review stops getting requests.
- A customer tagged DNC never enters the run.
- No one gets a new run of requests within 90 days of their last one ending.
- A customer who replies that it's not a good time is taken out of the DBR run.
Every DBR message shows up on Requests Sent like any other review request.