In this article, you'll learn how to add statuses and sub-statuses for your jobs. A sub-status lets you say more than "In progress" or "Pending", like "Waiting for parts", so everyone can see where a job stands at a glance.
To open your statuses:
- At the bottom of the menu, click the gear (Settings).
- Under Jobs & leads, click Statuses.
On the phone app it's the same path: open the menu, tap the gear, then Statuses under Jobs & leads.
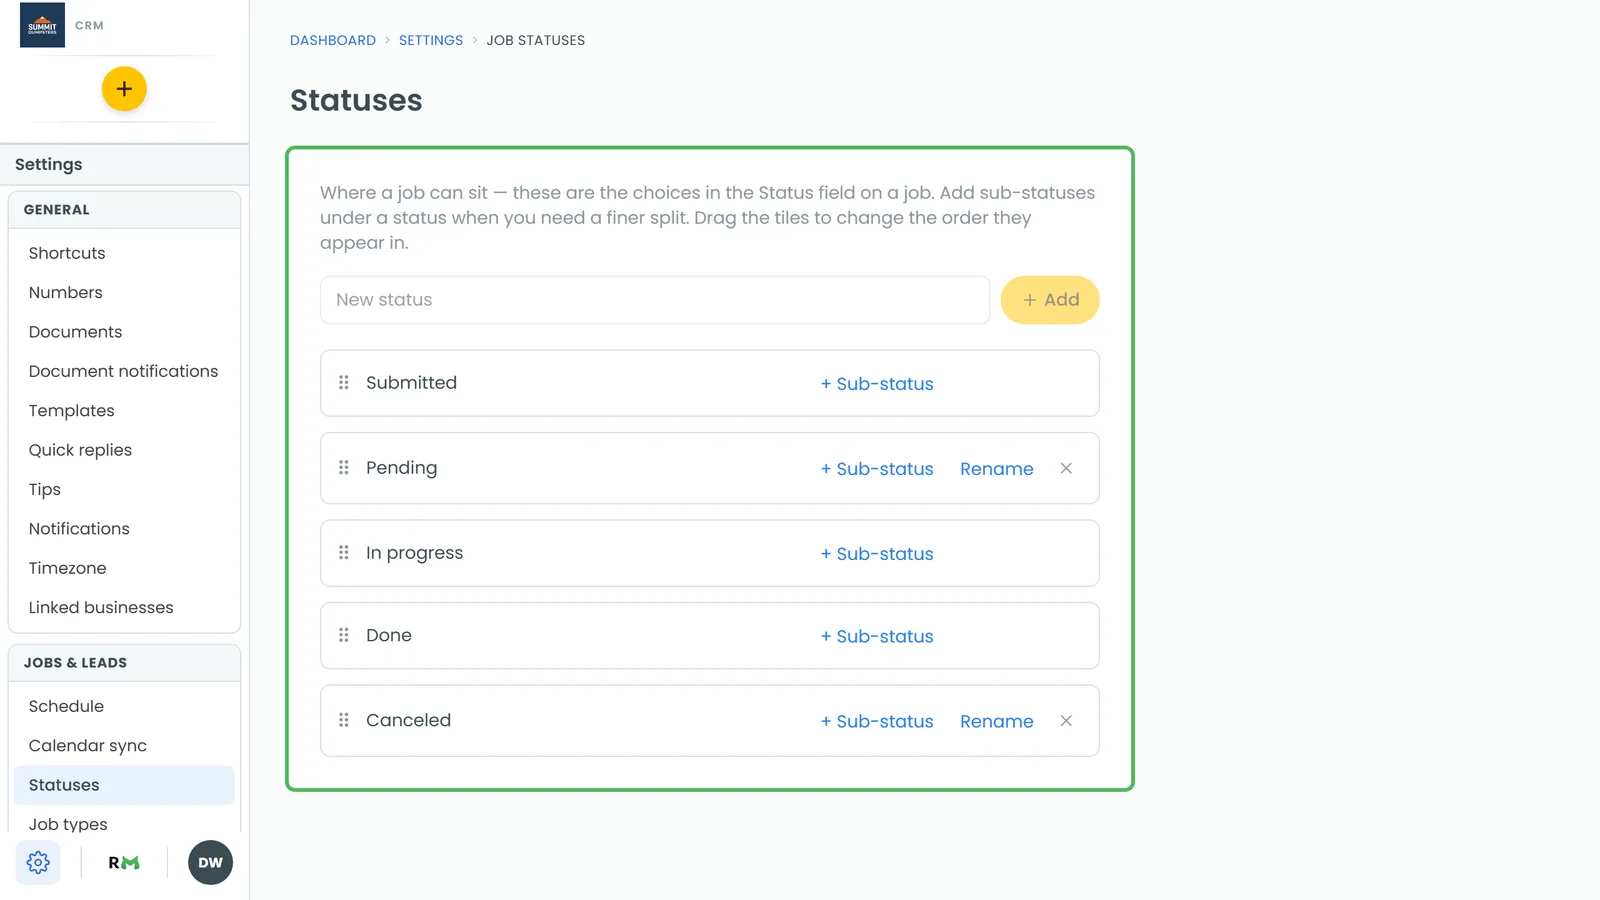
What's a status, and what's a sub-status?
A status is where a job sits right now. It's the choice in the Status field on a job. Every account starts with Submitted, Pending, In progress, Done and Canceled, and you can add your own.
A sub-status sits underneath a status and splits it more finely. Some examples:
- Under In progress: En route, Working
- Under Pending: Waiting for parts, Rescheduling
- Under Canceled: Too expensive, Went with someone else
Sub-statuses are entirely yours. Add as many or as few as fit the way you work.
Adding a status
- Type the name in the New status box at the top of the page.
- Click Add, or press Enter.
The new status lands at the bottom of the list. Each status also gets its own tab on the Jobs list, so you can see every job sitting on it.
Adding a sub-status
- Find the status you want it under and click + Sub-status on that row.
- Type the name in the New sub-status box that opens below it.
- Click Add. Click Cancel if you change your mind.
The sub-status appears indented under its status.
How sub-statuses show up on a job
When you open the status dropdown on a job, each status lists its sub-statuses indented right underneath it. Pick a sub-status and the job gets both: the status above it and the sub-status. The job then reads something like "Pending · Waiting for parts".
Only top-level statuses become tabs on the Jobs list. A job on "Pending · Waiting for parts" shows up under the Pending tab.
Reordering, renaming and deleting
- Reorder: on the web, drag a tile up or down. On the phone app, tap the ⠿ handle on a tile, then tap the tile you want to put it in front of. The order here is the order everyone sees in the dropdown. Sub-statuses move among themselves under their own status.
- Rename: click Rename on the row, change the name and click Save. Jobs already on that status move to the new name with it, and so do any automations that run on it.
- Delete: click the X on the row and click Delete to confirm. You can't delete a status that jobs are still using, or one that still has sub-statuses under it. Rename it, or delete the sub-statuses first.
On-my-way texts and your trucks
OMW is a feature you turn on first under Features. If you track your trucks through Bouncie, connecting them adds a sub-status under In progress for each truck, named after it. Setting a job to that sub-status sends the customer the on-my-way text with the truck's live location. If you use phone tracking instead, the crew picks the plain OMW sub-status, and the truck ones stay hidden from the dropdown.
You can rename a truck sub-status like any other. The text keeps working after a rename, because the CRM moves the truck link to the new name for you.