In this article, you'll learn what insert values are and how to use them in your documents and the messages that go out with them. Set a template up once with insert values, and every estimate, invoice or document fills in the right customer, job and company details by itself.
What is an insert value?
An insert value is a placeholder written in double curly brackets, like {{client.firstName}}. The first part is the group it comes from (client, job, account and so on) and the second part is the detail.
When a document or message goes out, the CRM swaps each one for the real detail from the customer's record, the job or your company settings. Your customer never sees the brackets. If a detail is blank on the record, the placeholder is simply left empty.
A few you'll use a lot:
- {{client.firstName}} is the customer's first name
- {{client.fullName}} is who the document is addressed to
- {{account.myCompanyName}} is your company name
- {{document.name}} is what's being sent, like "estimate" or "invoice"
Adding insert values to a document template
Insert values are what put the right name, address and totals on your estimates, invoices, receipts and custom documents. You add them in the document designer, which is on the web only. The phone app lets you preview, add, duplicate and delete templates, but not design them.
To open a document template:
- Go to Settings, then Documents.
- Click the name of the template you want to change.
To add an insert value:
- Click into a text, table, logo or signature block on the page. The editing toolbar appears.
- Put your cursor where you want the detail to go.
- Click Insert values.
- Point to a group, then click the value you want. It's typed in at your cursor.
- Click Save when you're done.
The Insert values menu has these groups:
- Client values: the customer's name, company, email, phones, address and billing address, plus their portal link
- Job/invoice values: the job's number, name, type, date, time, assigned tech, address and contact, plus invoice number, totals, tax, tip and balance due
- Account values: your company's name, address, email, phone, website and the owner's first name
- Estimate values: estimate number, date, total, required deposit and notes
- Invoice values: invoice number, date, due date, total, amount paid and balance due
- Payment values: amount paid, payment method, payment date and reference
- Rental values: what's rented, the rental term and dates, and the rates
- Document values: the document's name
- Job custom values and Client custom values: any custom fields you've set up for jobs and clients. If you haven't made any, these say None.
Adding insert values to the message sent with an estimate
The message that goes with an estimate (and with your other documents) uses the same insert values. The default estimate message starts with "Hi {{client.firstName}}," for example.
To change it while sending an estimate:
- In the Send estimate pane, click Edit template next to Message.
- Edit the subject and message. As the hint says, tokens like {{client.firstName}} fill in per customer.
- Click Save template. This changes the message for every estimate you send from now on.
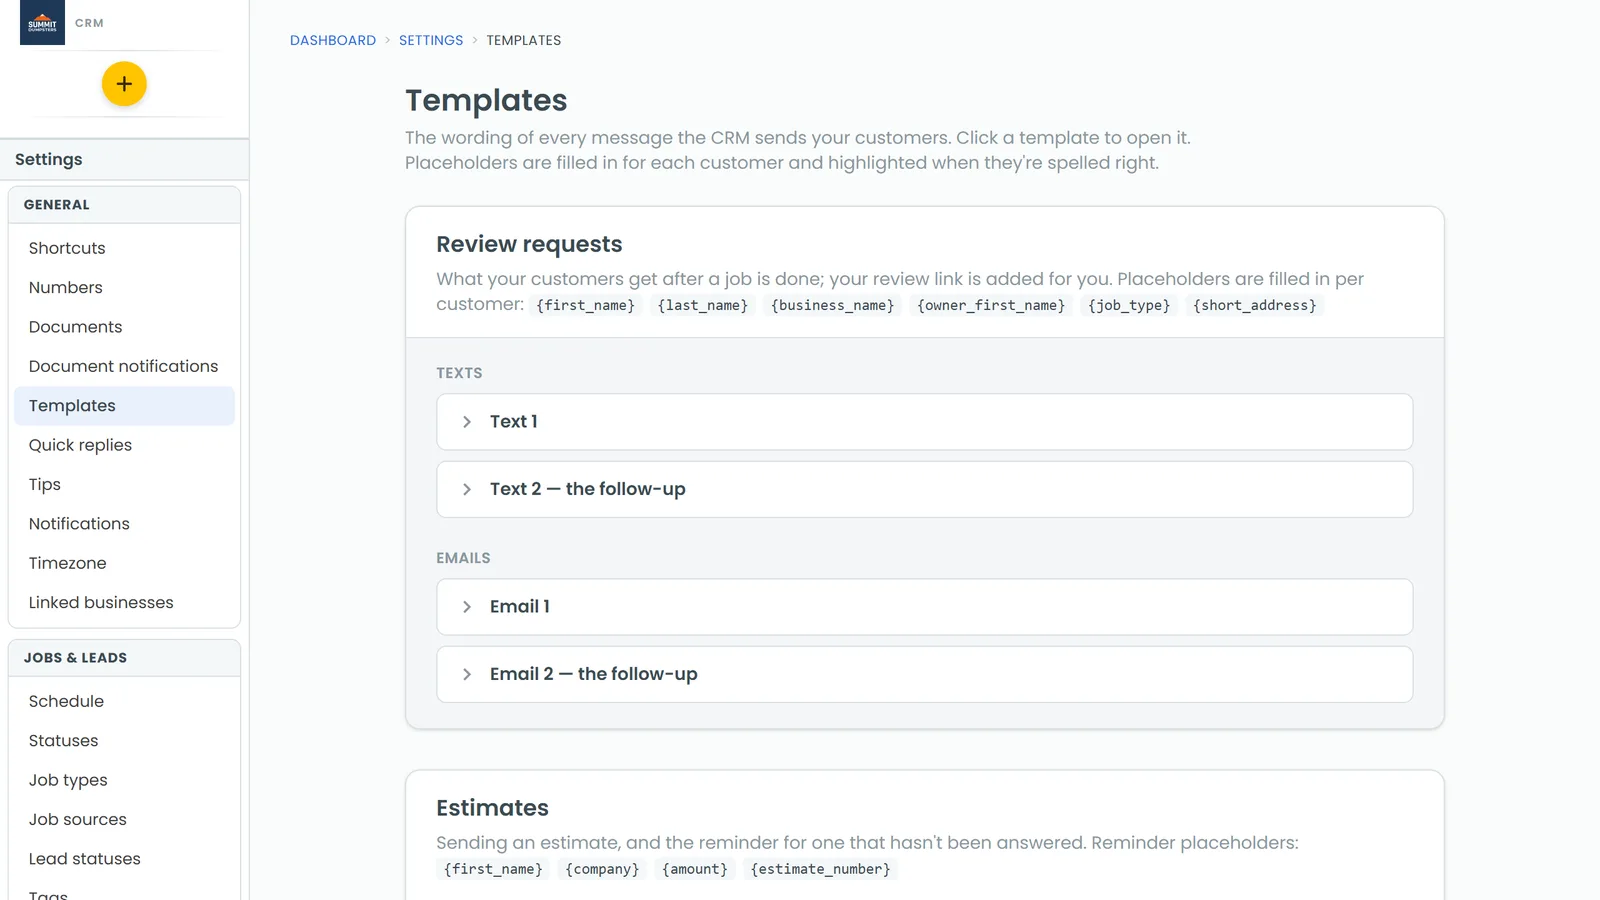
You can also edit it in the designer under Settings (the Document settings drawer), or in Settings, then Templates, under Estimates and Sending an estimate. They're all the same message. On the Templates page, click into a box and an Add a field row shows up. Click a placeholder to type it in where your cursor is.
Invoice and other messages use a simpler style
Invoice messages, reminders, receipts and a few others use plain single-bracket placeholders instead, like {first_name}, {company}, {amount} and {invoice_number}. Each template on the Templates page lists the ones it understands, and the Add a field buttons put them in for you. When a customer has no first name, {first_name} reads "there", so the message says "Hi there,".
To change the invoice message while sending:
- In the Send invoice form, click Edit template.
- Edit the wording, then save. It's used for every invoice your company sends that way from now on.
On the phone app, Settings, then Templates has the same templates and the same Add a field buttons.
Automations
Automation messages have their own set of short codes. See the automations short code guide for the full list.
Related articles
- Editing the messages sent with estimates and invoices
- Customizing estimate, invoice and receipt templates
- How to create a custom document from scratch
- Showing billing and service addresses on estimates and invoices
- Automations short code guide