In this article, you'll learn how your estimates and invoices show a client's billing address and the address where the work happens, and how to add either one to a template that's missing it. It matters when the person paying gets their mail somewhere other than the job site, like a landlord or a property manager.
Where the two addresses come from
Each client has two address cards on their page. Open the client and expand Addresses to see a Service address card and a Billing address card.
- When you add a client, you only enter one address. It becomes their service address, and it's also used as their billing address.
- If the client gets bills somewhere else, change the Billing address card. Until you do, documents print the main address in both places.
The steps for changing that card are in Changing a client's billing address.
The service address on a document comes from the job. On an estimate, it's the estimate's own address if it has one, and the job's address if it doesn't.
What the default templates already show
You may not need to change anything.
- The Invoice template has a Bill To: block that uses the client's billing address, and a Service Location: block that uses the job's address.
- The Estimate template has a Prepared For: block that uses the client's main address, and the same Service Location: block. If you want estimates to show the billing address too, follow the steps below.
Adding an address to a template
To open your templates:
- In the menu, click the Settings gear.
- Under General, click Documents.
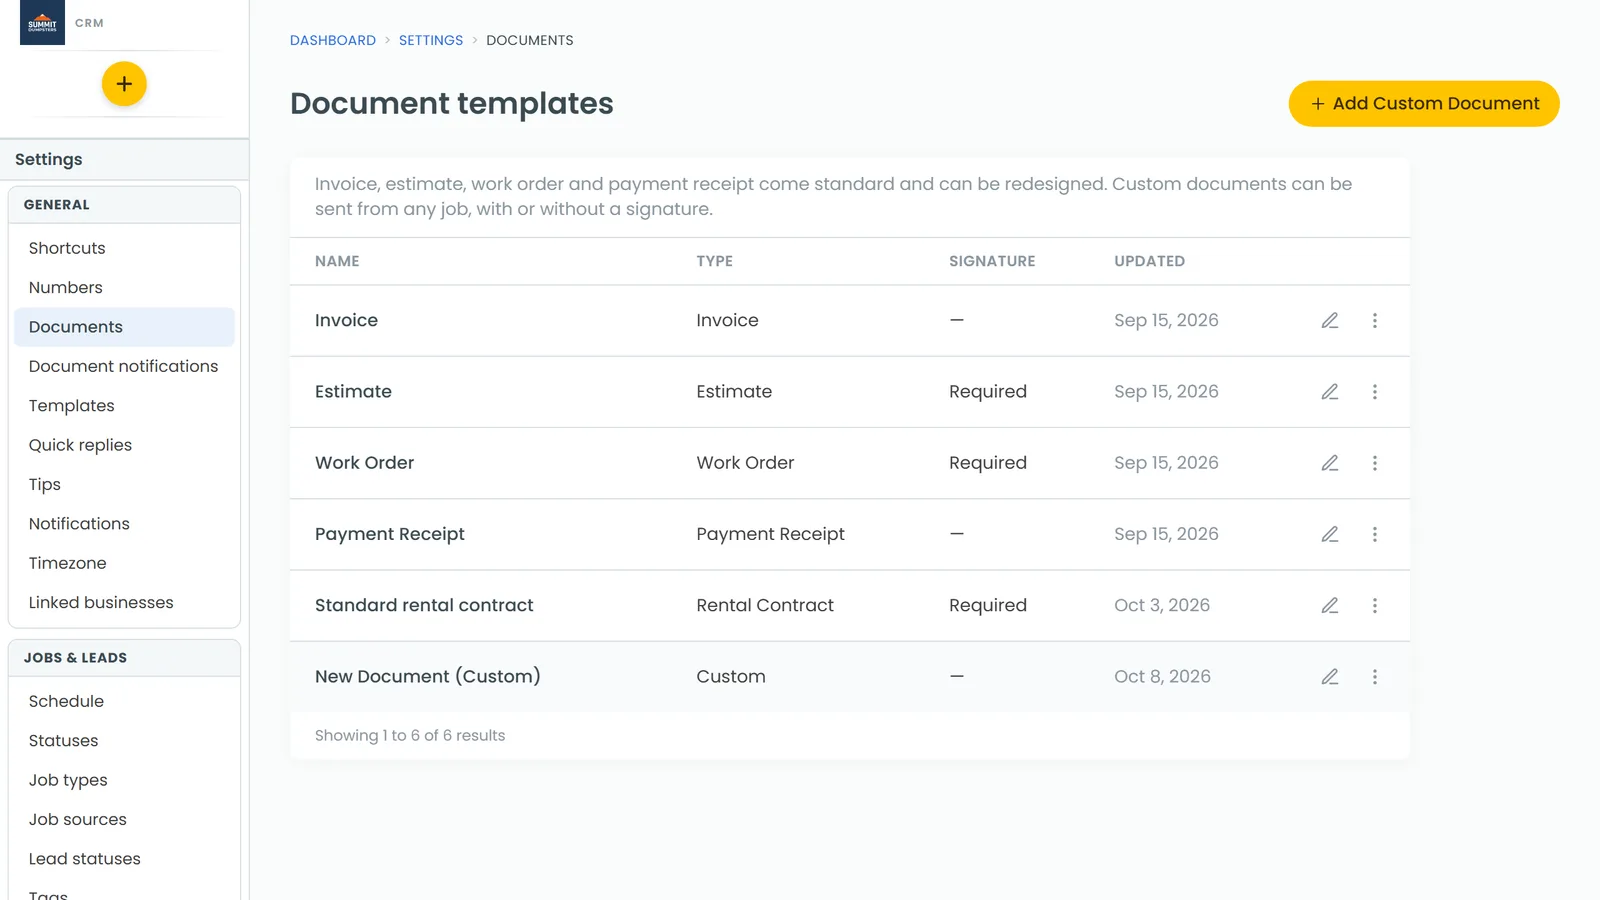
To add the billing or service address:
- Click the template you want to change, such as Estimate.
- Click into the text block where the address should go. The editing toolbar appears.
- Click Insert values.
- For the billing address, point to Client values and click Client billing address. For the service address, point to Job/invoice values and click Job Full address.
- Click Save at the top of the designer.
Related articles
- Understanding and using insert values in documents and messages
- Changing a client's billing address
- Adding multiple addresses for one client
- Customizing estimate, invoice and receipt templates
- Previewing estimates and invoices before you send them