In this article, you'll learn how to change the hours your calendar shows, decide whether Done jobs stay on it, and filter or search the schedule so you only see the work you care about. If your crew starts at 7 and is home by 5, there's no reason to scroll past midnight every day.
To open the schedule settings:
- In the menu, click Schedule.
- At the top right of the calendar, next to the Day, Week, Month and Timeline buttons, click the gear (Calendar settings).
The Schedule Settings panel slides in from the right. Close it with the ✕ or by clicking outside it. The same form lives under Settings › Schedule in the Jobs & leads group, and a change made in one shows up in the other.
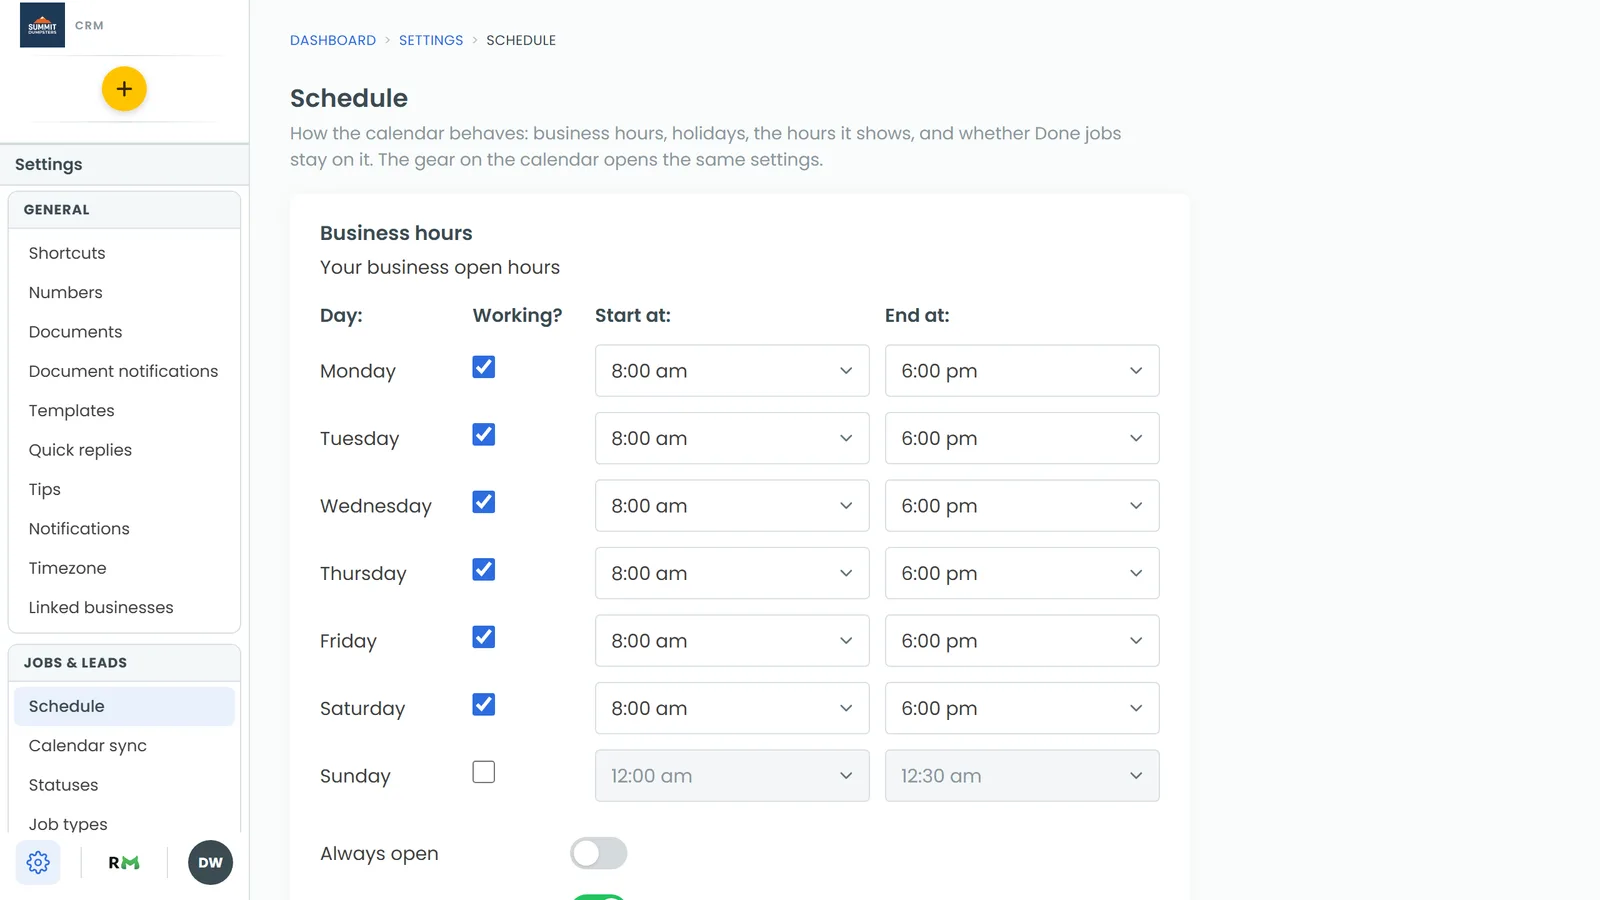
Set the hours your calendar shows
The Schedule visible hour range decides which hours the Day and Week views draw. It's two dropdowns with To between them, set to 6:00 am and 10:00 pm until you change them.
- Open Schedule Settings.
- Under Schedule visible hour range, pick the first hour in the left dropdown.
- Pick the last hour in the right dropdown. It can go as late as midnight.
- Click Save.
The range is set in whole hours and has to end after it starts. If it doesn't, you'll see "The visible range has to end after it starts." and Save stays greyed out until you fix it.
Choose whether Done jobs stay on the calendar
- Open Schedule Settings.
- Under Done jobs, turn Show done jobs on or off. It starts off.
- Click Save.
The desktop calendar keeps Done jobs whatever you pick, shaded with a grey hatch. The switch matters on a phone: with it off, Done jobs leave the Timeline view in the app and in a phone's browser, and they come out of Upcoming work on the Home screen. The phone's Day view keeps them, hatched like the desktop. Need to see a Done job while the switch is off? Tick Done under Statuses in the filter.
Filter the calendar
The filter shows only the jobs that match what you tick. It sits next to the Today button at the top left of the calendar.
- Click the filter button. A panel called Filter the calendar opens.
- Tick what you want under Team members, Job types, Statuses, Tags and Sources. Tags show as coloured pills you click on and off. A group with nothing in it reads None.
- Close the panel with the ✕, or click anywhere outside it.
Inside a group, ticking more than one shows jobs that match any of them. Across groups, a job has to match every group you've used. A yellow number on the filter button shows how many boxes are ticked, so you can tell a filter is on. To start over, click Clear all at the top of the panel.
Search the schedule
- Click the magnifying glass next to the filter button.
- Type into the Search names, numbers, addresses… box.
The calendar narrows to jobs that match the client's name, company or email, the job name, the address, city, state or zip, the job type, status, source, tags, job number, description or notes. Type at least three digits to match a phone number. Searching a team member's name won't pull up their jobs; use Team members in the filter for that. Click ✕ in the box to clear it, or press Esc to clear it and close it.
How long the filter sticks
Your filter and search reset when you leave the schedule and come back later. There's one exception: if you open a job from the calendar and then come back, your filter and search are still set, so you can work through a filtered list one job at a time.
On the phone app
The app's schedule has the same tools in its dark header: the Today button, the filter, search and a refresh button. The views are Timeline, Day and Map.
- Tap the filter icon to open the Filter the calendar sheet. It has the same five groups, plus a Show done notes checkbox at the top for calendar notes you've marked done, and Clear all with a count once something is ticked.
- Tap the magnifying glass to search. Tap Done to close the search box.
A yellow number on the filter icon shows how many filters are on. The filter remembers itself the same way it does on the web. To reach the three schedule switches in the app, open the menu, tap Settings, then Schedule under Jobs & leads.