In this article, you'll learn how to set up maintenance reminders that go out on their own months after a job is done. It's an easy way to bring past customers back for their next service without having to remember who's due.
Reminders like this are automation rules. If you haven't used Automations before, Automate your routine tasks with Automations covers the basics.
To open Automations:
- In the menu, click Automations.
- On the phone app, tap the bolt at the top of the Home screen.
Start from the maintenance template
The quickest way in is the ready-made template, which reads "6 months after the job ends, send an email to the client".
- Click the Discover tab.
- Under Marketing, find the Maintenance / Email card.
- Hover over the card and click Use. On the phone app, tap Use under the card.
The rule editor opens with the sentence already filled in: when a job is done, send the client an email 180 days after the job's end date.
Change the timing, the message type or who gets it
Every underlined word in the sentence is something you can click and change.
- Click 180 days after to change the delay. Pick after, then type a number and choose minutes, hours or days. For a yearly reminder, use 365 days.
- Click an email to switch to a text message or a text and email.
- Click client if you'd rather send it to your team instead, for example as a nudge to call the customer yourself.
- To give the rule a clearer name, click the name at the top of the editor and type over it.
Write the message
The maintenance template starts with a blank message, so this step matters.
- Click Preview/edit message.
- For an email, type a subject line.
- Type the message your customer will get.
- Click any of the short codes under the message box to drop in details that fill in for each customer: client_first_name, client_full_name, business_name, job_type, job_date, job_time, full_address, tech_assigned, client_phone_number and client_email_address.
- Click Save and close.
- Click Add automation.
The message is filled in when it actually sends, so the customer's details are current on the day it goes out.
Add a second reminder
Want a follow-up later on, say at 12 months? Add a second rule with a longer delay.
- On the My Automations tab, click ••• on your maintenance rule.
- Click Duplicate. The copy shows up named "(copy)" and switched off.
- Click ••• on the copy, click Edit, change the delay and the wording, then click Update automation.
- Use Rename in the same menu to give it a clear name.
- Turn the copy on with its toggle.
More on this in How to duplicate an automation rule.
Turn reminders on or off
Each rule card has a toggle on the right. On means the rule sends; off means it doesn't. A rule you add from a template starts switched on.
See what your reminders did
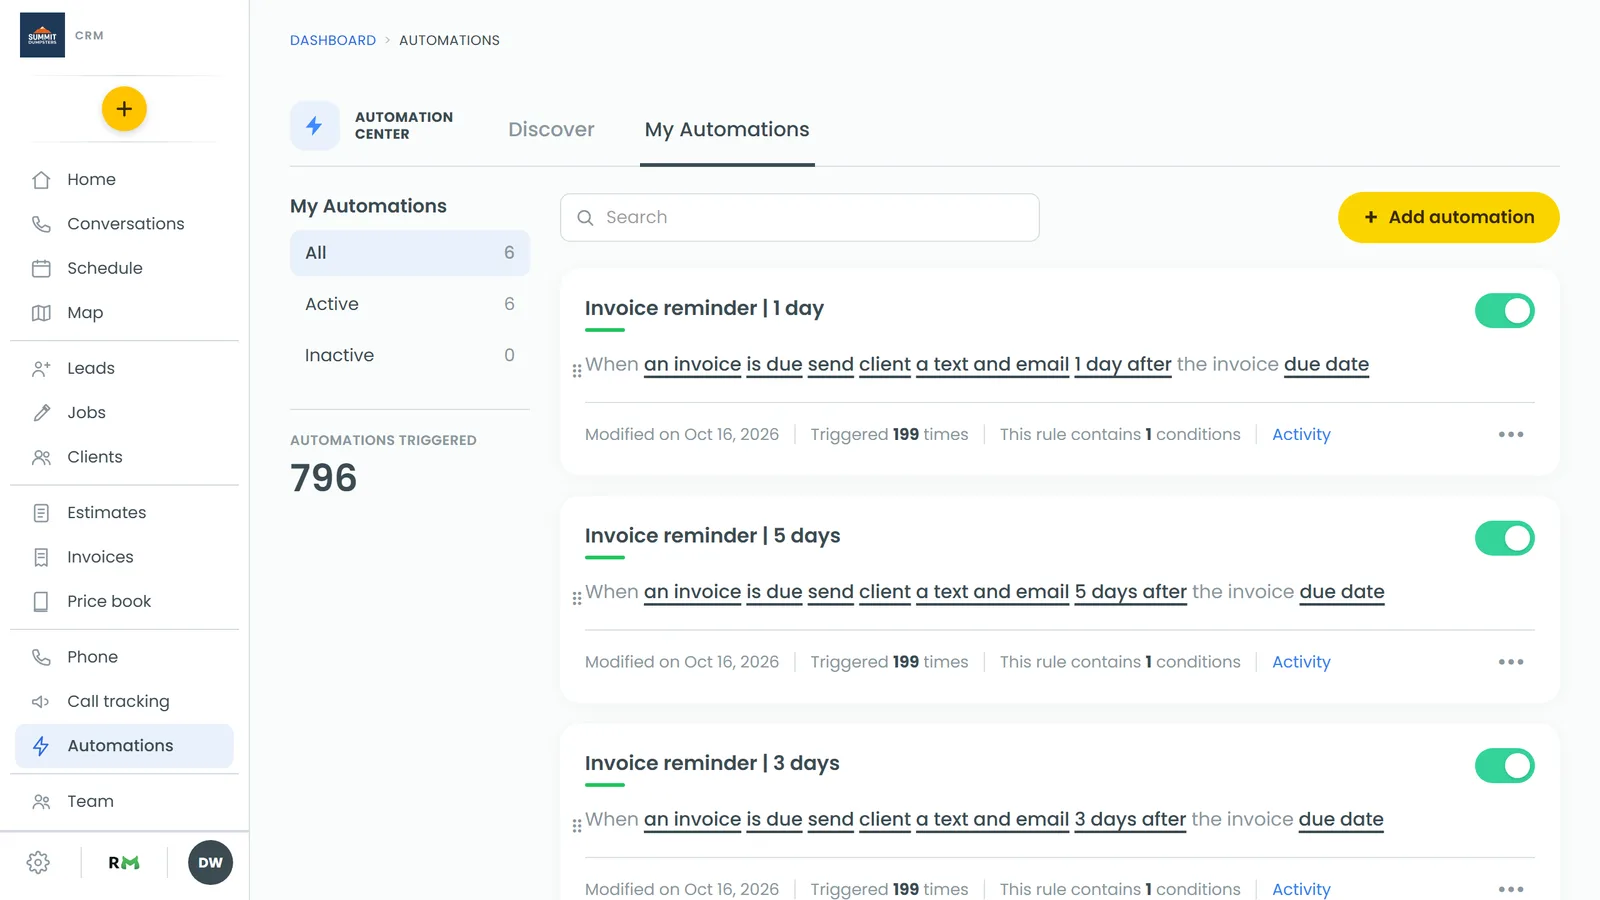
- On the My Automations tab, find the rule card. It shows how many times the rule has been triggered.
- Click Activity on the card.
Each entry shows a status: Scheduled (waiting for its day, with the date it will go), Sent, Would send, Skipped (with the reason) or Failed.
On the phone app
The phone app has the same Discover templates, editor, Preview/edit message and ••• menu. The one difference is ordering: instead of dragging cards, use Move up and Move down in the ••• menu.
Related articles
- Automate your routine tasks with Automations
- Adding conditions to your automation rules
- Automations short code guide
- Setting when automations are allowed to send
- How to duplicate an automation rule