In this article, you'll learn how to use short codes in your automation messages. A short code is a placeholder like {{client_first_name}}. When the automation sends, the CRM swaps it for the real detail from the job, invoice, estimate or pipeline tile, so one message reads right for every customer.
A short code can only fill in what's already saved. If a client has no email address on file, {{client_email_address}} comes out empty. The two name codes are the exception: with no name saved, they read "there", so "Hi {{client_first_name}}" becomes "Hi there".
To open the message editor:
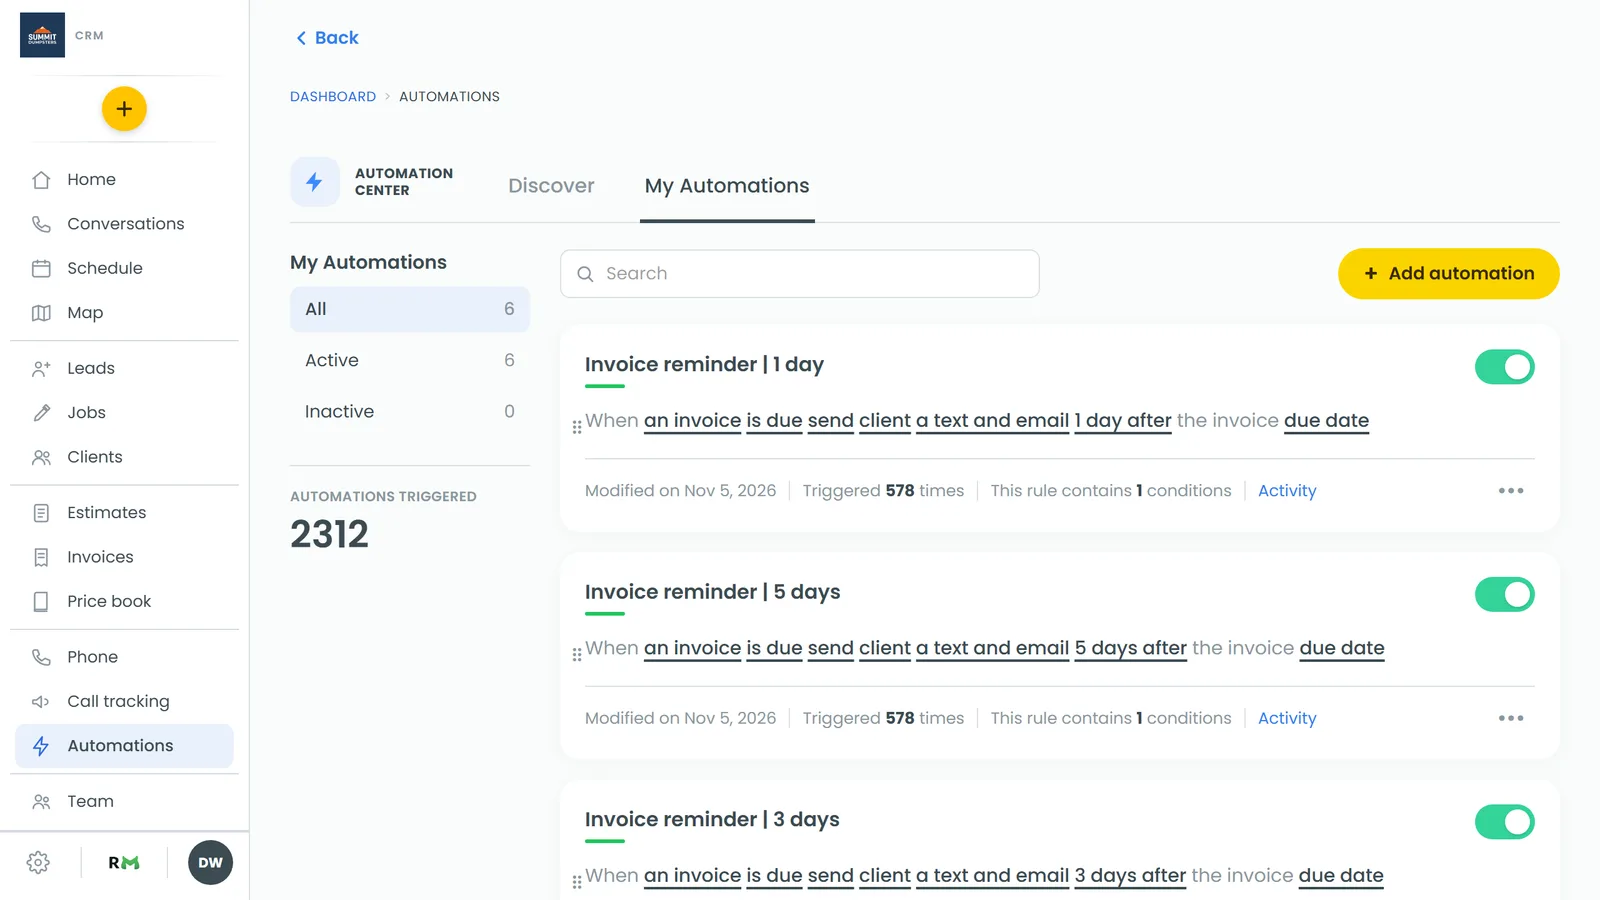
- In the menu, click Automations. On the phone app, tap the lightning bolt at the top of the home screen.
- Open the automation rule you want to change, or click Add automation to start a new one.
- Click Preview/edit message. The Customize your message screen opens.
Adding a short code to a message
The short codes sit as small buttons under the message box. Each button shows the code's name without the braces.
- Click in the message box where you want the detail to go.
- Click a short code button. It's added right where your cursor was, with its double braces.
- Click Save and close, then save the rule with Add automation or Update automation.
The editor works the same way on the web and in the phone app.
The buttons you see depend on what the rule is about: a job, an invoice, an estimate or a pipeline tile. Rules that send an email also have a Subject box. The buttons only insert into the message box, but you can type a short code into the subject yourself and it fills in the same way.
Job automations
- {{client_first_name}}: the client's first name.
- {{client_full_name}}: the client's first and last name.
- {{business_name}}: your company's name (your DBA name if you have one, otherwise your business name).
- {{job_type}}: the job type picked on the job. Blank if the job has none.
- {{job_date}}: the day the job is scheduled, like "Tue, Oct 21".
- {{job_time}}: the start time, like "2:30 PM".
- {{full_address}}: the job's service address, unit included.
- {{tech_assigned}}: everyone assigned to the job, separated by commas.
- {{client_phone_number}}: the client's phone number.
- {{client_email_address}}: the client's email address.
Dates and times always use your company's time zone. If the job isn't scheduled yet, {{job_date}} and {{job_time}} come out blank.
Invoice automations
- {{client_first_name}} and {{client_full_name}}: as above.
- {{business_name}}: your company's name.
- {{business_phone}}: the main phone number on your company's account.
- {{invoice_number}}: the invoice's number.
- {{amount_due}}: what's still owed, as a dollar amount like "$240.00".
- {{invoice_link}}: a link that opens this invoice in your customer portal, where the client can pay it.
- {{due_date}}: the invoice's due date, in the same style as job dates.
Estimate automations
- {{client_first_name}} and {{client_full_name}}: as above.
- {{business_name}}: your company's name.
- {{estimate_number}}: the estimate's number.
- {{estimate_link}}: a link that opens this estimate for your client to review and approve.
- {{total}}: the estimate's total, like "$1,250.00".
Pipeline automations
A pipeline rule fires when a tile moves into a column you pick with Which pipeline? and Which column?. On the Pipeline board, each column also has a lightning bolt that starts a new rule for that column. The tile can be a lead or a job.
- {{client_first_name}}, {{client_full_name}}, {{business_name}} and {{business_phone}}: as above.
- {{pipeline_name}}: the pipeline's name.
- {{stage_name}}: the column's name.
- {{job_type}}: the job type, when the tile is a job. Blank for a lead.
- {{full_address}}: the address on the lead or job.
- {{client_phone_number}}: the client's phone number.
The pipeline and column names are read when the message sends, so a renamed column shows its new name.