In this article, you'll learn how to add conditions to an automation rule so it only sends when the details of a job match what you pick. That's how one rule can text a reminder for inspections and skip everything else, or chase only the invoices that still have money owing.
Automations isn't something you switch on in Features. It's part of the paid CRM, so if you're on the free plan you won't see it in the menu.
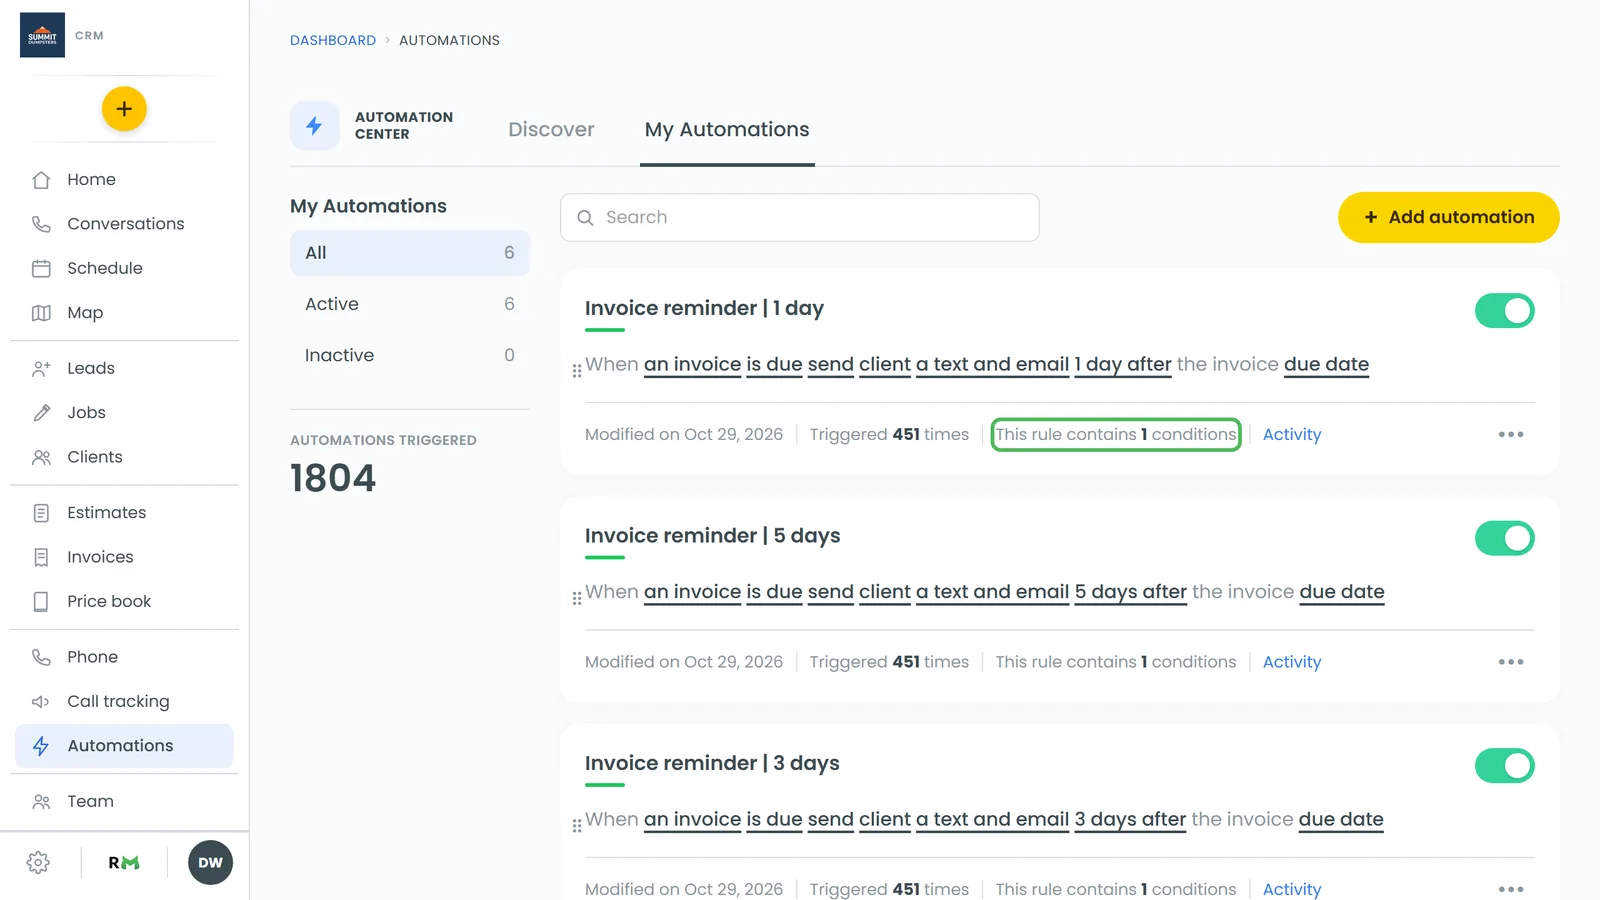
To open your automations:
- In the menu, click Automations.
- Click the My Automations tab.
On the phone app, tap the lightning bolt at the top of the Home screen (it sits between the refresh button and search), or open the menu and tap Automations.
How conditions work
A rule with no conditions runs every time its trigger happens. Each condition you add is a short "Only if…" line under the rule, like Only if job type is Inspection. When the trigger happens, the CRM checks the conditions first. If they don't match, nothing gets sent.
You can build a condition from five things:
- job type
- job source
- job tag
- job status
- amount due
A rule can hold up to 10 conditions.
Add a condition to a rule
- To change an existing rule, click ••• on its card and then Edit, or click any underlined word on the card. To start a new one, click + Add automation.
- If it's a new rule, set the When line and the action line first. The rule won't save until both are picked.
- Under the rule, click Add condition. The Only if… panel opens.
- In the first box, pick what to check, like job type or job tag.
- Click an operator: = is, ≠ is not, > greater, < less, ∋ contains or ∌ doesn't contain.
- Pick the value. For job type, job source, job tag and job status, you choose from your company's own lists. For amount due, you type a number in the Amount box.
- Click ✓ Apply. The condition shows under the rule as a sentence.
- Click Add automation (or Update automation on a rule you're editing) to save. Conditions aren't saved until you do.
To change a condition, click its sentence and the panel opens again. To remove one, click the trash icon at the end of its line.
The phone app works the same way. The Only if… panel opens as a sheet from the bottom of the screen, and you tap the boxes to pick from a list.
Which operators make sense
- Job tag: is and contains both mean the job has that tag. is not and doesn't contain both mean it doesn't.
- Job type, job source and job status: use is, is not, contains or doesn't contain. Capital letters don't matter.
- Amount due: use greater, less, is or is not. For example, amount due is greater than 0 only sends when something is still owed.
Using "and" and "or" together
When you add a second condition, it joins the first one with and, so both have to be true. You'll see a small and pill at the start of its line.
Click that pill to flip it to or. You can also click + Add "or" condition in the Only if… panel. That applies the condition you're on and opens a fresh one that's already joined by or.
Here's how the CRM reads them. Going down the list, each or starts a new group. The rule sends if every condition in at least one group is true.
For example:
- Only if job tag is Part pickup
- and job type is Inspection
- or job tag is Service plan
That's two groups. The rule sends for an inspection tagged Part pickup, or for any job tagged Service plan. A job tagged Part pickup that isn't an inspection gets nothing.