In this article, you'll learn how to turn the review filter on or off, and what your customers see either way. Every review request you send links to your review page, so this one switch decides the first thing a customer sees when they tap your link.
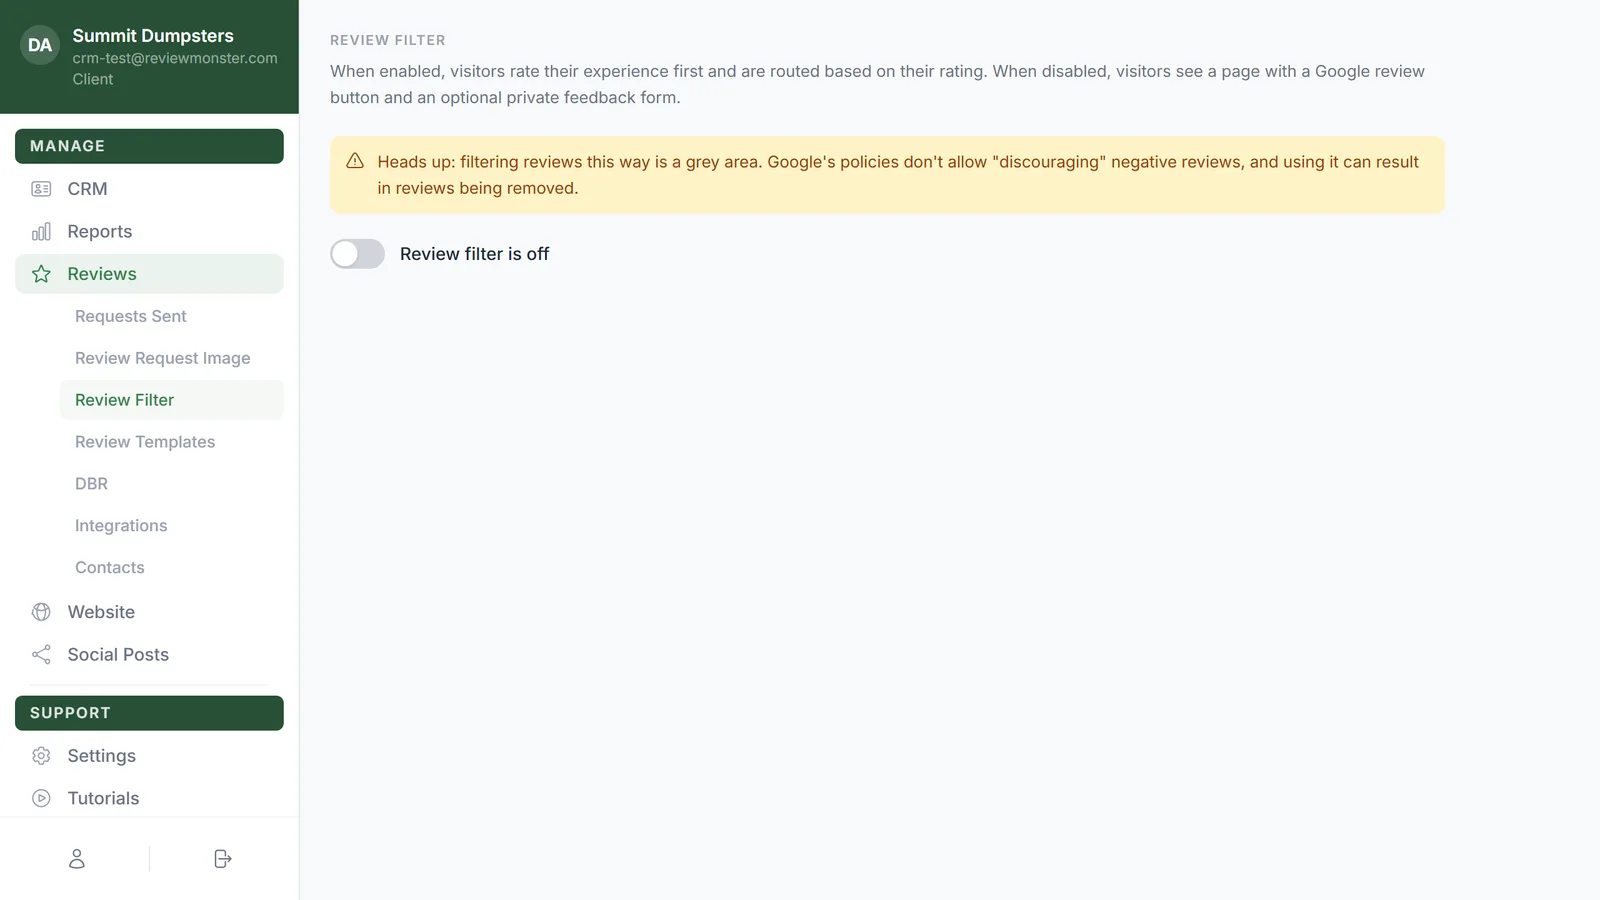
To open the review filter:
- In your dashboard menu, click Reviews.
- In the list that opens under it, click Review Filter.
Read the Google warning first
Near the top of the page there's a yellow note. It's there for a reason: Google's policies don't allow businesses to discourage negative reviews, and sorting customers by rating before sending them to Google can count as that. If Google decides it does, reviews can be removed.
Turn the review filter on or off
- Click the switch next to Review filter is off (or Review filter is on).
- The label changes to show the new setting.
That's it. There's no Save button. The change is saved the moment you click the switch, and your review page changes with it.
What customers see when the filter is on
Your page shows your logo and the question How was your experience with your business name, with four faces underneath: Excellent, Good, Ok and Bad.
- A customer who picks a face you've set to go to Google is sent straight to your Google review page.
- A customer who picks any other face sees a short form instead: We'd love to hear your feedback., a box to type in, and a Submit Feedback button. There's a Back link if they change their mind. When they send it, they see Thank you for your feedback. Their note is saved for you and never posted publicly.
- Under the question there's a small Go straight to Google review here link, so anyone can skip the faces and leave a Google review.
When the filter is on, a Review routing section appears below the switch. That's where you decide which faces say Review and which say Collect feedback. See Choosing which ratings go to Google.
What customers see when the filter is off
Everyone sees the same page, with no rating question:
- Your logo and Thanks for choosing your business name.
- A green Continue to Google review button that takes them to your Google review page.
- Below it, or send us private feedback, a box that says only you'll see it, and a Send feedback button.
The feedback box is optional. After a customer sends feedback, the page shows Feedback sent — thank you. You can still leave a Google review above., and the Google button stays right where it was.
Check the live preview
Under the switch, Your review filter page shows a small live copy of your actual page. It follows the switch: flip it and the preview changes straight away to the version your customers will now see. The preview appears once your review page has its own web address.
Open or share your review page
- Click the preview, or the web address under it, to open your review page full size in a new tab.
- That web address is the same page your review requests link to. You can copy it and share it anywhere you'd like customers to leave a review.