In this article, you'll learn how to open a team member's profile and keep their details up to date. One profile holds their role, their schedule color, whether they can be put on jobs and what they cost you per hour, so it's worth a few minutes per person.
You need the User Settings permission to see the Team page and open profiles. Admins have it by default.
To open a team member's profile:
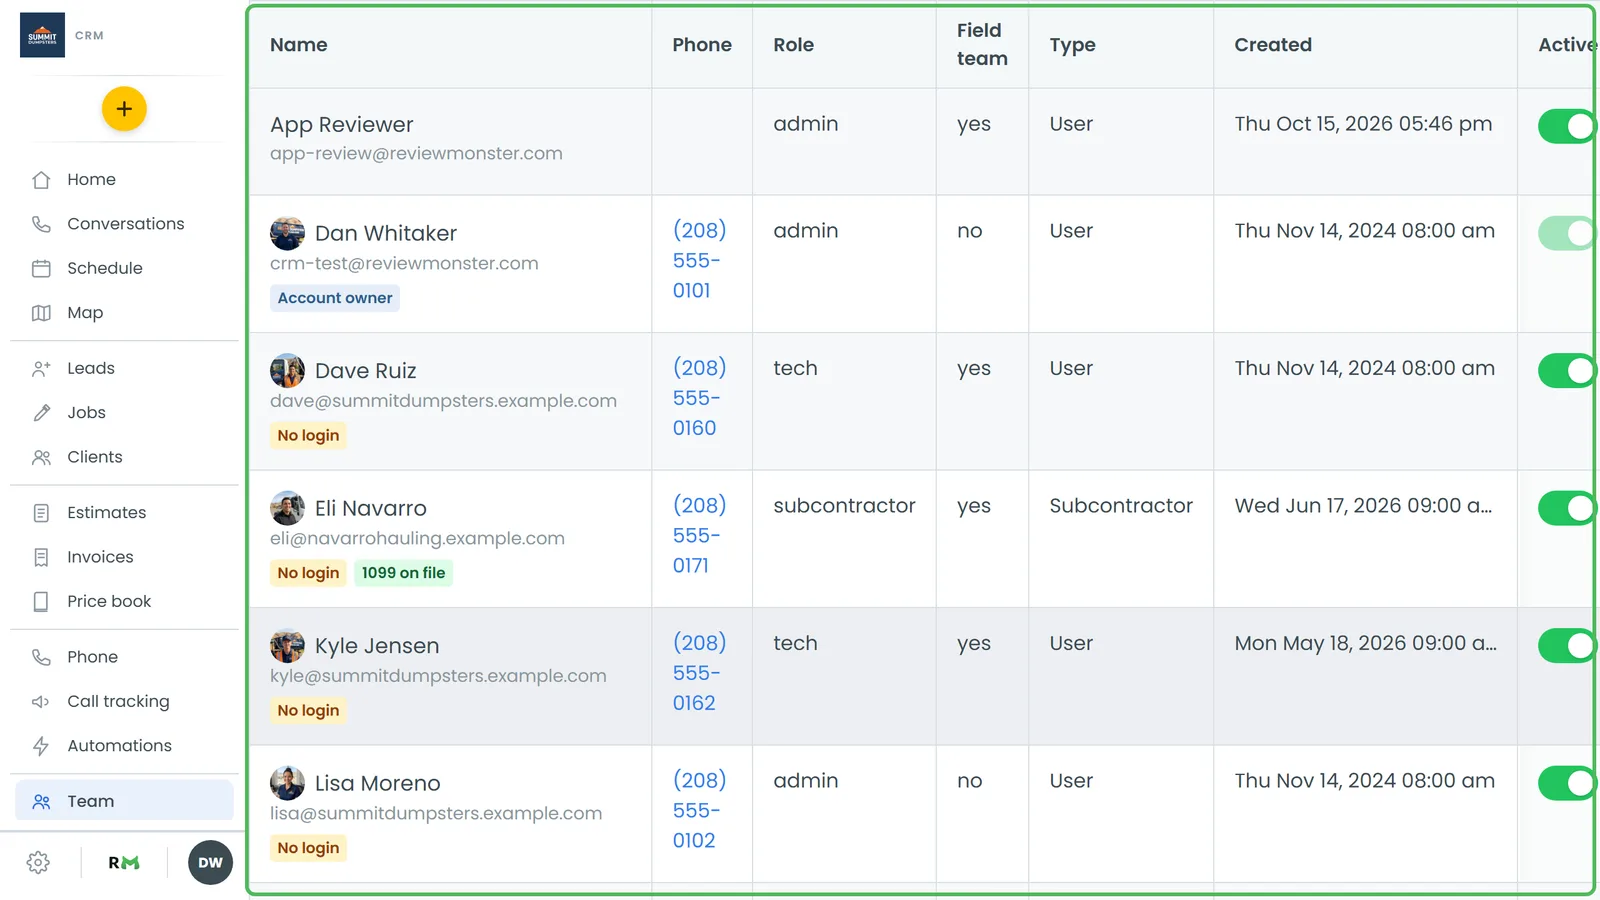
- In the menu, click Team. You can also go to Settings, then Users & roles, then Team management. Both open the same page.
- The list starts out showing active people only. To see anyone else, click the filter bar and pick a Status (Active, Disabled or All), a Role or a User type (User or Subcontractor). You can also type a name, email or phone number into Search.
- Click the person's row. Their User Profile opens.
The profile has four tabs: Profile, Availability, Documents and History. The Actions button is at the top right.
Updating profile details
Picture and switches
- To add a profile picture, click the round Upload Image circle. Images up to 24MB work, and the picture saves as soon as it uploads.
- Tick or untick the three boxes under the picture:
- Track location asks their phone to share its location for on-my-way texts.
- Show in schedule keeps them on the Team Schedule.
- Send location alerts sends missed clock-ins, missed clock-outs and overtime to your schedule admins.
User Details
- User type shows User or Subcontractor. You can't change it here.
- You can edit Name, Home address, Phone and Additional phone numbers. Put commas between extra numbers.
- Email is greyed out. It's their login, so you can't change it from the profile.
Roles and permissions
- Pick a Role from the dropdown. The account owner's role can't be changed.
- Tick Field team member if this person can be assigned to jobs.
- To change what a role can see and do, click the here link in "Customize roles and permissions here".
Pay, tax and color
- Labor cost per hour: what they cost you per hour, in dollars.
- Tax classification: Not set, W-2 employee, 1099 contractor (individual) or 1099 contractor (business).
- Schedule color: click a color. Their jobs show in that color on the schedule.
- Notes: anything the other admins should know.
Features this login sees
If the person has a login and isn't an admin, you'll see a row of boxes under CRM features this login sees. Untick a feature to hide it from them. These boxes save the moment you click them.
When you've finished with everything else, click Save at the bottom.
Setting their working hours
- Click the Availability tab.
- If they work whenever you're open, leave User availability same as business hours on.
- To give them their own week, turn it off. Tick Working? for each day they work and pick a Start at and End at time. For a split shift, use + Add time slot.
- Click Save.
Documents and History
- Documents shows the Form W-9 and the Form 1099-NEC. Both are for subcontractors only. For a subcontractor, you can click View W-9 once they've signed it, or Send form / Resend form.
- History lists every day they clocked in from the crew portal, with in and out times, hours worked, breaks and pay. Totals for days, hours and earnings sit at the top.
Using the Actions menu
Click Actions to:
- Reset password: emails them a link to set a new password. You'll only see this for people with a login.
- Send 1099 form (W-9) or Resend 1099 form (W-9): for subcontractors only.
- Disable user or Enable user: disabling takes them off every upcoming job and stops them from signing in. Nothing about them is deleted. The account owner can't be disabled.
On the phone app
- Open the menu and tap Team.
- Tap a person. You'll see the same four tabs.
The app's Team list has Search and three status chips (Active, Disabled, All), but no role or user type filter. On the app's Profile tab you can edit Name, Phone, Home address and Role. You'll also find switches for Field team member, Track location, Show in schedule and Send location alerts, plus Tax classification, Labor cost per hour and Notes, then Save. Reset password and Disable user are links just above Save. Email is shown, but you can't edit it. On the Availability tab, the switch is called Same as business hours, and each day gets one start and end time.
Related articles
- How to add team members
- Assigning team members to jobs
- How to reset your own password
- How to customize your account settings