In this article, you'll learn how to create a recurring job. If you do the same work for a customer every week, every month or once a year, you can set up the whole series once instead of booking every visit by hand.
You add a recurring schedule while you're creating the first job, on the New job form. That works on the web and in the phone app. You can't add one to a job that already exists.
To open the New job form on the web:
- In the menu, click the yellow + button.
- Click New job.
To open it in the phone app:
- Tap the + on the bottom bar.
- Tap New job.
Setting up the recurring schedule
- Fill in the client, the service location and the job details the same way you would for any job.
- In the Scheduled section, set the date and times for the first visit.
- Under the times, click Set recurring schedule. The Recurring schedule window opens.
- Pick how often the job repeats from the dropdown: Daily, Weekly, Every 2 weeks, Every 4 weeks, Monthly, Every 2 months, Every 3 months, Every 6 months or Yearly.
- Under Jobs Stop, choose one:
- After, then type how many Jobs the series should have.
- On, then pick the date of the last job.
- Under Create Jobs, type how many Days ahead of schedule each job should be created. It starts at 7.
- Check the line below that. It shows the total number of jobs and the date of the last one, so you can see the series ends when you expect.
- Choose how each job is billed (see the next section).
- Click Save.
Back on the form, you'll see a short summary next to the link, like "Weekly, 4 jobs". To change anything before you create the job, click Edit recurring schedule. If you change your mind about repeating it, open the window again and click Remove recurrence. When everything looks right, click Create.
Choosing how each job is billed
Under Billing in the same window, pick one:
- Charge the card on file: each job is charged when it's marked Done. If the customer doesn't have a card saved yet, they're sent a link to add one.
- Send an invoice: each job's invoice goes out when it's marked Done. It's emailed, or texted if the customer has no email address.
- Collect manually: each job gets an invoice when it's Done, and you record the payment yourself.
- No billing: the jobs repeat and nothing is billed.
Two more boxes sit under the billing choices:
- Automatically mark each job Done on its day: handy for work with no visit to close out, like a storage rental. Since billing happens at Done, this also bills each job on its day.
- Don't show these jobs on the schedule: keeps the series off your calendar.
What happens after you create it
The job you just created is the first one in the series. Every later job is a copy of it, with the same customer, address, items, crew and tags. They aren't all made at once: each one shows up on its own, the number of days ahead you chose, before its date.
If billing a recurring job doesn't go through, for example a card is declined or there's no card on file, you get a notification saying the recurring job's billing needs a look.
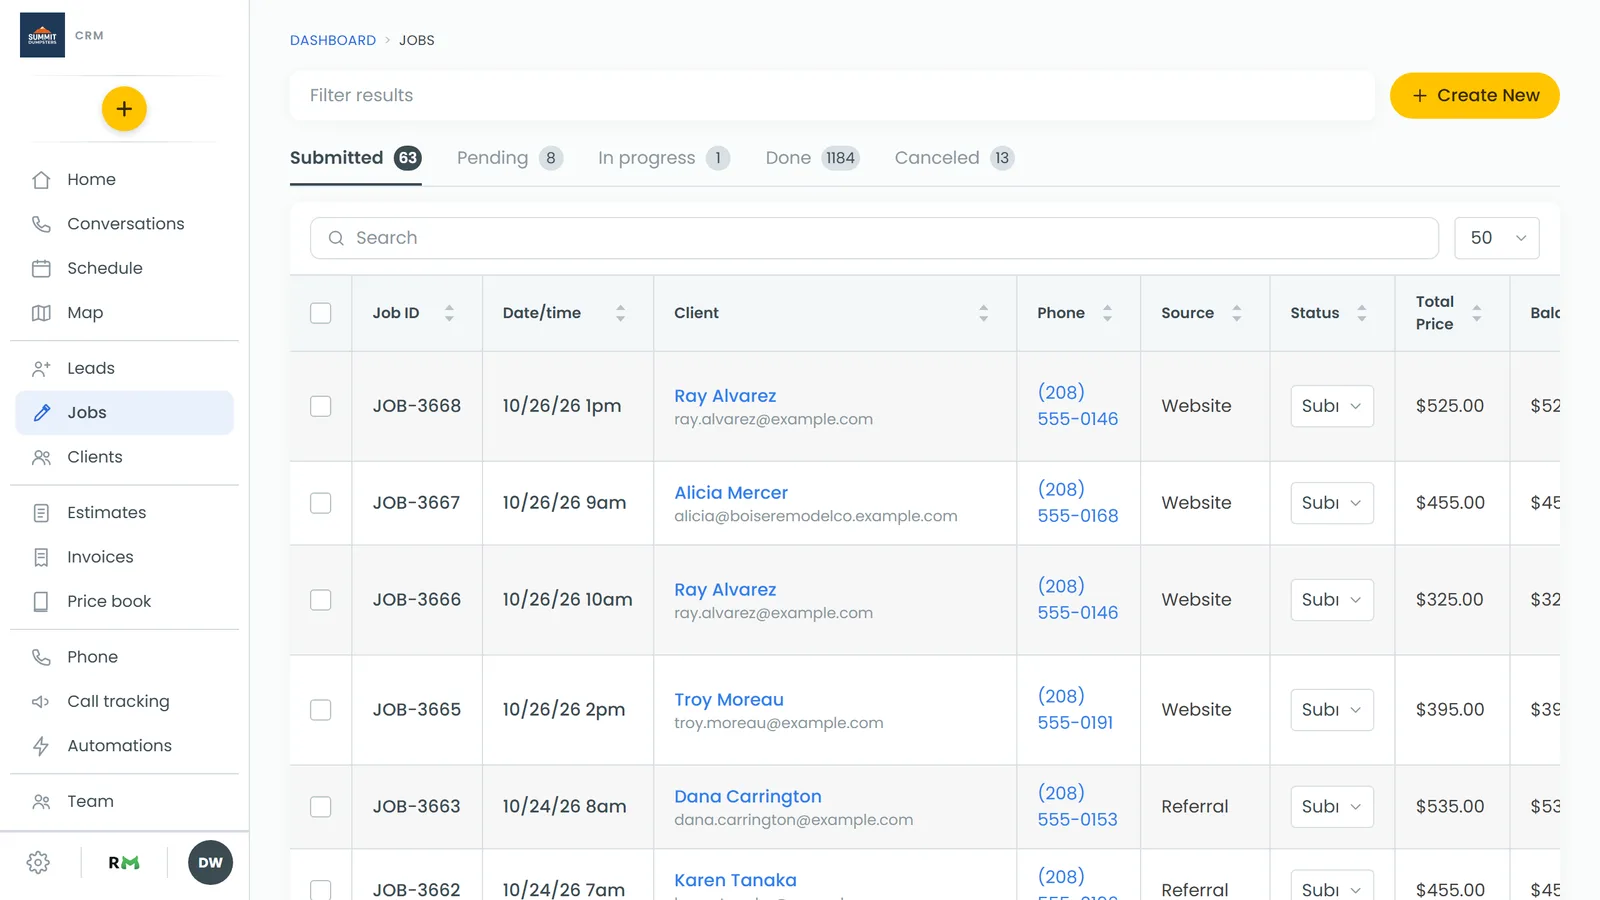
To see the series, open the job and scroll to Recurring Schedule. It lists the billing choice, the two boxes and every job the series has made.
Related articles
- Changing or ending a recurring schedule
- How to create jobs
- Collecting payments for recurring jobs
- How to add a card on file for clients
- Creating new jobs on the phone app