In this article, you'll learn what your customers see in your customer portal and how they get into it. It's worth knowing, because every estimate and invoice you send ends up there, and it's where your customers approve, sign and pay.
What the customer portal is
Every company in the CRM gets its own customer portal at customer-portal.page, followed by your company's portal name (for example, customer-portal.page/yourcompany). The header carries your logo and business name, plus your phone number when you have one on file.
In the portal, your customers can:
- See every estimate, invoice and document you've sent them
- Approve an estimate by signing it, or decline it with a reason
- Pay an invoice or an estimate deposit by card
- Sign a document you've asked them to sign
- Download or print a PDF of any document
- See their upcoming and completed jobs
- Look back at the payments they've made
You don't have to switch anything on. The portal is there as soon as your CRM is.
How customers get in
There are two ways in.
From a text or email you send:
- The customer taps the link in the estimate or invoice message.
- The portal opens straight onto that document. They don't have to sign in.
By signing in:
- The customer goes to your portal address.
- They type their Last name and the Last 4 digits of your phone number (either phone number you have on file for them).
- They click Sign in.
A customer with no last name on file, just a company name, signs in with the company name instead. The login is checked against their record every time, so if you change a customer's last name or phone number in the CRM, their login changes with it. People who share a last name and phone number, like a household, see everything for all of them in one place.
The Inbox
The Inbox is the first thing customers see. At the top it says "Hey (first name), it's great to see you." If anything is unpaid, it tells them how many invoices and the total, with a Pay Now button that opens the payment page for their oldest unpaid invoice.
Below that, Your Inbox lists every estimate, invoice and document you've sent them, newest first. Each card shows the title, a status, the date it was sent (and the due date on an invoice), and the total. If an estimate asks for a deposit, the card shows the deposit too. An invoice you recorded a payment on but never texted or emailed says "Issued" instead of "Sent". The statuses customers see are:
- Estimates: Awaiting approval, Approved, Deposit due, Declined or Closed
- Invoices: Pending, Partly paid, Overdue, Paid or Refunded
- Documents: Sent, Viewed, Awaiting signature or Signed
On a computer, the inbox runs down the left and the open document sits beside it. On a phone, the inbox is the home page and each document opens on its own page, with ⟵ Back to homepage at the top.
Approving or declining an estimate
When a customer opens an estimate, they see Approve and Decline. If the estimate asks for a deposit they can pay by card, the button reads Approve & pay deposit instead. On a phone, the buttons sit in a panel at the bottom with the Total estimate and Required deposit above them.
If the estimate has optional items, each one has a switch on its line. Flipping a switch updates the subtotal, tax, total and deposit right there on the estimate, so the number the customer sees is the number they approve. Items you marked to show initially start switched on.
To approve:
- They click Approve (or Approve & pay deposit).
- If there are optional items, they can still tick or untick them at the top of the signing step.
- They draw their signature in the Sign box. Clear starts it over.
- If they have an email on file and want a copy of the signed estimate, they tick Get a copy via email.
- They click Approve, or Continue when there's a deposit to pay next.
Approving is signing, so the signature goes onto the estimate itself. The optional items they chose become part of the estimate, and the other open estimates on the same job are declined automatically when you have that setting on.
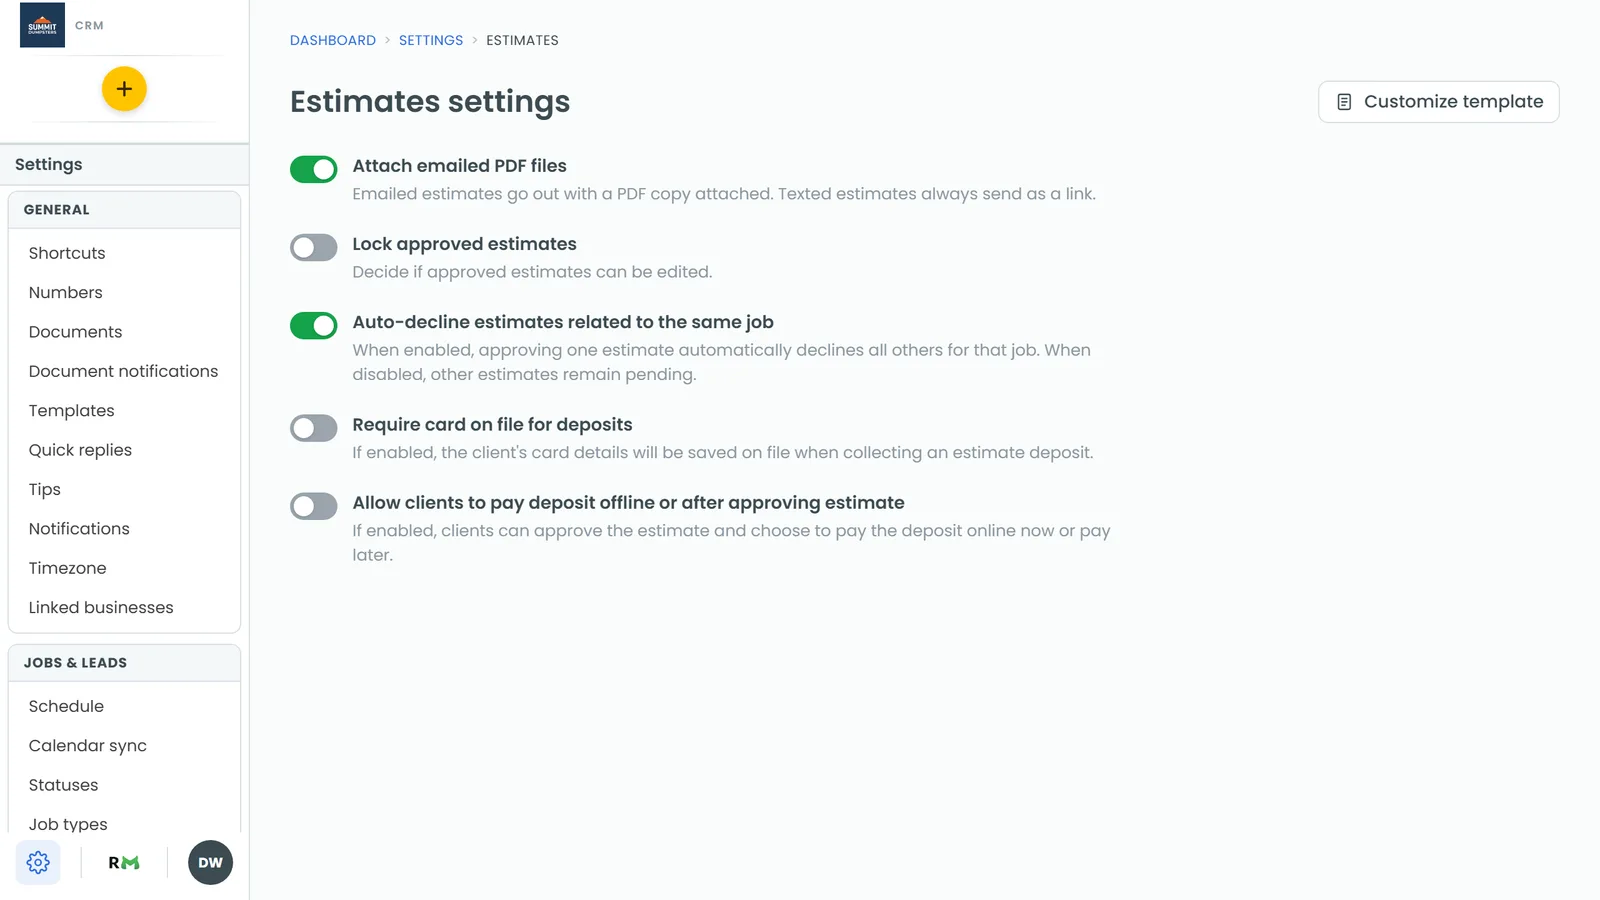
If there's a deposit, what happens next depends on your Settings > Estimates. By default, signing takes the customer straight to the deposit payment page. If you let customers pay deposits later, they instead see a second step, Make a deposit, with Pay deposit and Pay later buttons. The deposit invoice stays in their inbox as unpaid until it's settled, and the estimate shows a Pay deposit button in the meantime. If you turned off card payments when you sent the estimate, there's no payment step, and the estimate says the deposit will be arranged with them.
To decline:
- They click Decline.
- In the Decline estimate box, they pick a reason from the list, such as "Too expensive for my budget" or "Timeline doesn't work for me".
- They click Decline.
You'll see the reason on the estimate in the CRM.
Signing an agreement before the deposit
If you ticked Require a signed document on the estimate and picked a document, the customer signs that document right after approving, before they can pay the deposit. They draw their signature, type their full name, and click Sign and continue to deposit. If they leave the portal before signing, the estimate shows a Sign agreement button until it's done, and the deposit payment page sends them back to the document first.
Paying an invoice
On an unpaid invoice, the customer sees Total due and a Pay invoice button. The payment page goes step by step:
- Add a tip? shows only if you collect tips and the invoice is for a job. They can pick a suggested percentage, choose Custom and type their own, or pick No Thanks, then click Continue.
- Add your signature: they sign, optionally tick Get a copy via email, and click Continue.
- Make a payment: they enter their card. They can also tick Save this card for future charges.
If you charge a card service fee, the Amount due on the payment step says what it includes, and a line explains the percentage.
Once an invoice is paid, it shows "This invoice was successfully paid" and a Download receipt button. A part-paid invoice has Receipt so far instead. A refunded invoice says nothing is owed. If the customer paid from a bank account instead of a card, the invoice says the bank payment is on its way, and the Pay invoice button stays hidden until it clears.
If you untick credit card payments when you send an invoice, there's no Pay invoice button on it, and the payment page says you'll arrange payment with them directly.
Downloading or printing a document
- On a computer, the ⋮ menu beside the document has Print and Download as PDF. On a paid invoice, the download is the receipt.
- On a phone, Download PDF at the top of the page opens Email the PDF. The customer confirms the address and clicks Send. That's easier than a download on a phone.
Signing other documents
If you send a document that needs a signature, the customer sees Sign to approve under it. They draw their signature, type their full name, and click Sign document. Once it's signed, the document shows the date it was signed.
My Booking
The My Booking tab shows the customer's jobs in two lists, sorted by when the job happens:
- Upcoming: jobs that haven't finished yet, marked Confirmed. Each one has Add To Calendar so they can save it to their own calendar.
- Completed: jobs whose time has passed, marked Completed.
Each job shows the date and time, the Service (the job type), Where, and Who's coming? (the team members assigned). A job stays under Upcoming until its end time passes, so a multi-day job doesn't move to Completed after its first day. Canceled jobs aren't shown. A job with no date on it only appears once it's marked Done.
Booking another service
On a computer, the portal header has a Book a service button that links to your website, with your phone number beside it so customers can call you instead. On a phone, both are in the Menu. Book a service only shows when you have a website on file.
Payment history
On a computer, customers click their initials at the right of the greeting to open Your Profile, then the Payment history tab. On a phone, they tap Menu > Payment history, which opens a page headed Payment info. The table shows each payment's invoice number, date, payment type (with the last four digits for a card) and total. Clicking an invoice number opens that invoice.
On a phone, the Menu also has Sign out at the bottom.