In this article, you'll learn how to build automation rules that run when an estimate is created, sent or approved. They're a good way to follow up on quotes without keeping a list in your head, and to let your team know the moment a customer says yes.
Automations comes with every account, so there's nothing to switch on in Features first.
To open Automations:
- On the web, click Automations in the menu.
- On the phone app, tap the bolt icon at the top of the Home screen. It sits between refresh and search. You'll also find Automations in the app's menu.
What can start an estimate rule
When you pick an estimate as the trigger, the rule can run when the estimate:
- is sent
- is approved
- is created
An estimate counts as approved when your customer signs and approves it from the link you sent. It also counts when someone in the office changes its status to Approved. There's no trigger for a declined estimate.
Create an estimate automation
- Click + Add automation.
- Click the name box at the top and type a name you'll recognize, like "Estimate follow-up".
- Click this happens, type "estimate" in the search box, and pick is sent, is approved or is created.
- Click do this and choose who gets it and how. You can send client a text message, an email, or a text and email together. You can send your team a text message or an email.
- Click within a defined time and pick immediately, or after with a number of minutes, hours or days. A delayed estimate rule counts from the estimate's date of sending.
- If you're sending to your team, pick people from the names under the sentence. If you don't pick anyone, it goes to the account owner.
- Click Preview/edit message, write the message (see below), then click Save and close.
- Click Add automation.
On the phone app it works the same way. Tapping each underlined word opens a list at the bottom of the screen.
Writing the message
The short codes you can use in estimate rules are listed under the message box. Click one to add it where your cursor is:
- client_first_name and client_full_name
- business_name
- estimate_number
- estimate_link: the link your customer opens to view and approve the estimate
- total
Email rules also have a Subject line.
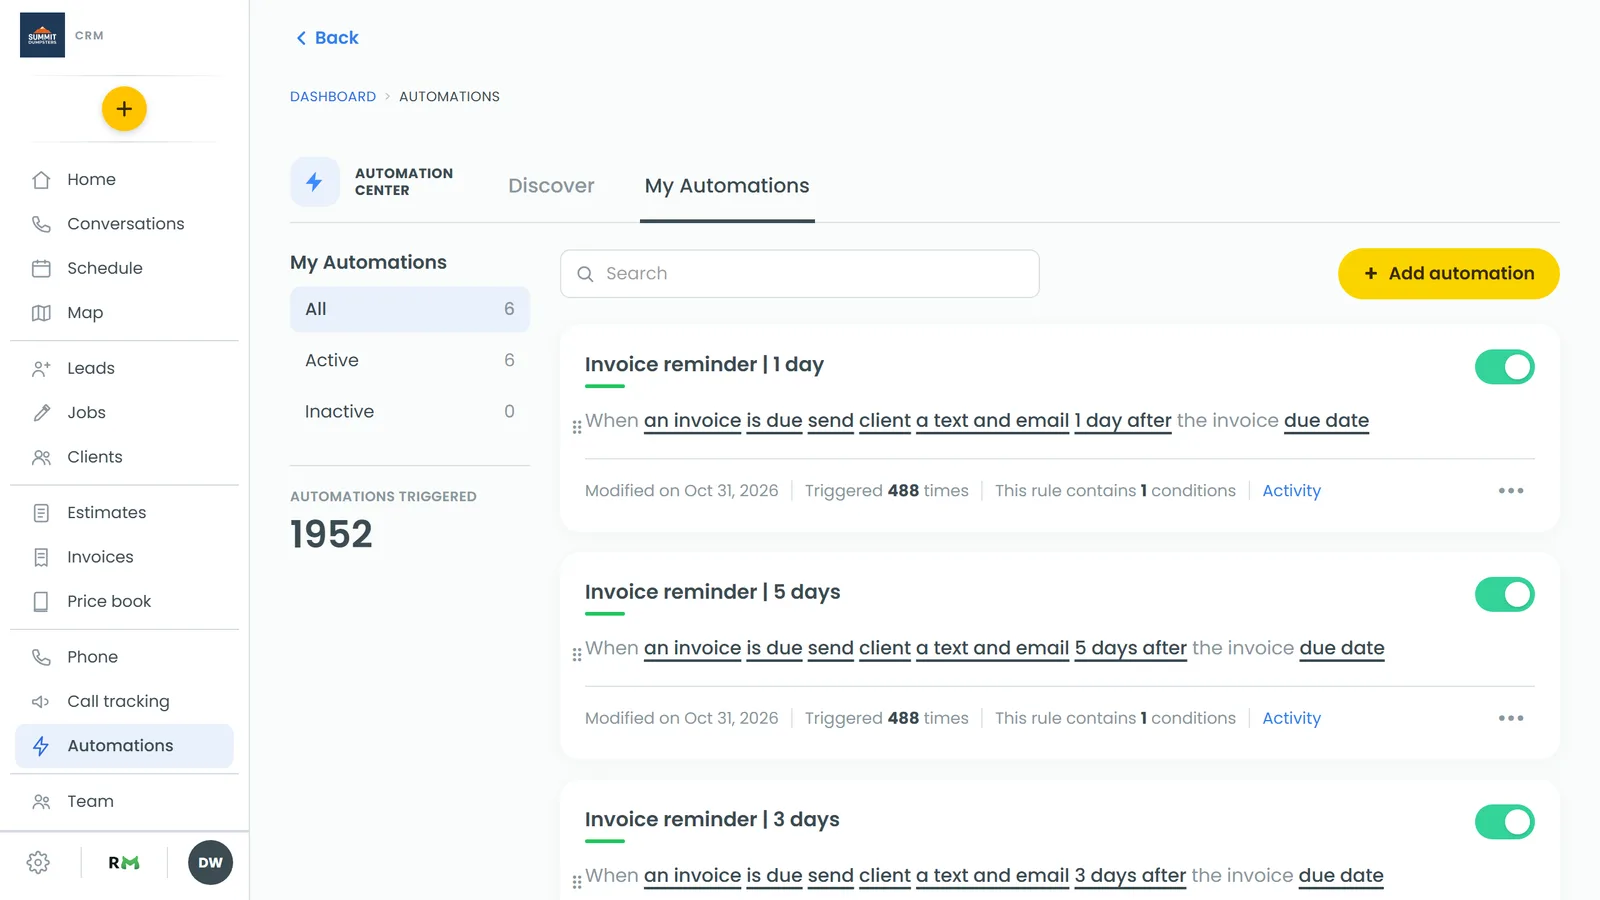
Follow up on estimates automatically
There's a ready-made rule for estimates nobody has answered. It emails the client 3 days after an estimate is sent.
- In Automations, click the Discover tab.
- Under Follow-ups, hover over Email Follow-Up / 3 Days After and click Use. On the phone, tap Use on the card.
- Change anything you want, like switching the email to a text or changing 3 days to a different number.
- Click Preview/edit message and write the email. Include estimate_link so they can open the estimate in one tap. Then click Save and close.
- Click Add automation.
After that, every estimate you send gets the follow-up without you lifting a finger.
What's checked before a delayed message goes out
A delayed message waits in a queue until it's due. Right before it goes out, the CRM checks a few things:
- If the rule has been turned off with the switch on its card, the message is skipped.
- If any conditions on the rule are no longer true, it's skipped.
- If it comes due outside your send hours, it waits until they start.
The message is also written at the moment it goes out, so it uses the estimate's latest number and total.
To see what a rule has sent, skipped or still has queued, click Activity on its card.