In this article, you'll learn how to take a card payment in person with just your phone. With Tap to Pay, your phone is the card reader. The customer taps their card, or their phone with Apple Pay, Google Pay or another wallet, and the job is paid on the spot. There's no terminal and no extra hardware.
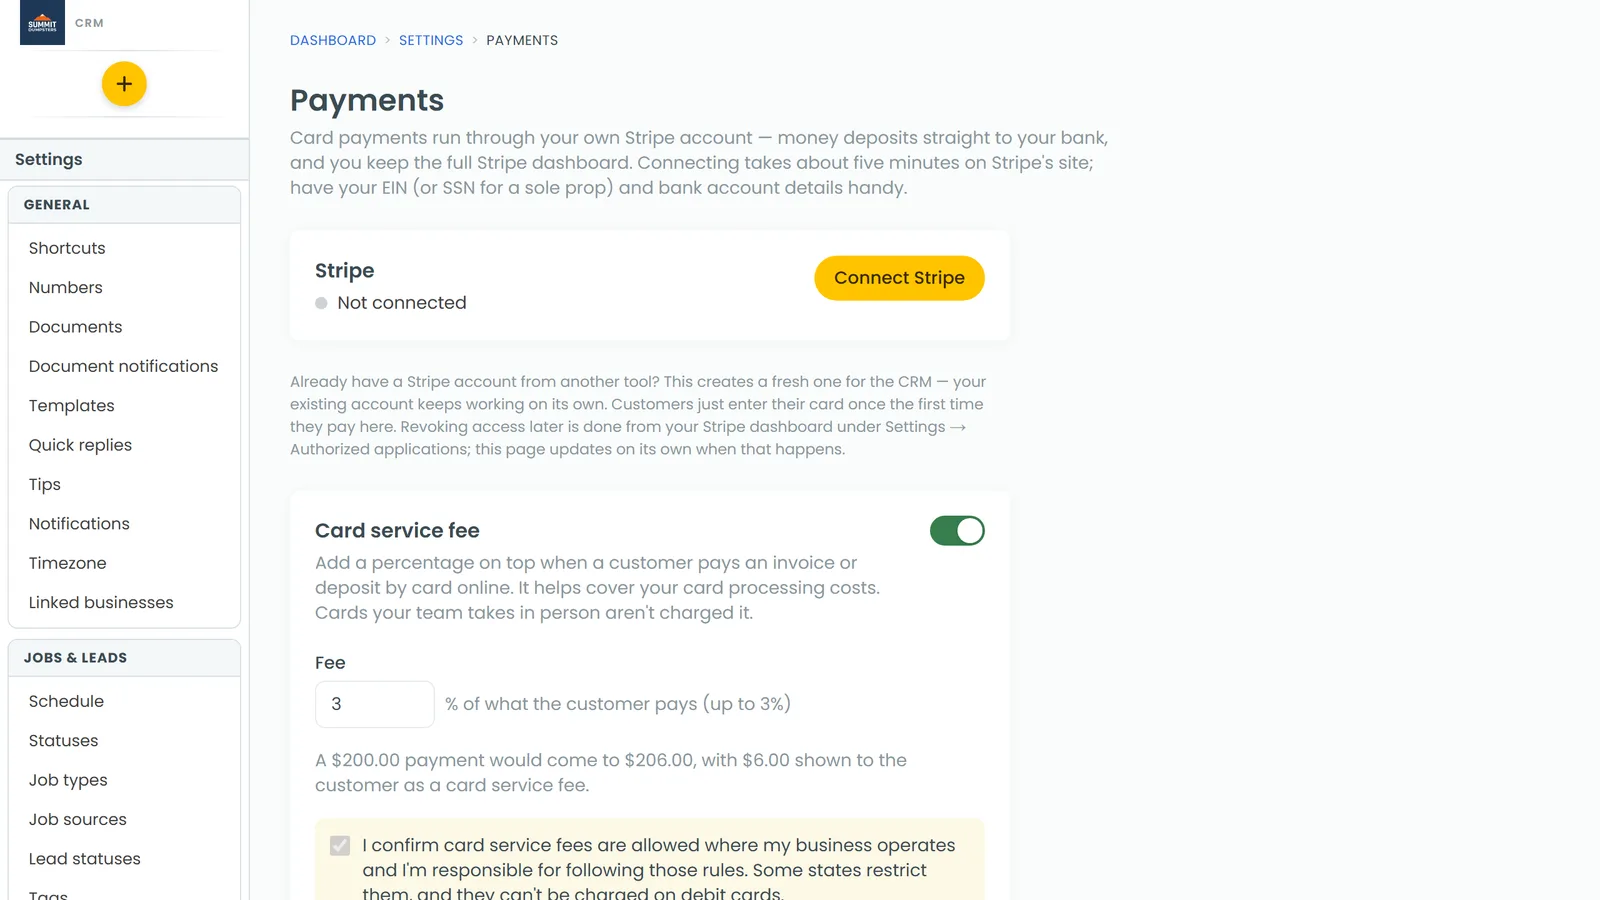
Tap to Pay is on for every company from the start, so there's nothing to switch on in Features. It does need your Stripe account connected under Settings › Payments first. Until that's done, every Tap to Pay button takes you to that setup page instead.
To open Tap to Pay in the phone app:
- Open the menu.
- Tap Tap to Pay.
You can also add Tap to Pay as one of your home screen shortcuts under Settings › Shortcuts.
What's on the Tap to Pay page
At the top it says Tap to Pay is Active, with a line explaining that your phone is the card reader. Under that:
- Collect a payment, with a Go to jobs button.
- Set up Tap to Pay on this iPhone (or on this phone on Android), with the setup button.
- How Tap to Pay works, with a See how it works button. It covers where the customer holds their card, how phone wallets work and what happens after the tap. On iPhones running iOS 18 or newer there's also a Show me on this iPhone button that opens Apple's own walkthrough.
- Recent card payments: the date, job, description and amount of your latest card payments.
If Stripe isn't connected yet, the first three cards are replaced by Connect Stripe to start tapping and a Go to Payments settings button.
Setting up your phone
Do this once on each phone, before your first customer, so the tap opens right away at checkout.
- On the Tap to Pay page, tap Set up this iPhone or Set up this phone.
- Wait while the screen says Setting up Tap to Pay. It may show a percentage while the phone gets ready.
- On iPhone, Apple's Terms and Conditions might appear. Accept them to carry on.
- If the phone asks for location access, allow it.
- When setup finishes, the How Tap to Pay works walkthrough opens. Tap Done and you'll see This iPhone is ready or This phone is ready. Tap How to take a tap to watch it again, or Done to close.
Once Stripe is connected, you can also run setup from Settings › Payments in the app. Tap Set up Tap to Pay on this iPhone (or on this phone). The How Tap to Pay works button sits there too.
If setup fails, you'll see Couldn't finish setup with the reason and a Try again button. A phone that can't run Tap to Pay says so here: on iPhone it needs an iPhone XS or newer on a current iOS, and on Android it needs a built-in NFC chip, NFC turned on, and a current version of Android.
Taking a payment in the phone app
- Open the job and tap the Finance tab.
- Under Payments, tap Add payment. The Collect payment page opens with the Amount due.
- Tap Tap to Pay on iPhone on an iPhone, or Tap to Pay on Android.
- On the Tap to Pay payment screen, check the summary and tap Approve Amount.
- If tips are on, the customer picks a percentage, enters a Custom tip amount or taps No tip. Then they tap Add tip or Continue.
- Under Add your signature, the customer taps the Tap to sign box, signs and taps Done, then taps Pay with the total on it.
- The Tap to Pay screen shows what's being charged and the invoice number. When it says to, the customer holds their card or phone to the top of your iPhone, or to the back of your Android phone.
- When it says Approved, tap Done.
- You'll be asked Send a receipt? Tap Yes and pick Text, Email or Both, or tap Not now. The job shows as paid right away.
A card tap always collects the full balance. If you tap Edit next to the amount due and enter less, that lower amount only applies to cash, check and the other methods.
If a tap doesn't go through, you'll see Didn't go through with the reason and a Try again button. You can tap Cancel at any point before the card is read. If you start over from the Collect payment page, the tip you picked the first time stays picked, so the customer isn't charged less than they agreed to.
You can also take a tap from an invoice. Open the invoice and tap Collect payment, or tap Add payment under Payments, and follow the same steps.
Taking a Tap to Pay payment from the web
On the web, the CRM gets the invoice ready and you take the tap in Stripe's own app on your phone. Sign in to that app with the same Stripe login you used to connect Stripe.
- Open the job and click the Payments tab.
- Next to Job payments, click Tap to Pay. The button reads Preparing… while the CRM gets the invoice ready.
- A blue note shows the invoice number and the amount to enter.
- On your phone, open the Stripe app, tap Collect payment, enter that amount and take the tap.
- Leave the job open. It updates itself the moment the card taps. If you change your mind, click stop waiting.
From an invoice, click Collect payment, then under In person — Tap to Pay click Ready for Tap to Pay. The same note appears with the amount to enter in the Stripe app.
If you open the web CRM in your phone's browser, Add payment offers the same Tap to Pay button, tip screen and signature as the app. The tap itself still happens in the Stripe app.
The web has its own Tap to Pay page in the menu. Before setup it shows a Setup guide: connect Stripe, download the Stripe app, sign in with your Stripe login, then try a small payment. Tick the three boxes under Confirm your setup and click Complete setup. The CRM checks that a real card payment has come through Stripe before it marks setup done. After that, the page shows Collect a payment with a Go to jobs button, links to the Stripe app for iPhone and Android, and your recent card payments.
Common questions
- Does it cost extra? There's nothing to turn on or buy in the CRM. Card payments run through your own Stripe account.
- Where does the money go? To your Stripe account, then your bank, like every other card payment in the CRM.
- What can customers tap? Contactless cards, and phone or watch wallets like Apple Pay and Google Pay.
- The button sends me to Settings. Your Stripe account isn't connected yet. Finish that under Settings › Payments.
- The app says Update the app to tap. Your copy of the app is too old for Tap to Pay. Install the latest version, then try again.
- It says Tap to Pay needs a newer iOS or Android. Update your phone's software, then try again.
- On Android it says NFC is off. Turn NFC on in your phone's Settings, then try again.
- On Android it says developer options are on. Tap to Pay won't run while developer options or USB debugging are on. Turn them off under your phone's System settings, then try again.