In this article, you'll learn how to add items and services to your price book and how to change them later. Each one is a reusable line item: set it up once with its name, price and description, then pick it onto jobs and estimates instead of typing it out every time.
To open the price book:
- In the menu, click Price book.
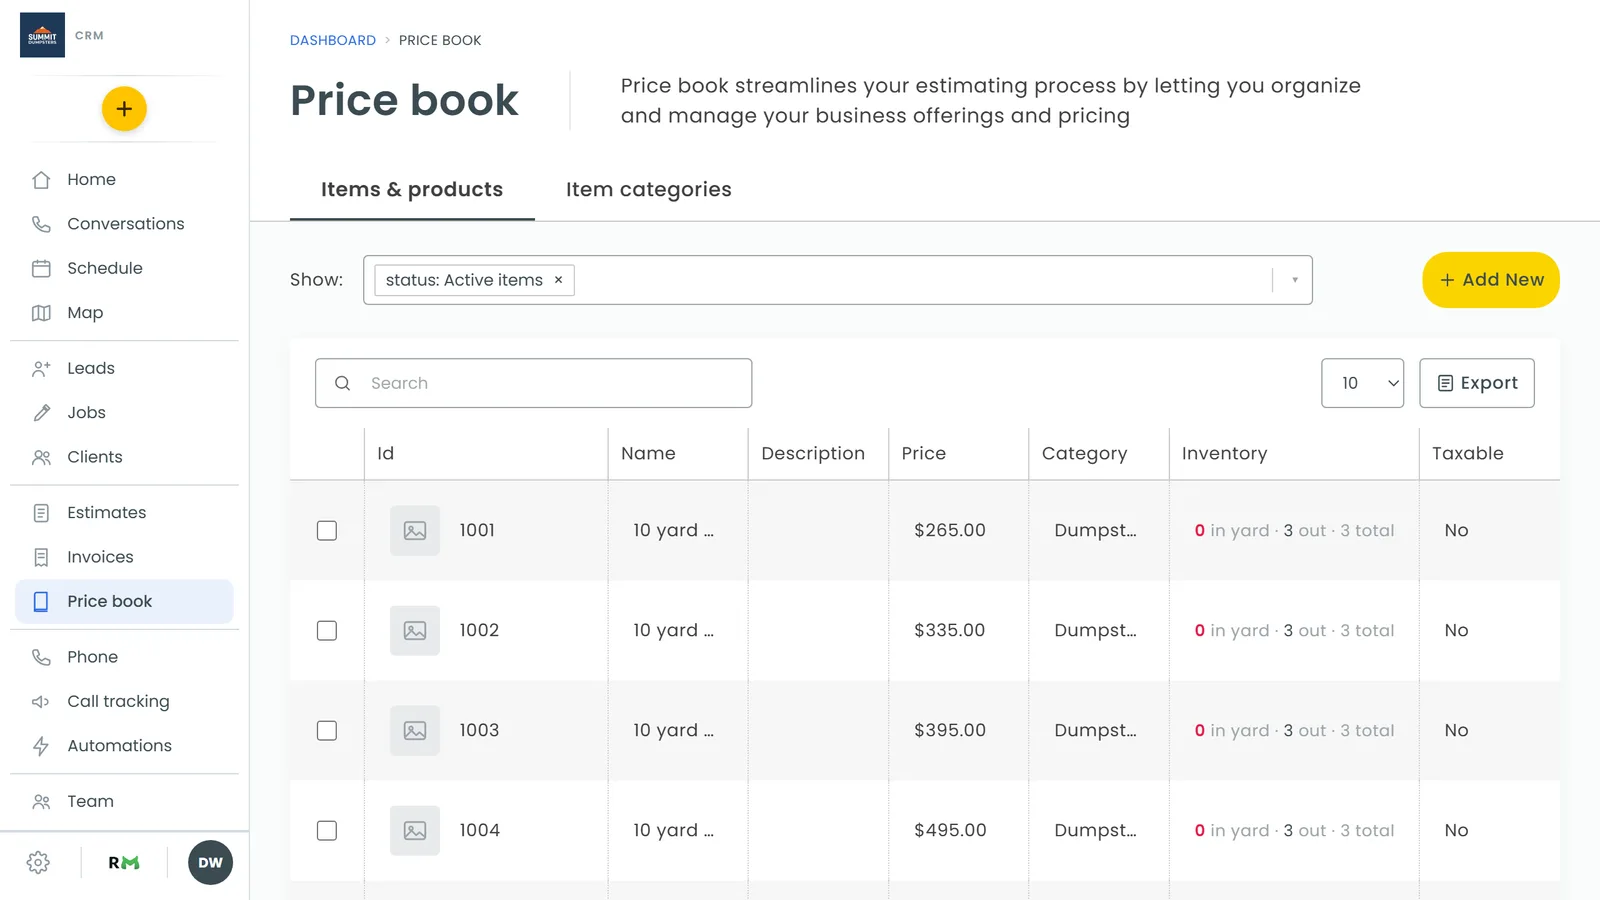
- You'll land on the Items & products tab. The other tab, Item categories, is where you set up the folders your items go in.
On the phone app, open the menu and tap Price book.
Adding a new item or service
- On the Items & products tab, click Add New.
- The Add New Item form opens. Fill in what you need:
- Picture: click the + on the grey tile to upload a photo of the item. It's optional, but it makes the item easier to spot when you're picking it on a job.
- Title: the name your customer sees on the line. This is the only field you have to fill in.
- Choose category (optional): click Browse, click the category you want, then click Apply. Click the × to take the item back out of a category.
- Item Description (optional): details that go with the item, like what's included.
- Price: what you charge for one. It starts at 0.00.
- Taxable item: leave it on if sales tax applies to this item. It's on by default.
- Enable item: leave it on so the item shows up when you add items to jobs and estimates.
- Click Save.
The item joins your list with the next number in the Id column.
If you use Asset Tracking
If your company tracks rental units with Asset Tracking, the form also has a Tracked units (inventory) field. Pick a category of units there, and a Rental period this price covers field shows up too. These two fields only appear for companies with tracked units. Linking price book items to your units explains how they work.
Adding an item on the phone app
Tap Add New on the Items & products tab. The phone form asks for a Title, Choose category (optional), a picture (Take photo or Choose), Item Description (optional) and Price, and has Enable item and Taxable item switches. Tap Save when you're done.
Adding an item while you're on a job
You don't have to leave a job to add something new. On the phone app, open the Price book from the job or estimate and tap Add new at the top. If you've already typed a search, the title starts with what you typed. Fill in the Add New Item form and tap Save. The item is saved to your price book and added to the job in one step.
Editing an item
- On the Items & products tab, click the item's row.
- The Edit Item form opens with the same fields as when you added it.
- Make your changes and click Save.
Changing an item's price changes it for every job and estimate you add it to from now on.
Finding and exporting items
- Show: the box next to Show: controls which items are listed. Pick Active items, Inactive items or All items. Inactive items are the ones with Enable item turned off.
- Search: type in the Search box to filter by Id, name, description or category.
- Export: click Export to download a CSV of every item that matches your current filter and search. On the phone app, Export opens your phone's share sheet so you can send the CSV somewhere.
Related articles
- Adding items from your price book to jobs and estimates
- Creating and managing item categories
- Removing items and categories from your price book
- Marking up line items
- Using your price book on the phone app