In this article, you'll learn how to bring your existing client list into the CRM from a spreadsheet. If you're moving from another system, or you've been keeping customers in a spreadsheet, it saves you typing each one in by hand.
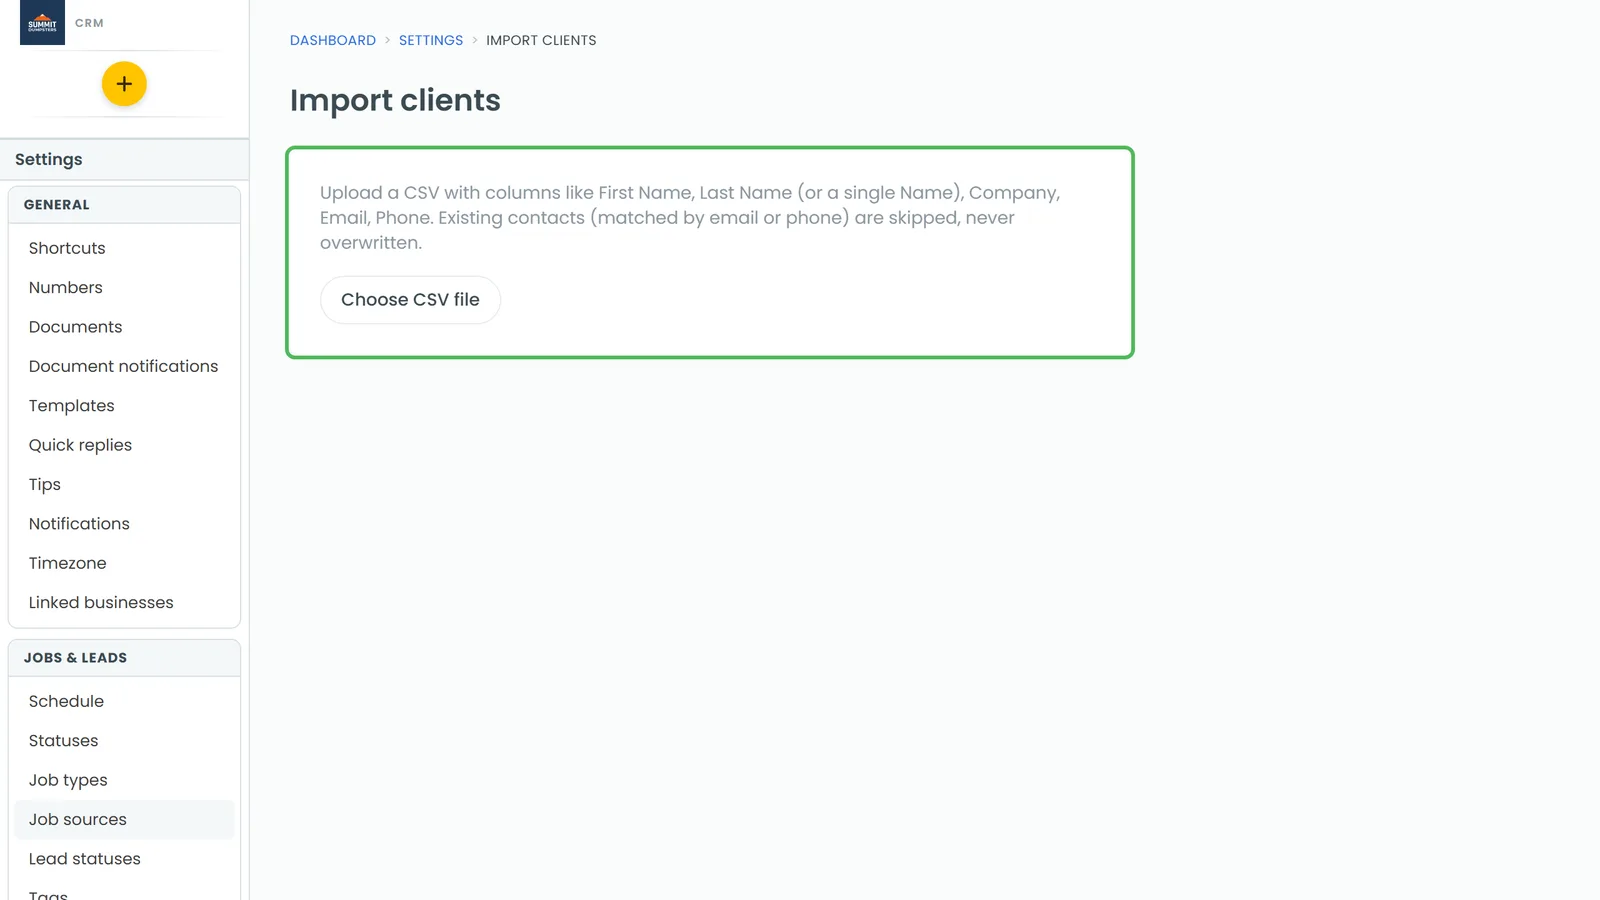
You run the import yourself by uploading a CSV file on the Import clients page. It works on the web and in the phone app. Only an admin can run it.
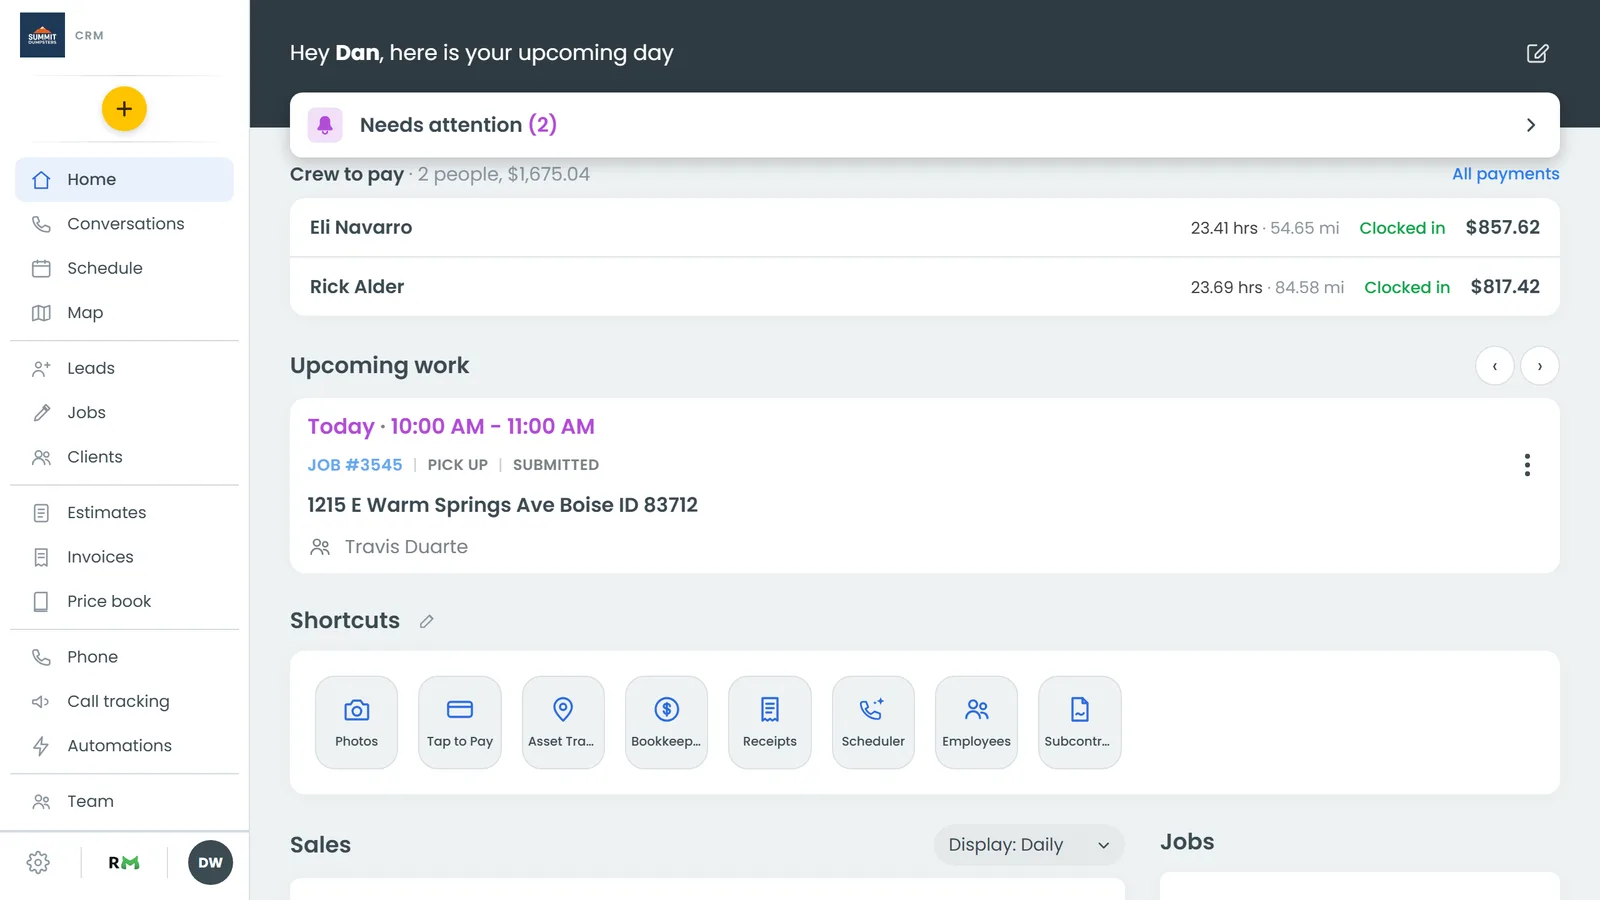
To open the import page on the web:
- At the bottom of the menu, click the Settings gear.
- Under Data, click Import clients.
On a phone-sized browser window, open the menu first. The gear is at the bottom of it, and Import clients sits under People & data.
To open it in the phone app:
- Tap Menu at the top of the Home screen.
- Tap the Settings gear at the bottom of the menu.
- Under People & data, tap Import clients.
What gets imported
For each client, the import reads:
- First name and last name
- Company
- Phone
Every other column in your file is ignored, including addresses, notes and tags. You can add those on each client's page afterwards.
This page only brings in clients. Jobs, leads, estimates and invoices can't be imported.
Getting your file ready
The file has to be a CSV with a header row at the top and one client per row below it. Most spreadsheet programs, and most other systems, can save or export a list as a CSV.
The import finds each column by its header. Capital letters and extra spaces don't matter. These headers work:
- First name: First Name, Firstname or First
- Last name: Last Name, Lastname or Last
- Full name in one column: Name, Full Name, Client Name or Customer. The first word becomes the first name and the rest becomes the last name.
- Company: Company, Company Name or Business
- Email: Email or Email Address
- Phone: Phone, Phone Number, Mobile or Cell
If one of your headers is spelled some other way, rename it in your spreadsheet before you save the CSV. Blank lines in the file are ignored.
Importing the file
- On the Import clients page, click Choose CSV file and pick your file. In the app, tap the same button and choose the file from your phone.
- The page reads the file and shows how many rows are ready, with a preview of the first five under First, Last, Company, Email and Phone.
- Check the preview. If something's in the wrong column, fix the headers in your file and choose it again.
- Click Import with the number of clients on it, for example Import 250 clients.
When it's done, a message tells you how many clients were imported and how many rows were skipped.
Every client added this way gets Import as their Source, so you can tell them apart from customers who called, texted or booked.
How duplicates are handled
Before adding anyone, the import checks each row's email and phone number against the clients you already have.
- The row matches an existing client. No new client is made. If that client's record is missing a name, company, email or phone that your file has, the blank gets filled in. Nothing you've already typed is overwritten. A different phone number from your file is saved as their second phone if they don't have one yet.
- The same person is in your file twice. They're only added once.
- A row has no name, company, email or phone. It's left out.
That's why the number imported can come out lower than the number of rows in your file. A client who already existed and only had a blank filled in isn't counted in either number.
If something goes wrong
- CSV needs a header row plus data rows. The file is empty or has only one line. Put the headers on the first row and your clients below them.
- No recognized columns. None of your headers match the list above. Rename them, save the file as a CSV again, and choose it again.
- Import failed: admins only. Only an admin can import clients. Ask an admin on your account to do it.
- Import failed: max 5000 rows per import. Split the file into smaller ones and import each one.